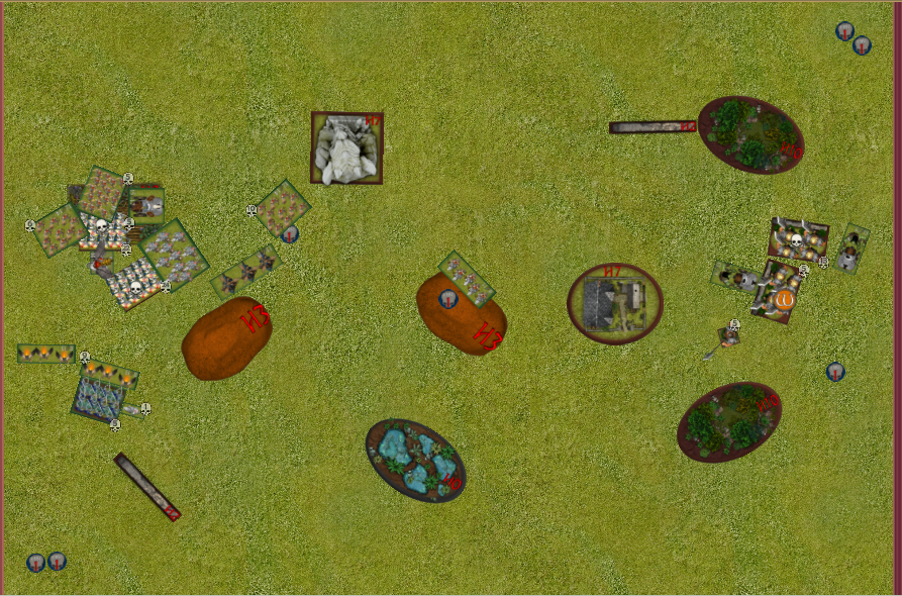
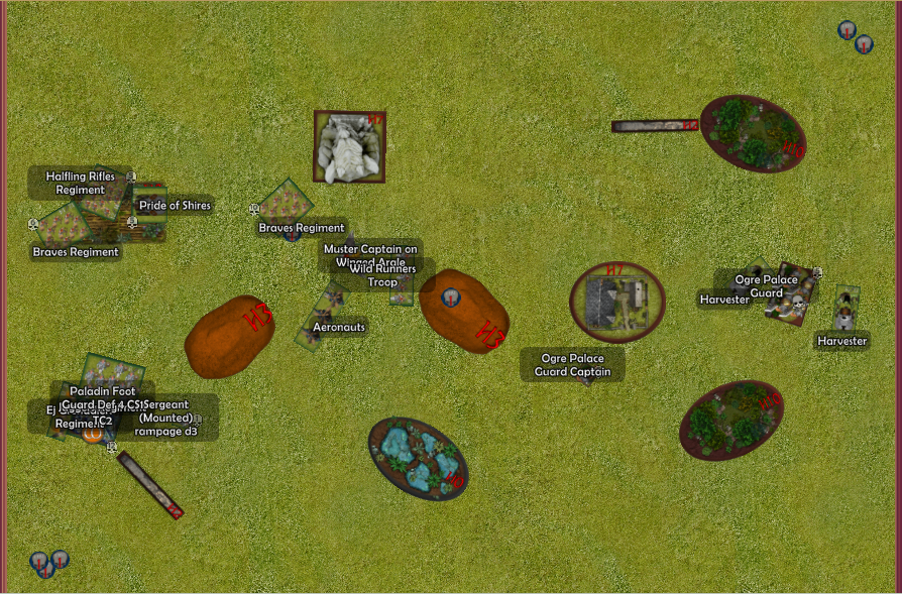
Scenario: Raze, 2300pts
List Thoughts
Dave: I kind of threw this together last minute, I like the idea of the helm of the drunken ram on the jugger regiment. They really need more then TC 1, so I hope now they are TC2 it will have a little more impact. 100% I stole the double harvester idea from Matt, they are slow an can be tricky to move around but for 140 pts, 8+d6 hits on 3+ CS1 TC1 I think they are good value. I’ve also got a wild runner troop, and mounted sergeant to support the juggers and intend to keep them together as a battle group.
I’ve got the pride of the shire and a rifle regiment to give me a small fire base to chip on damage while I hold my 4 units of braves back as meat shields.
Matt: I really suck with this style of list at the moment so i plan is to YOLO where I can and just see what I can do. This will highly likely lead to a big loss but I learn better with making mistakes, so by making some big mistakes almost deliberately it should ingrain in me some learning for me better. Basilea I am thinking of taking to a one day tournament mostly because of the effort I have put in to the painting I want to take it rather than taking my dwarfs. So this list does include stuff I already have painted as well.
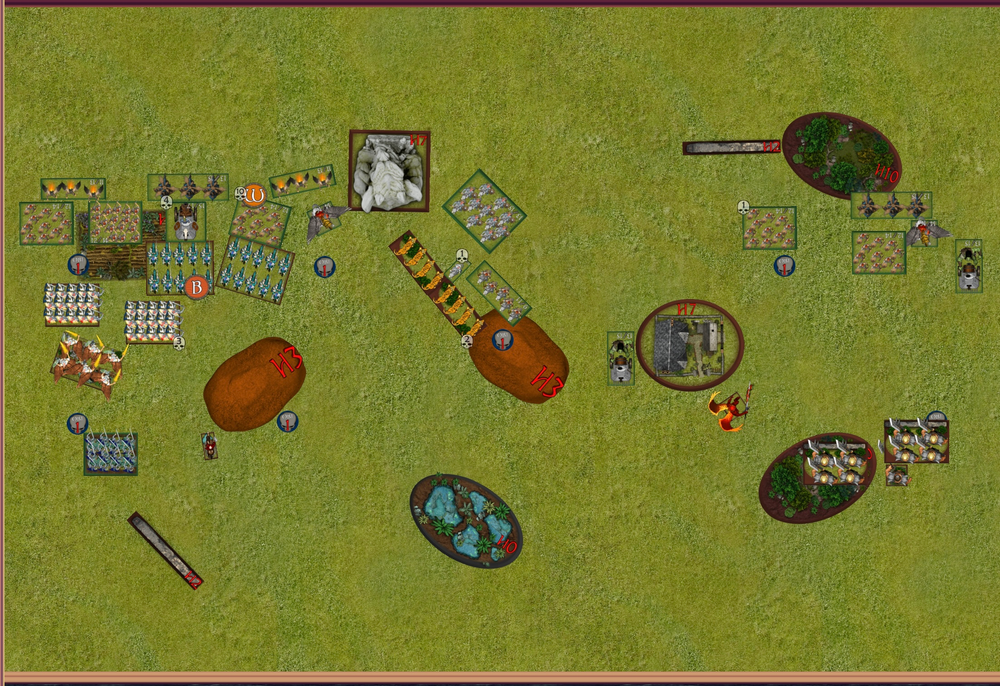
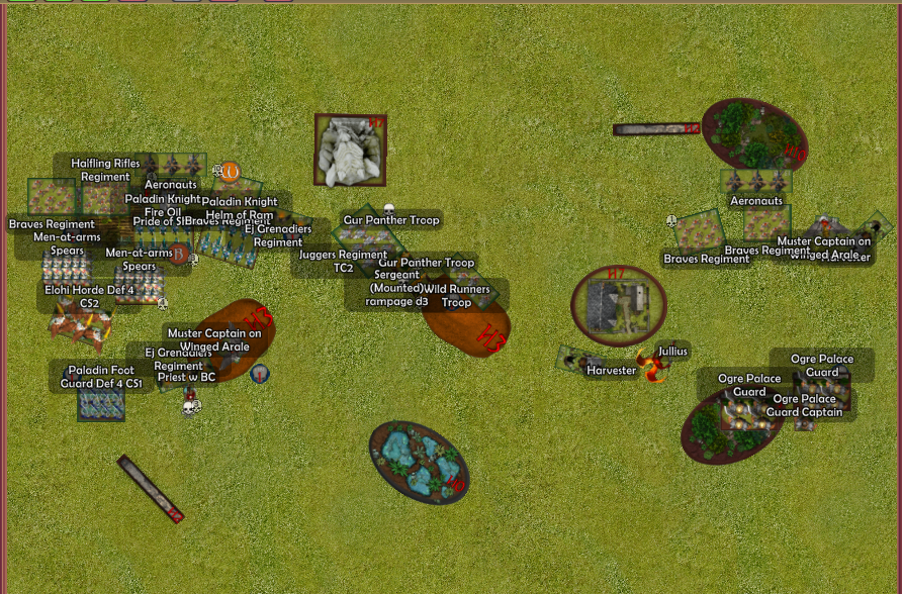
Deployment
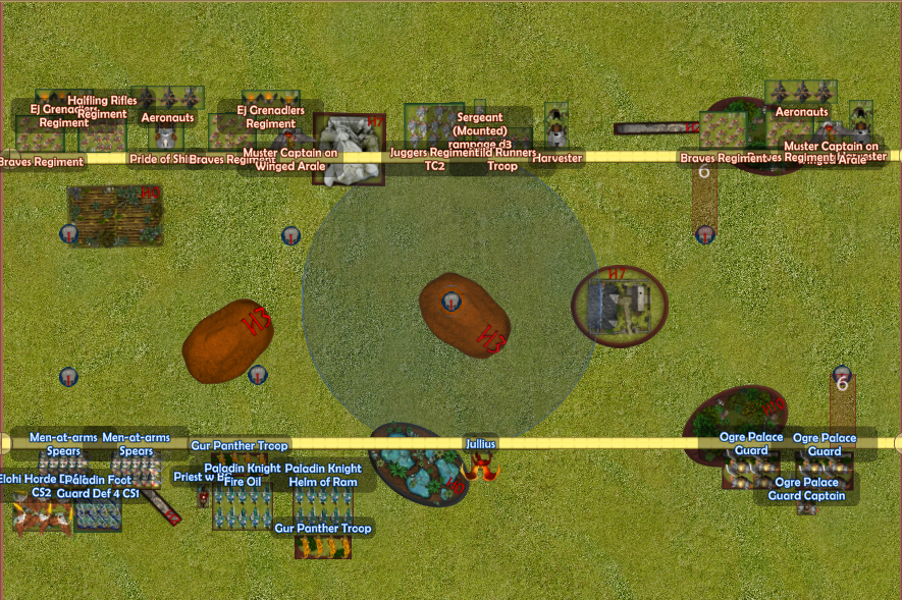
Dave: Well we seem to of spaced out tokens fairly evenly, I started placing units on the far left, placing 2 brave regiments, a rifle regiment and the pride of the shires to hold the line for me, I’ve placed my 2nd line of attack as all flyers to get the jump on Matt if he gives me a flank or leaves a back unit out in the open. My plan is to force matt up off his objective and swoop over to clean it up. I do however only need 1 of these 2 objectives if I can manage the far right objective.
I’m pretty happy with the far right deployment as well, provided I don’t get double charged by his 2 palace guard hordes I should win the right flank and claim this objective.
Matt: I’m playing around with what might be the best battlegroups in this list, happy to use the Elohi as an inspiring source also. I’ve tried to pile the majority of my US towards the majority of the tokens. I’ve gone for a mix of in front and behind with the gur, playing with what may work with them as chaff. One of the big weakness in this list is nothing to take off chaff and the enemy also has light shooting to eliminate my own.
The Battle Plans
Dave: Its quite simple, Crush Matt into the dirt….. or more specifically, I want to put pressure early to try and take all 3 objectives, I out drop him and want to use that to my advantage. If it looks like I wont be able to claim an objective, I’ll do my best to delay matt. If I can collect all 3, defend at least 1, I wont need to worry about the centre, and the more I defend the less I need to collect.
Matt: Take some risks. Let Dave win so he builds some confidence, learn some lessons. Move to next game then crush his dreams again.

Dave Turn 1:
I just moved forward, nothing special. I’m cautious of any cheeky alpha strikes on my weaker back units from Matts flyers so I’ve bunched up, hopefully not to my detriment.
Matt Turn 1:
Dave has more scoring drops and much more manoeuvrability than myself so I have to be careful moving forward. Basically everything moves forward, I position the Elohi so they can’t be charged. Both gurs move forward limiting access to the knight regiments. Julius redeploys to help the ogres first.
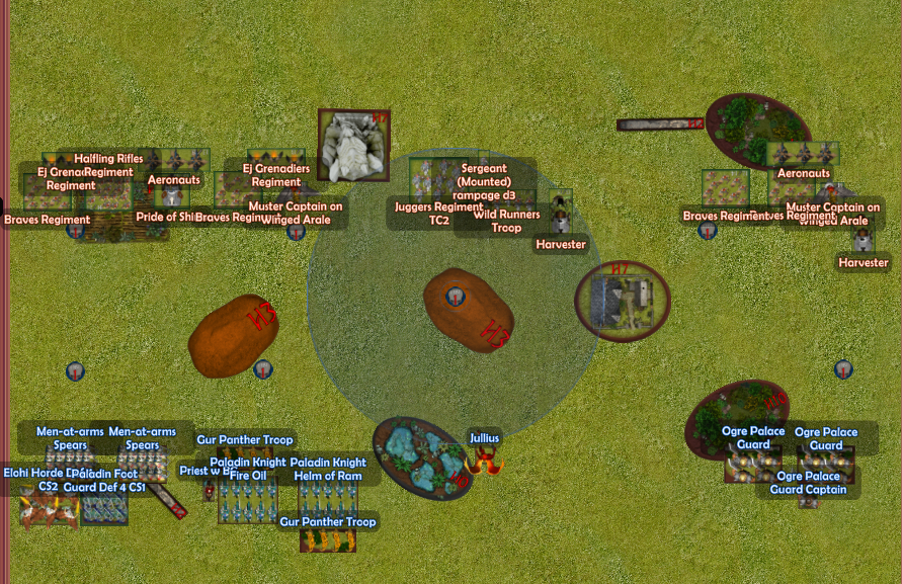
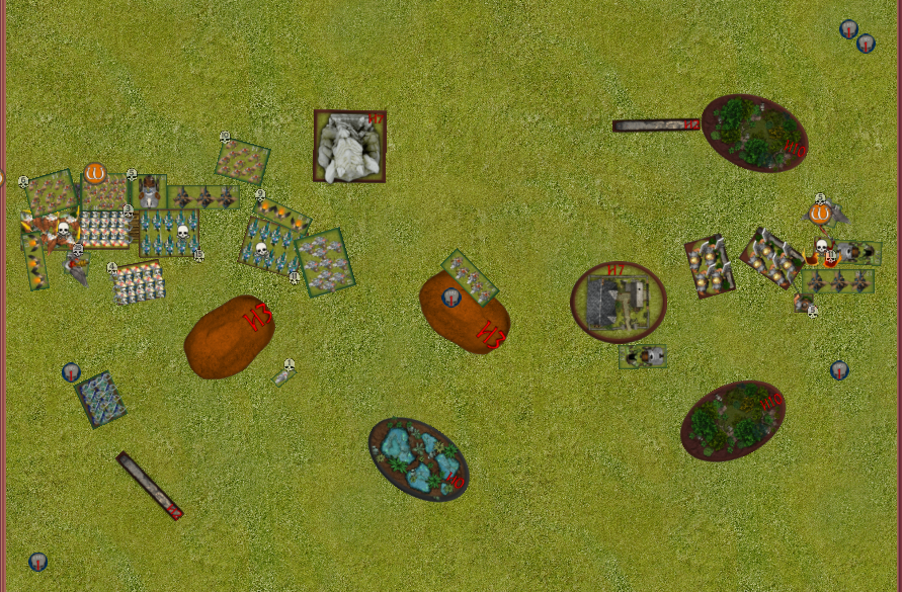
Dave Turn 2:
Ok this turn things get slightly more interesting, I feel like turn 2 and 3 is where this game will be won, so I need to work hard to out smart Matt.
On the far left, I’ve just held my ground, I’m just out of charge range for his spears and his elohi only have 1 unhindered charge on me, my braves regiment, if he jumps on this, it could cause chaos for me, however it could also just throw away his horde. Although he has a flank on my winged muster captain he cant place it so its save for now.
I’ve got my 2nd rank in good supporting arcs to cover most of the moves I think he will make. So on the left flank I’m safe to just hold and shoot. I piled on 4 wounds to the spearmen but failed to break them with a 6 for nerve. (also they get one back from IR, so down to 3)
In the middle, I’ve moved my mounted sergeant out in front, my hope here is to get a charge and disorder his Cav, it wasn’t till after my turn that I realised he isn’t mighty and this could cost me and overrun charge, however if that happened I’d only loose my wild runner troop. I’ve left my self open to getting my winged muster captain chaffed up, however again I’ve got my 2nd rank of EJ grenadiers ready to charge past if needed. I believe most of my units are out of range of his paladin knights, so its really just gur panthers to worry about. I did manage to fire off a few wounds into one of the gur panther units, doing 2 wounds but missing the waiver by 1.
On the far right I’ve moved to give Matt only a limited amount of charges.
Jullius can only charge the front of the braves regiments, with the harvester and winged muster captain safe. Again only 1 ogre palace guard horde has a charge, and its on either my harvester or braves. This should free up some combo charges for me when my aeronaughts move into range. I’ve also snuck my other harvester up behind Jullius to put pressure on Matt to force a mistake. I intend to face the harvester back into the centre and take out a paladin knight regiment however I’ll use the perceived threat while I can.
I know this turn was a big one, but I wanted to spell out my plan before I turns to shit turn 4.
Matt Turn 2:
Here is the first of my YOLO moments. The mounted sergeant is out in front. In a tournament game this move would be ridiculous but I decided to double the gurs into the sergeant on the off chance they go through and then into units behind.
I know the knights won’t go through the Iron Beast but thought I’d have a crack and see what happens, then other knights go into the braves. On a reform they’ll be out of arc of the general. Surely they can take off braves right? Right???

The Elohi position so they still can’t be charged, Julius moves so the harvester can’t see him and other stuff moves forward.
In combat the bane chanted knights did 4 wounds on the beast and the braves were only wavered. Lol.
The gurs only did 1 wound, also lol. I didn’t realise he was def 5 but still it was a nothing charge. I expect that Dave is good enough from there to win the game from there.
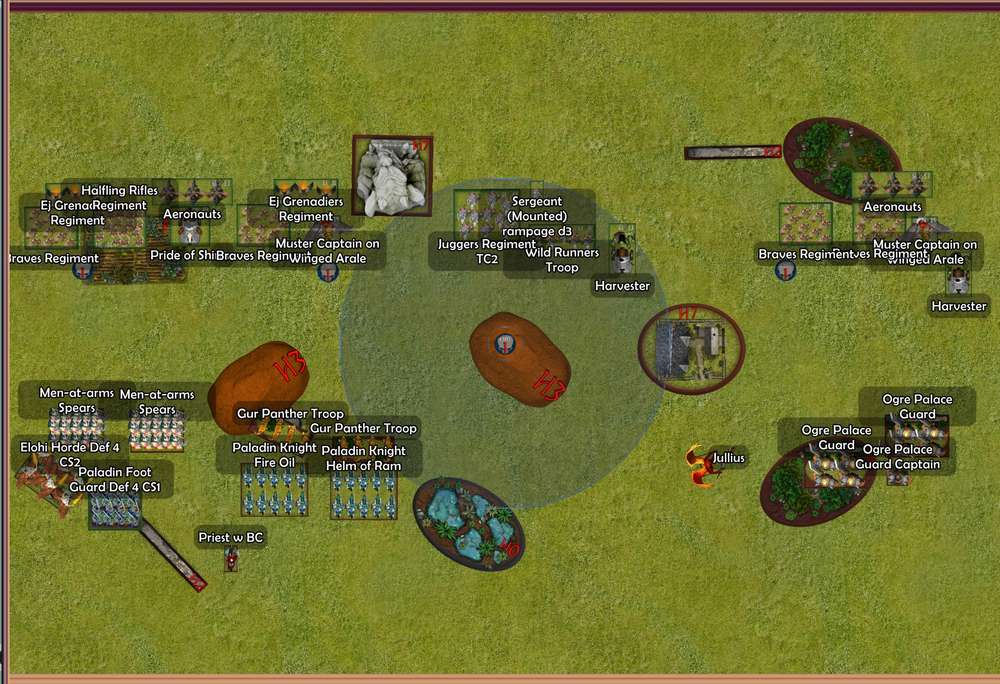
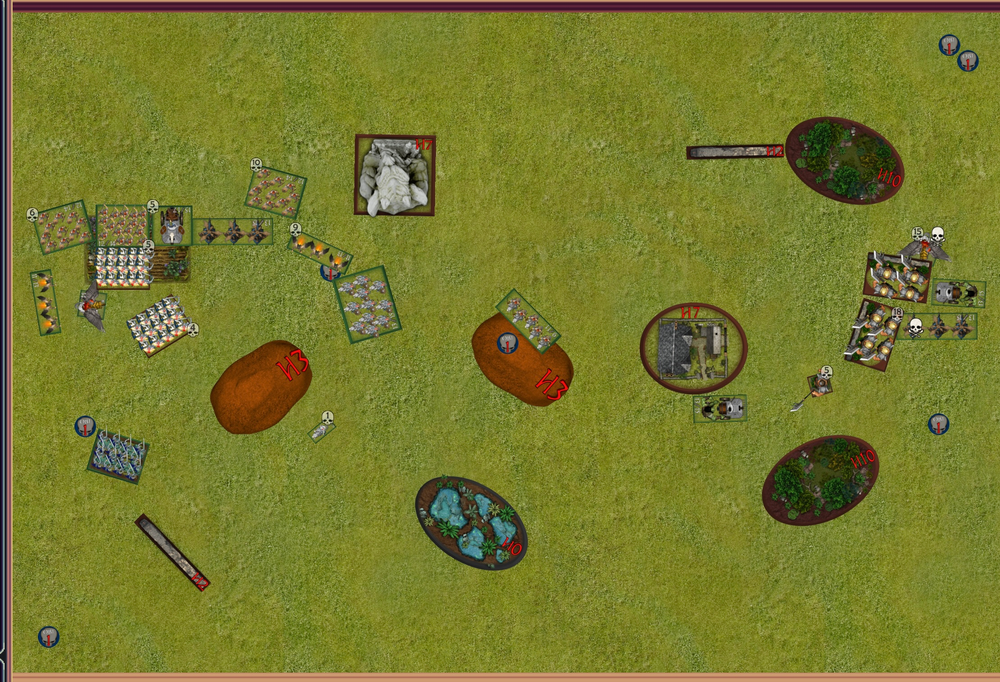
Dave Turn 3:
Well I made 1 mistake last turn, the positioning of my muster captain and Matt found it, I didn’t realise that if he double charged it would align in a way that it could block both my units with an over run and most importantly, strip TC from my juggers… lucky that gur panthers are weak as piss and didn’t come close to breaking my unstoppable sergeant.
I didn’t see the charges on my pride of the shire either, its height 5 head stuck out over the hill and made it an easy target. Countering Matts attack I took the chance to stick my flyer in his backfield and also got a cheeky charge on his priest. My EJs rolled hot to take him off and turned 180, now I have 2 units facing matts back line and he doesn’t have a charge on either of them, time to let the sandwich begin. My other EJ unit charged matts other knight unit, stripping its TC for the following turn, this should buy me time to send my juggers in next turn.
My Juggers made light work of his gur panthers, and the sergeant with the added rampage d3 took out the other.
Over on the right I’ve continued to sneak my harvester around to put more pressure on Matt, besides that, I’ve positioned to stop any multi charges and this should keep my captain or harvester alive from Jullius’ impending charge.
Matt Turn 3:

I decided to go in hard on the right and try and smash that side to my advantage. Julius went into the muster captain and the OPG into both braves.
Knights countered EJ’s and the Elohi went in as did some spears. My only option I think at this point is to go hard. I reface the other spears as he has got behind me. I didn’t look properly and didn’t realise the EJ’s were facing up too. Chuckle.
In combat. Both braves on the right died. Julius managed to waver the winged captain. The knights did 9 wounds on the EJ’s and the snaked them.

The hindered Elohi Did 6 wounds, which wasn’t enough and the rifles and iron beast were wavered.
Dave should be feeling pretty good right now
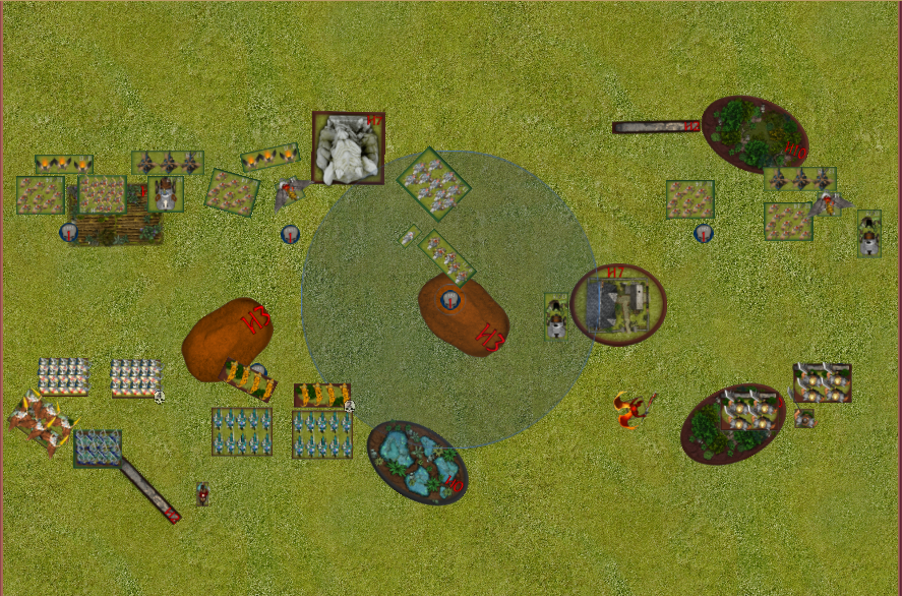
Dave Turn 4:
Just when you need a bit of luck, matt delievers, I fully expected the EJs to die this turn, however a lucky snake eyes sees my juggers slide in for the flank.
Again it wasn’t till the end of my turn that I noticed I had all my left flank lined up straight and that’s let matt put a charge on all my units.
My pride started waivered, but a pass on headstrong (headstrong aura on the pride has saved me so many times) now sees my pride and aeronaughts double charge to take off that unit aswell, so far so good for the halflings.
My rifles failed headstrong and stayed waivered, but the next combat over saw a triple charge remove the elohi horde.
If I’ve positioned well enough Matt should have no charges on the left flank now.
Over on the right I total mess up my movement last turn, I was so fixated on stopping double charges from ogres and Jullius that I somehow missed that his ogres were in range of my braves and it cost me a token.
My harvester in the flank of Julius sent him packing by stacking on 11 wounds. And my aeros jumped over to have a crack at his ogre captain, however rolled low and only did 5 wounds.
All in all a great turn, however that error on the right proved costly, now its 3 mistakes and matt found them all.
Matt Turn 4:
There’s pretty much no stopping anything from here. I can take some things out and hope Dave massively stuffs up somewhere. All i can do is repositioning and /i manage to take out the Aero’s and the muster captain
Dave: Turn 5:
Turn 5 started how turn 4 ended, brutally.
I multi charged the shit out of matt on the left to devastate both his spear regiments and take them off. And I’ve stuck enough US around my last objective to protect it.
I also charged his paladin foot knight with my sergeant and EJ’s for a waiver, however the EJ’s being US2 swamped the objective to claim US 4 to US 3, leveling the game at 2-2.
On the right my harvester went into the flank and took out an ogre palace guard horde and the other went into the front for the waiver. I managed the reposition with 1 harvester to hopefully claim my last objective next turn.
Matt Turn 5:
Unfortunately I’ve lost the image for this one but it’s essentially game over.
Dave Turn 6:
Well I’ve left matt with 4 units left so there isn’t many options I can take.
I charged my harvester on the right back into his ogre palace guard unit to go some more wounds and take it off.
I moved my other harvester down to collect the last objective
I charged my juggers who unfortunately were hindered this time into his last unit on the left, the paladin foot knights, I combo charged with an EJ regiment from the flank but managed a waiver.
Lastly I moved my Wild runner troop behind the hill but still within 3 inches, this means Matt has no LoS on it with his Ogre Captain and at best can only contest the objective.
I also turned and faced a few fast flyers in case we go 7 to take out Matts OPG captain.
So currently its 3-2 to me, with a potential for 4-2 if we get 7 but I think we will most likely wrap it up here.
Wrap up
Dave: My flyer game felt good, I was happy with my ability to hold Matts line while get behind him and pull some rear charges while remaining untouched.
I Made 3 key errors and matt jumped on all of them, I’m lucky that the gur panthers charge failed and I got some lucky waivers.
I was happy with the performance of the harvesters, yes they rolled red hot, however i was able to get them where i needed, i think placement in general worked well for me as i was able to execute a number of flanks and rears.
I’m also very happy with the mounted sergeant with rampage d3, the speed 8 nimble and h3 makes him great for chaff and mobile inspiring.
All in all suck it Matt.
Matt: I learned about the list in ways that I wanted and Dave did well to take advantage Of my mistakes. I’m going to do a bit of a rejig of the list to something I might find a bit more interesting.