


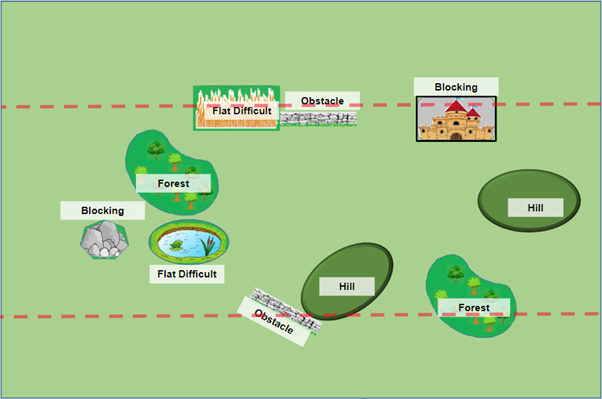
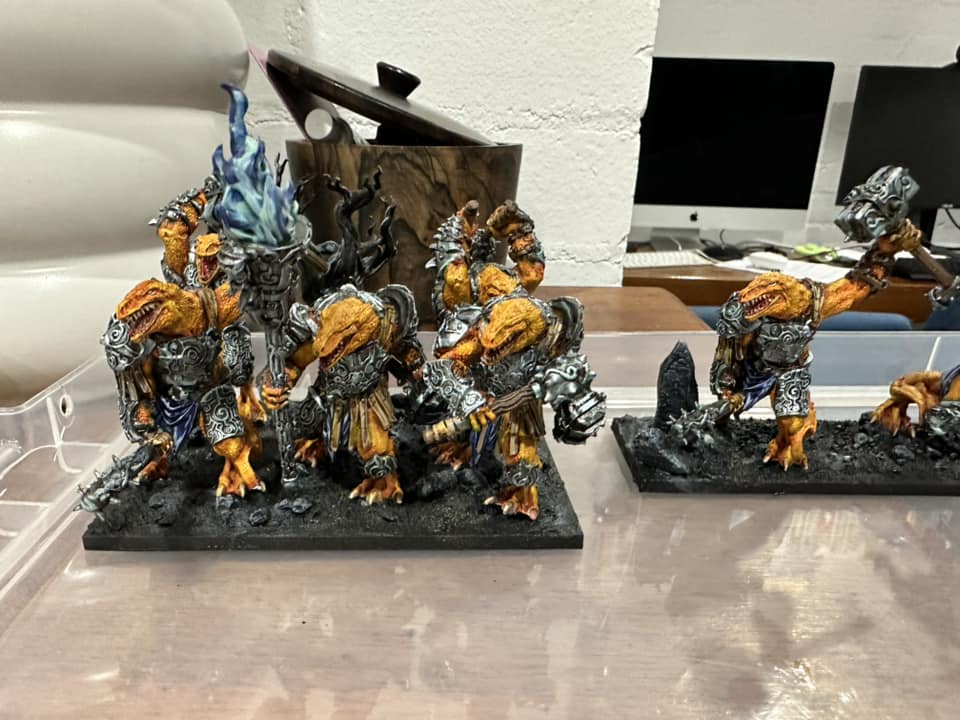
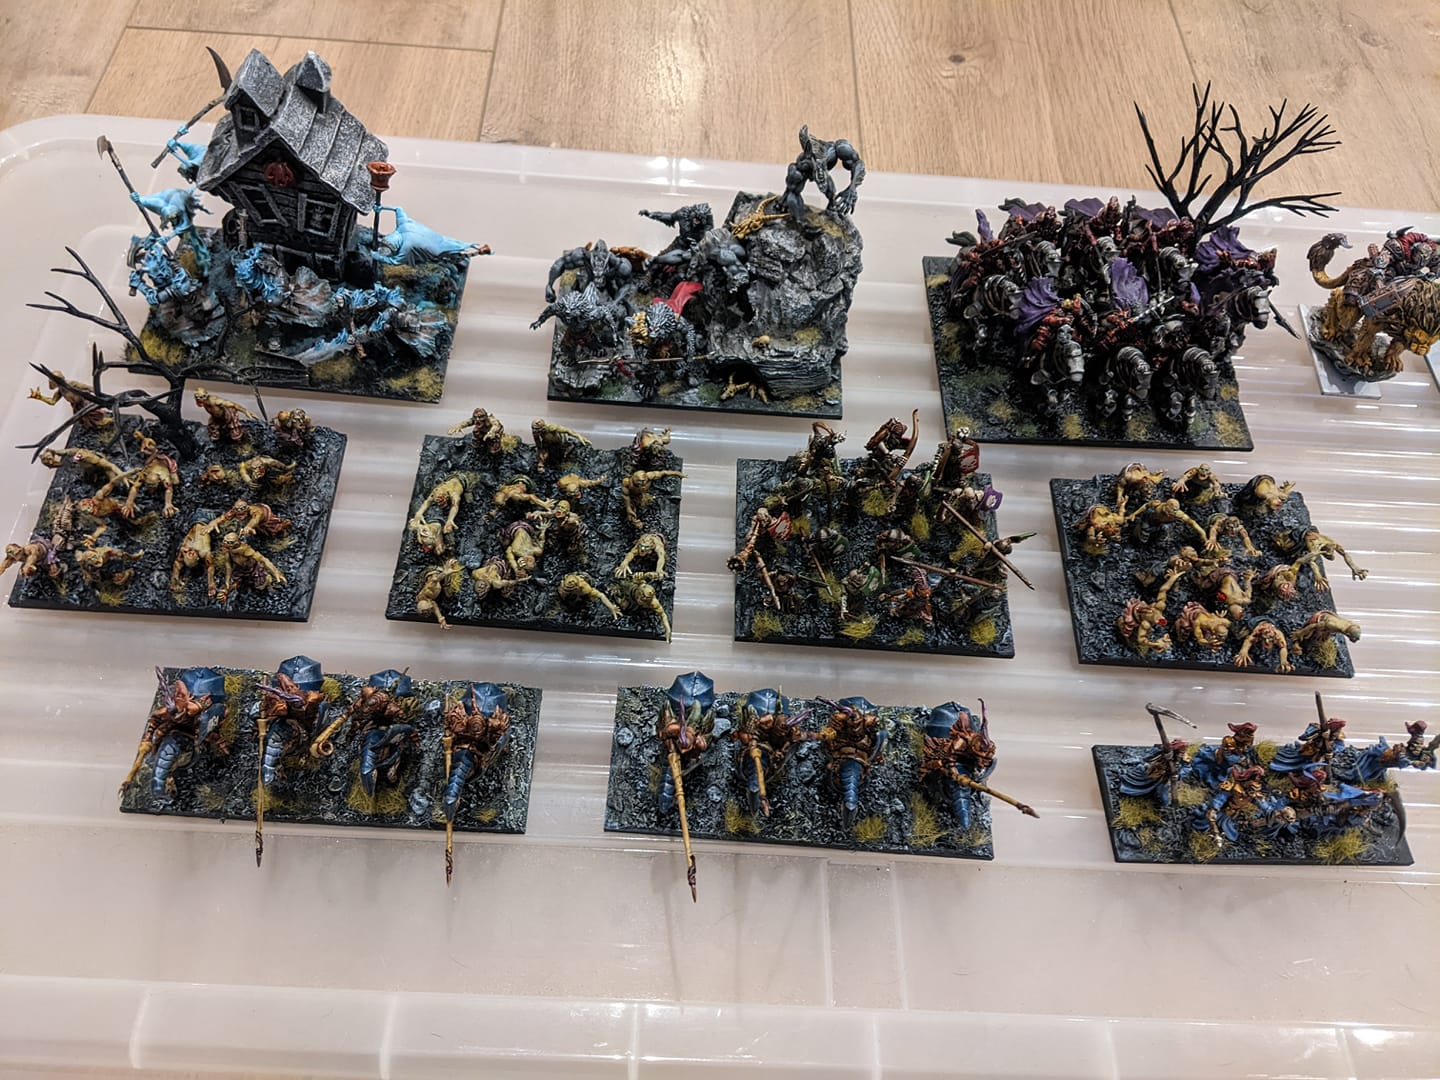
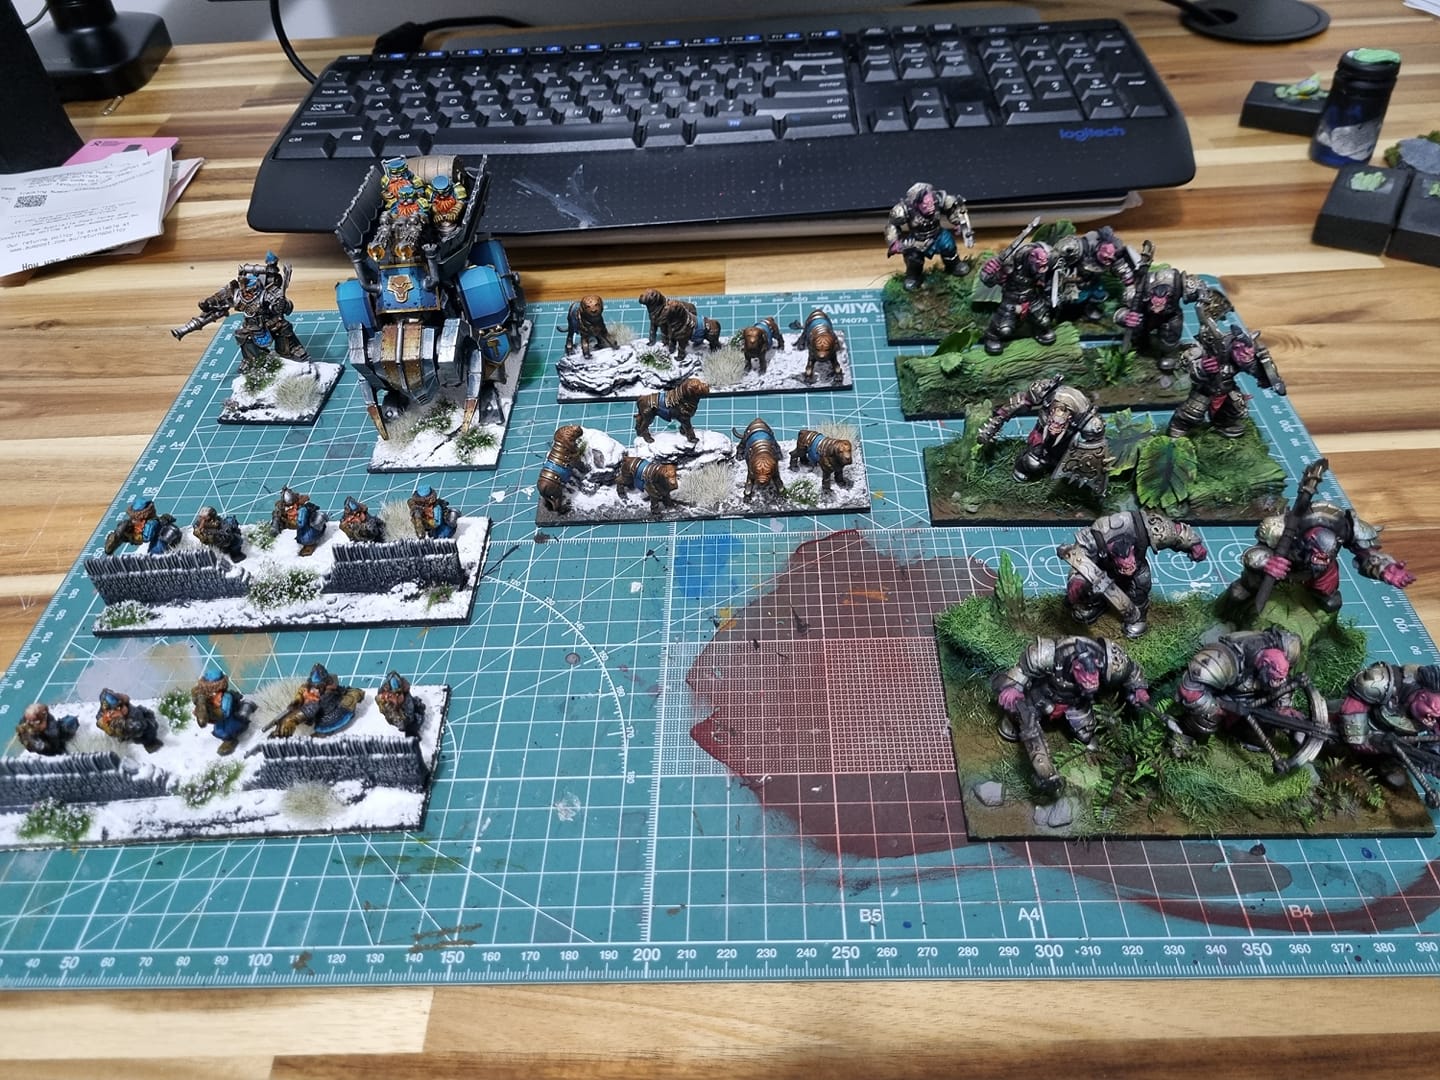
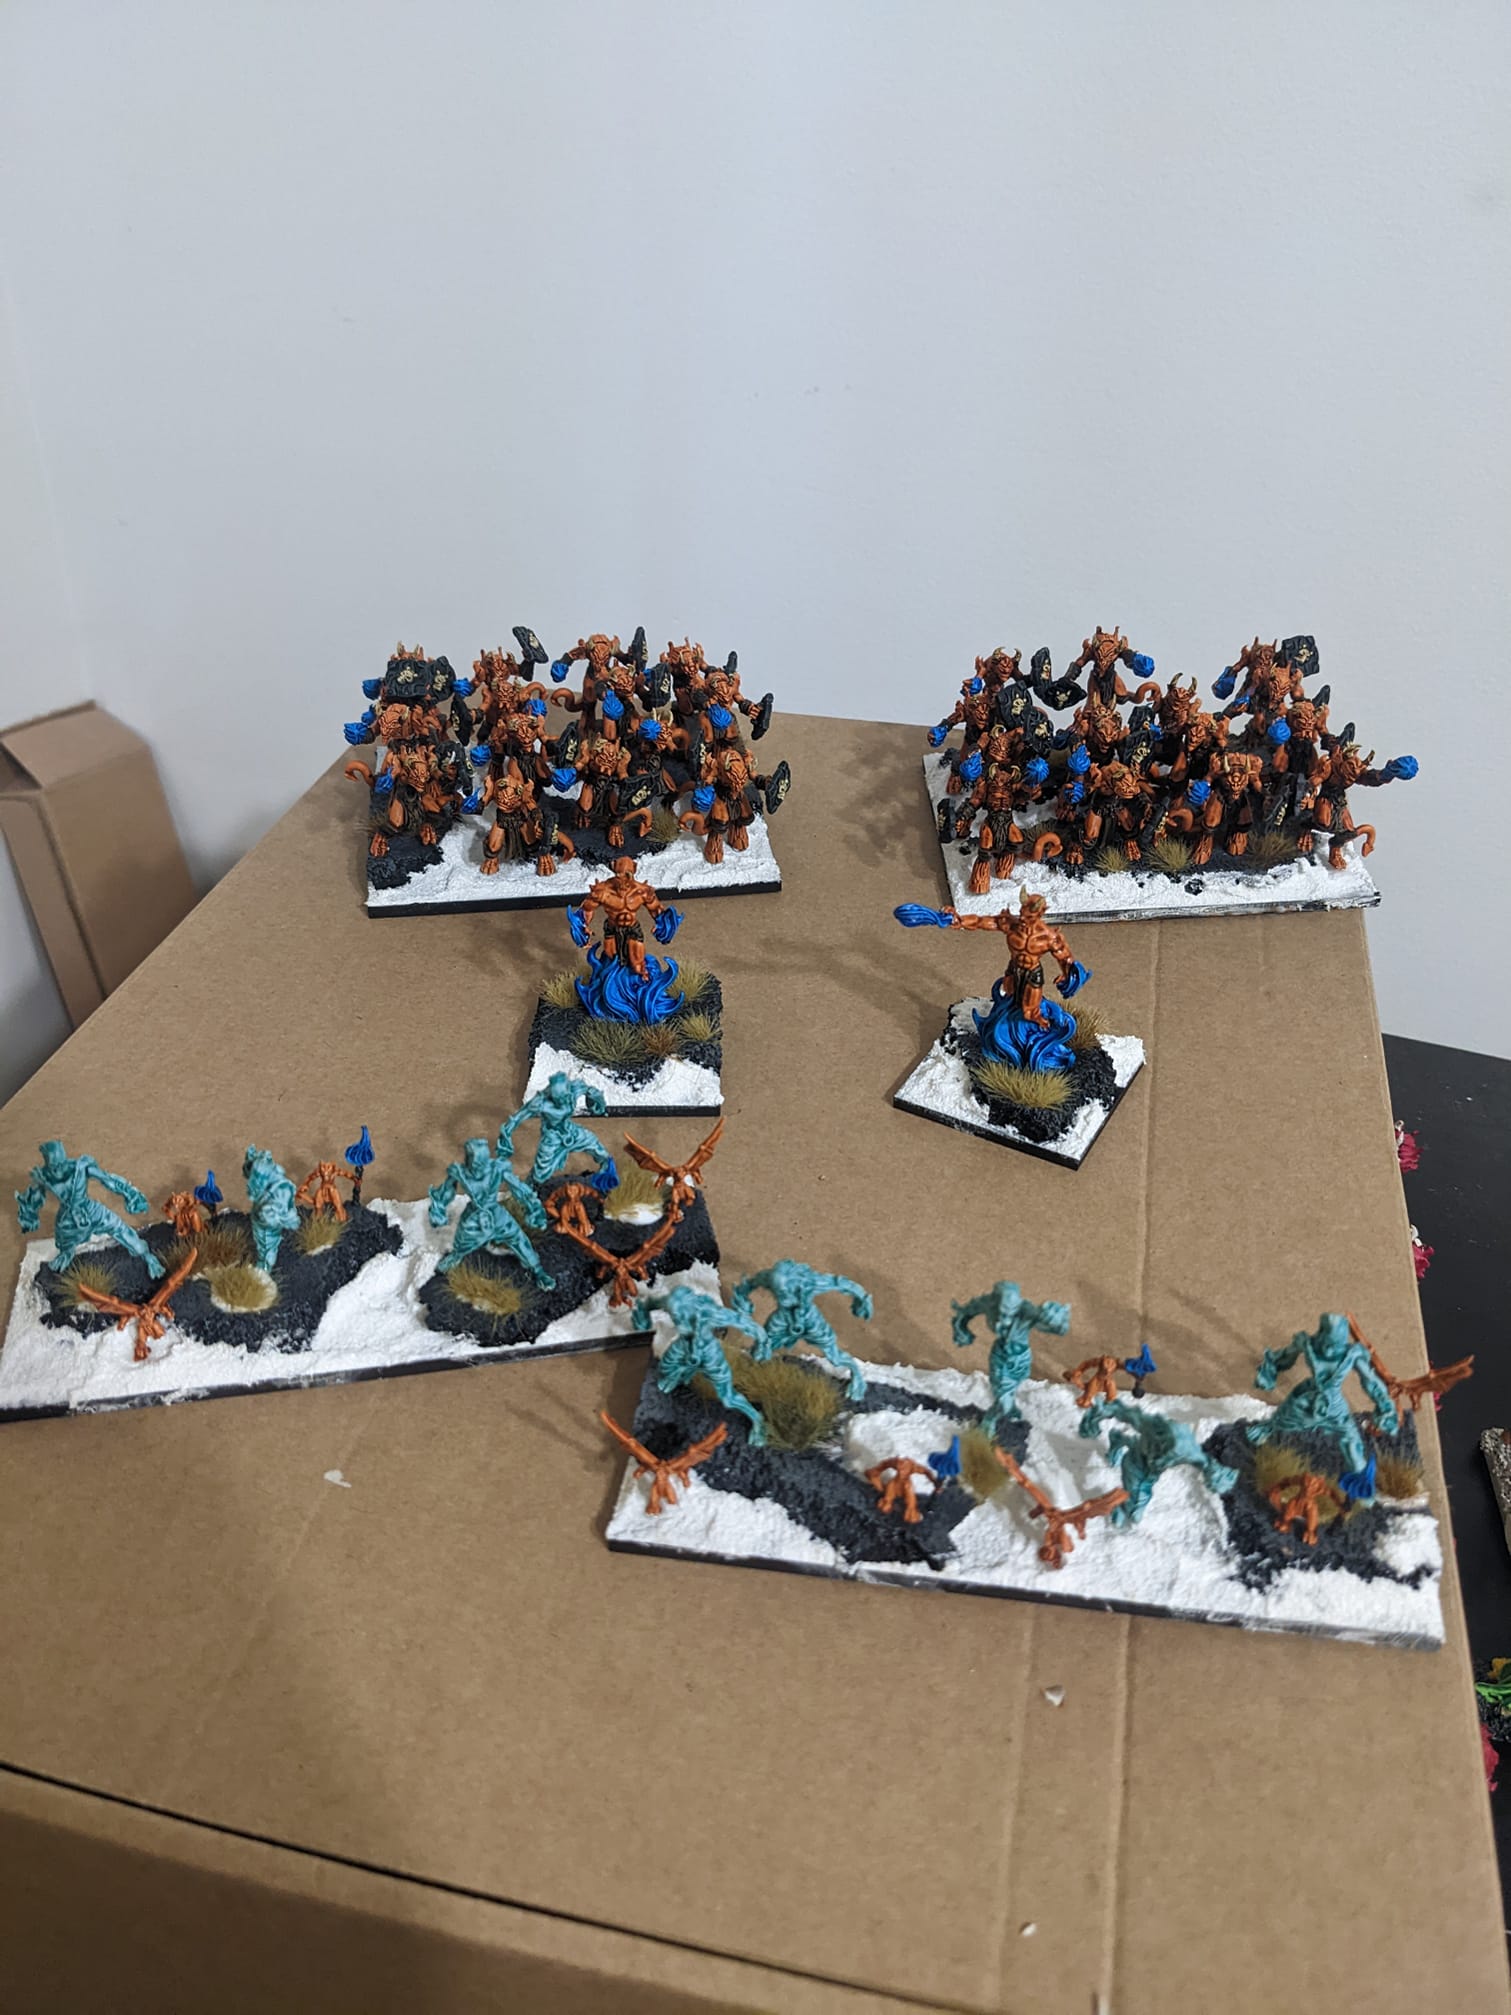
2300 points. Raze
Lists
Matt:
Trying out a different list with models I have again but keeping the formation at the core. I think it is likely that 4 x mastiff regiments are un necessary and points could be spent elsewhere like on a BC option but we will see.
Dave:
So I tried to tweak my last list to have a little bit more attacking power, but during deployment I found myself about 300 points short so I quickly threw in the howitzers and another braves regiment. I still don’t think its very killy, however it will let me punch out a key unit or two, but we ended up playing raze so I should of just stick with my last list.
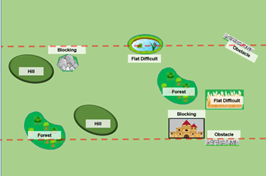
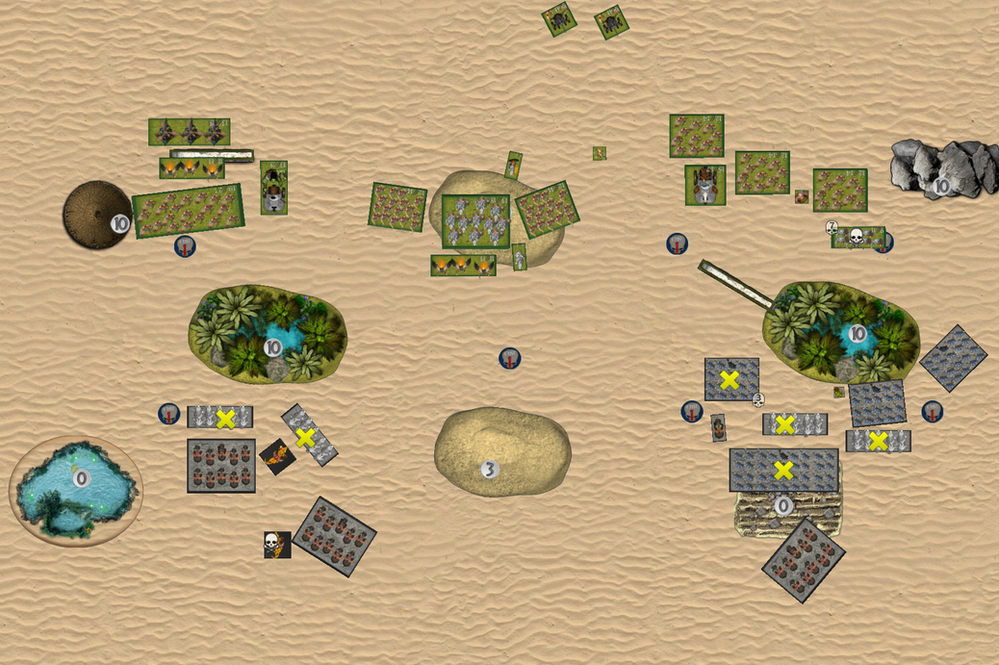
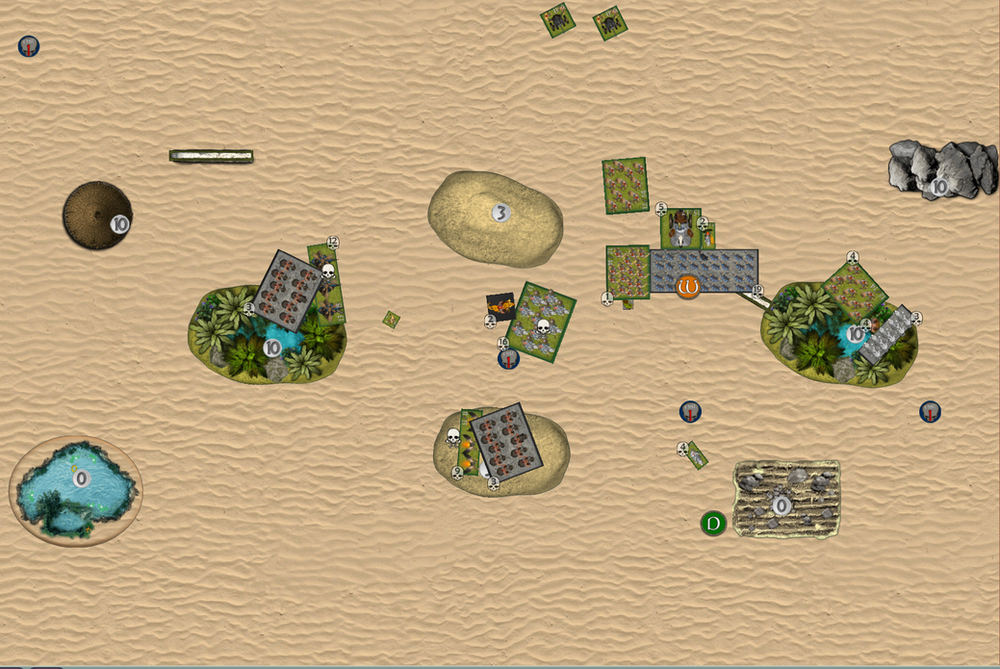
Deployment
Matt:
Basically I knew I wanted two blocks. Infantry, then brocks, with one lot of brocks protecting to rear. This game I wasn’t going to take a whole lot of notice of how Dave deployed as he outdrops me by so much so just wanted to go with what I thought could work. You can see in Dave’s first pic how my scout moves went.
Dave:
I really didn’t have a plan here, and it shows since I left my self short with inspiring on the left.
The Plan
Matt:
Hopefully capture the top two at the right at a minimum and defend his bottom two on the same side. I outrange everything but the Ej’s with the brocks (when not using WC from saucy) and use that to my advantage
Dave:
My plan is probably the same as Matt’s, take two tokens and the centre, and defend hard against 1.
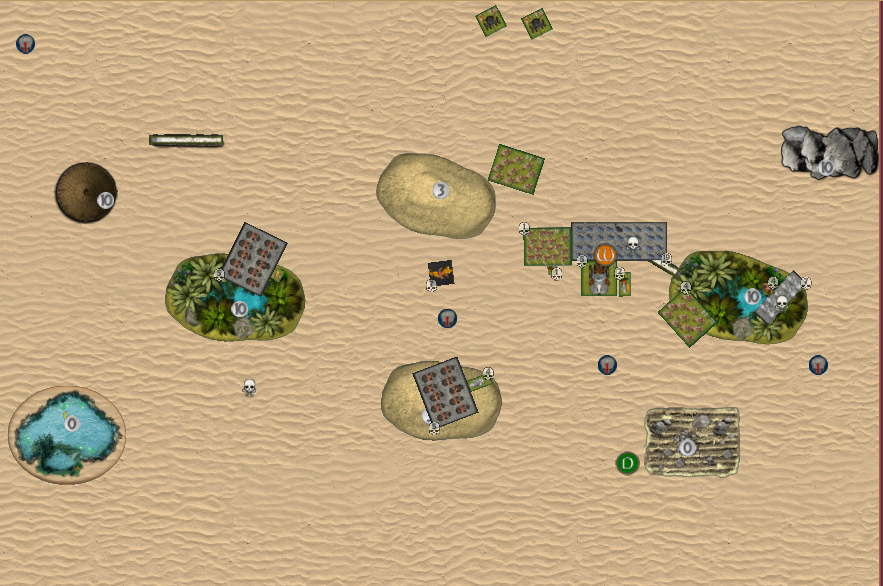
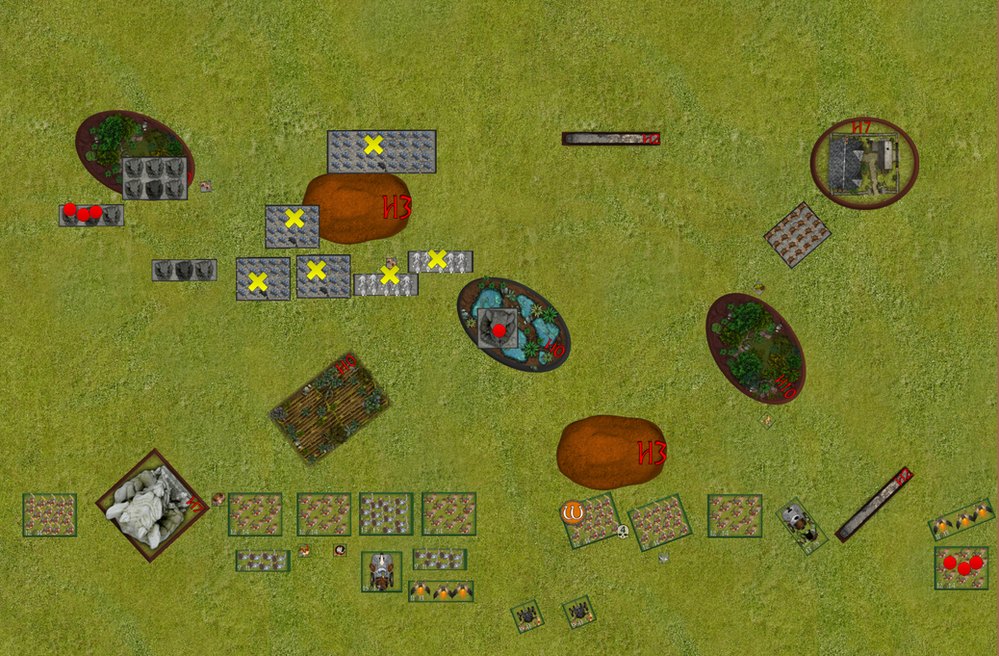
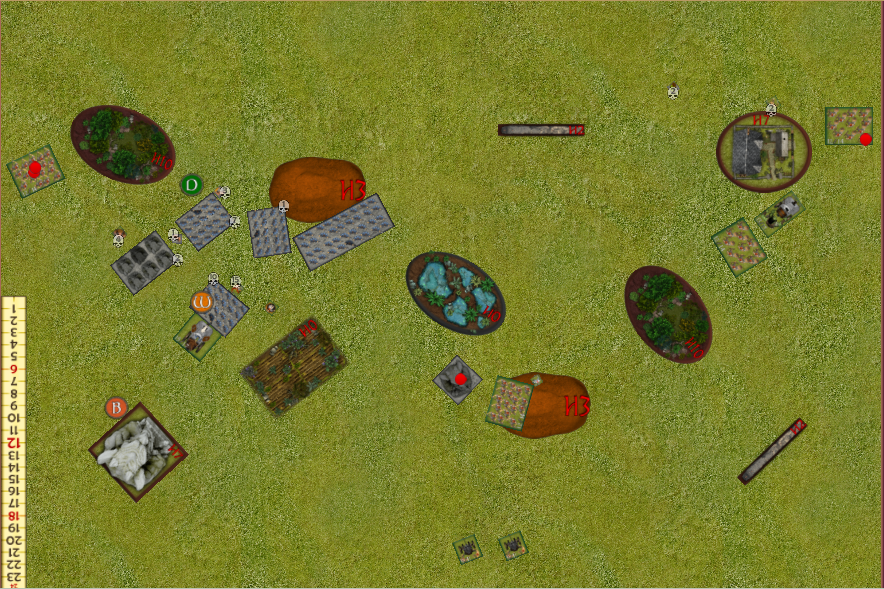
Turn 1
Dave:
Just moved, and shot at dwarves nothing special. I did try and correct my lack on inspiring on the left by moving over my feast master
Matt:
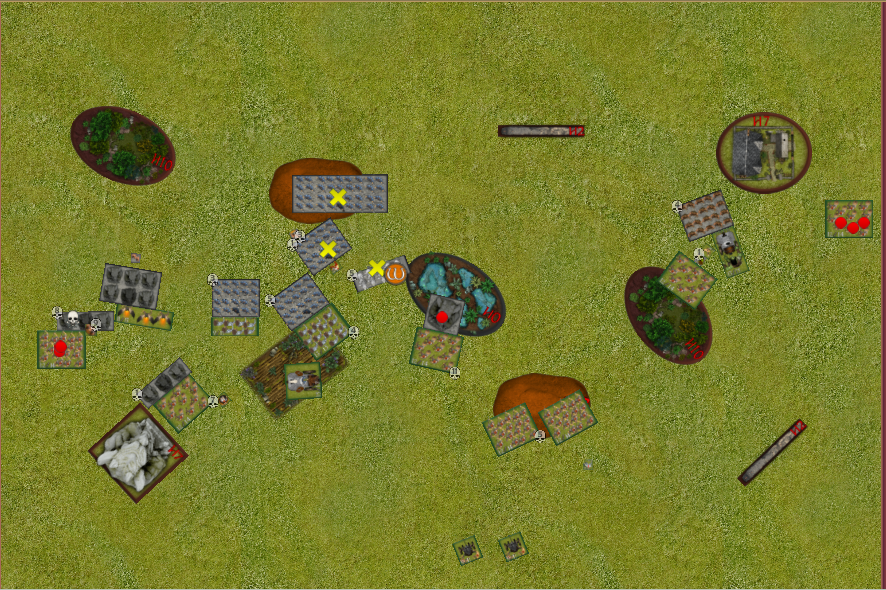
First idea is to push forward to get a couple of mastiffs into the stalwarts. If I can pop them then my US 3 reg will beat his US 2. So he would be forced to consider using greedy guts. I push forward gently to position on both sides. On the left I position to hopefully corale the EJs.
Two dogs go off into the stalwarts for 7 wounds and I pop them. Noice

Turn 2
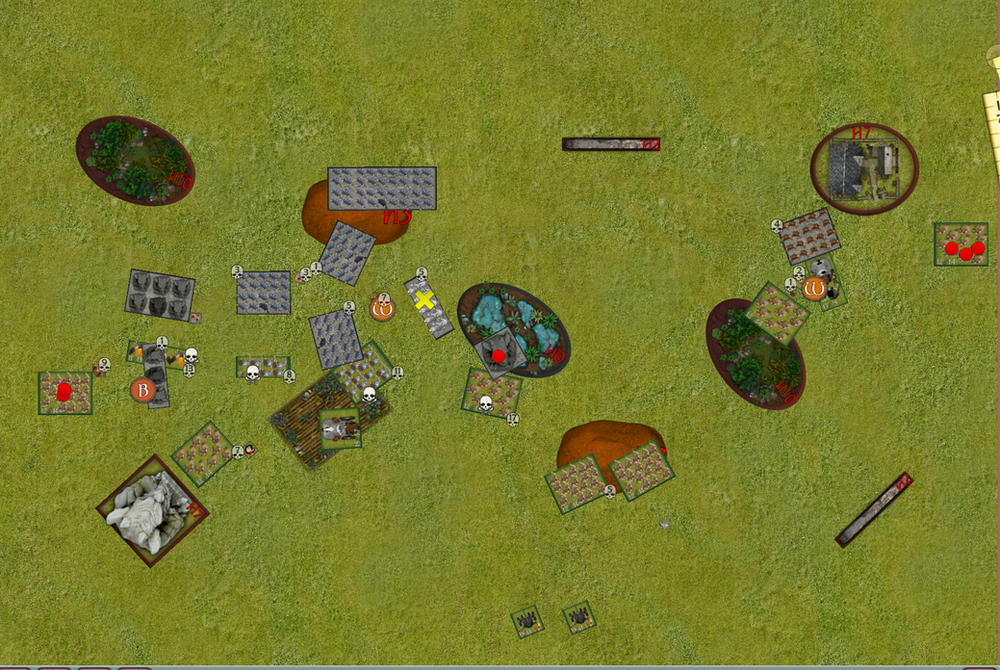
Dave:
This is an interesting turn, I shape for some options next turn in the centre, on the left I stack in to protect the token but if Matt leave the back one open, I can jump over with the EJs and steal.
Losing the stalwarts was no shock I just wanted them to eat dogs and they did. I did try some cheeky stuff with greedy guts, putting WC on the sauceror and adding in greedys D3, gets me all the way across into Matts shield breakers. I only really wanted to hold them up to stop them getting the token, but double 10s on the nerve saw they go.
I had a hot round of shooting hitting the other dwarf shield breaker regiment with 9 wounds to take them off.
From here I plan to target the left and furthest right token
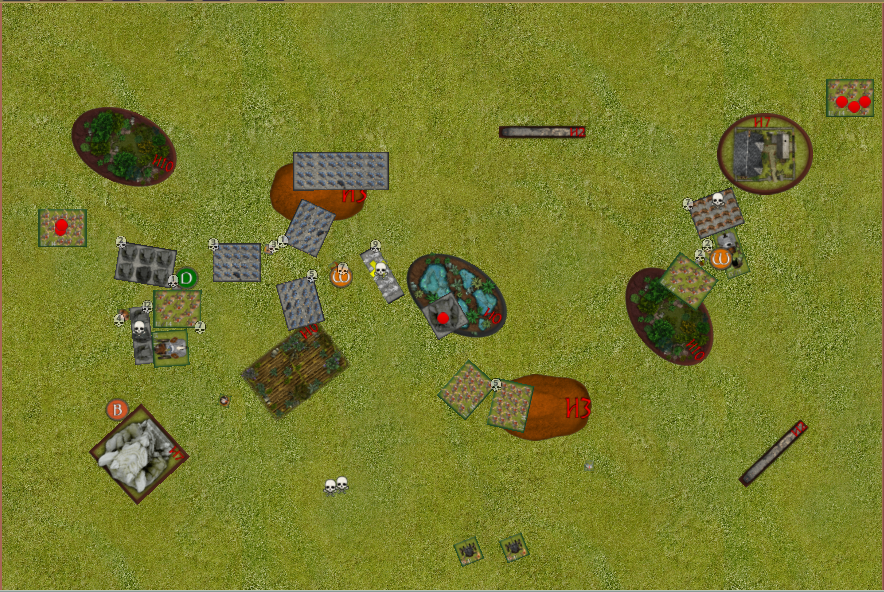
Matt:
I expected the charge from Greedy as an option but not that level of poo. That’s ok the next unit can still grab that token as per the plan. I’m torn between ignoring greedy and not, and I think this stage I need to focus on US play. So the next shieldbreaker unit pushes through to claim the token at the top right while the mastiffs and horde all push to get the mastiffs off on the next unit along whilst the beserker lord runs interference on the iron beast.
The two bottom left units of mastiff and brocks sidestep slightly left. I am pretty sure they were out of sight but just confirmed it. Whilst the mastiffs charge the Ej’s in the middle and sveri flanks. The reform will mean sveri can only be seen by the rifles. The other brocks push forward, the juggers may nimble around the mastiffs but we will see. I think the second pivot will be more than 90.
In shooting the three remaining mastiffs on the right went into the braves for 5 wounds but failed to route.
The Ej’s died and I reformed as planned.
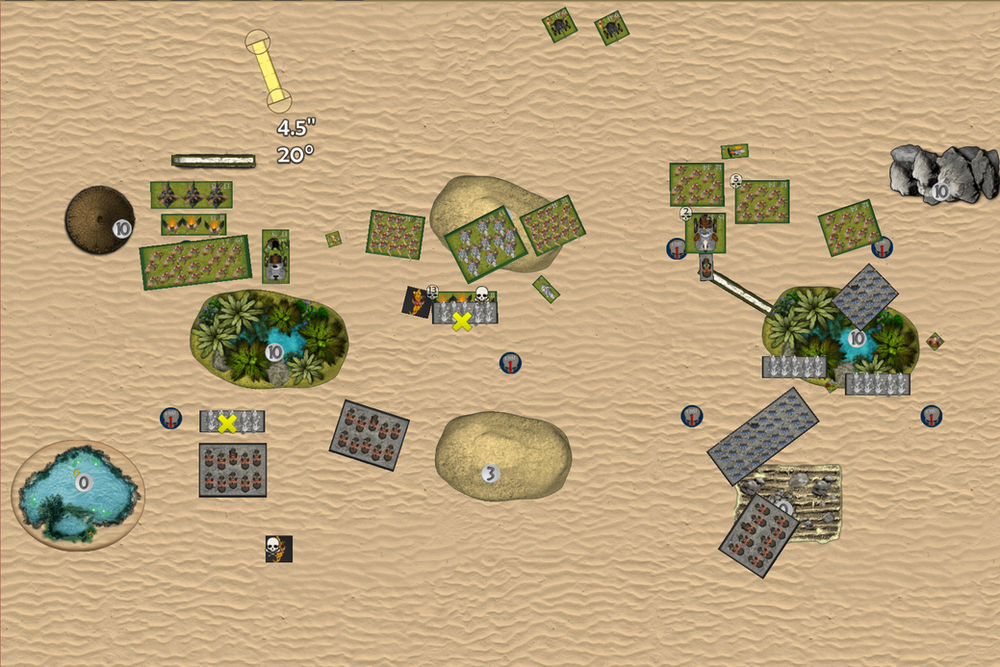
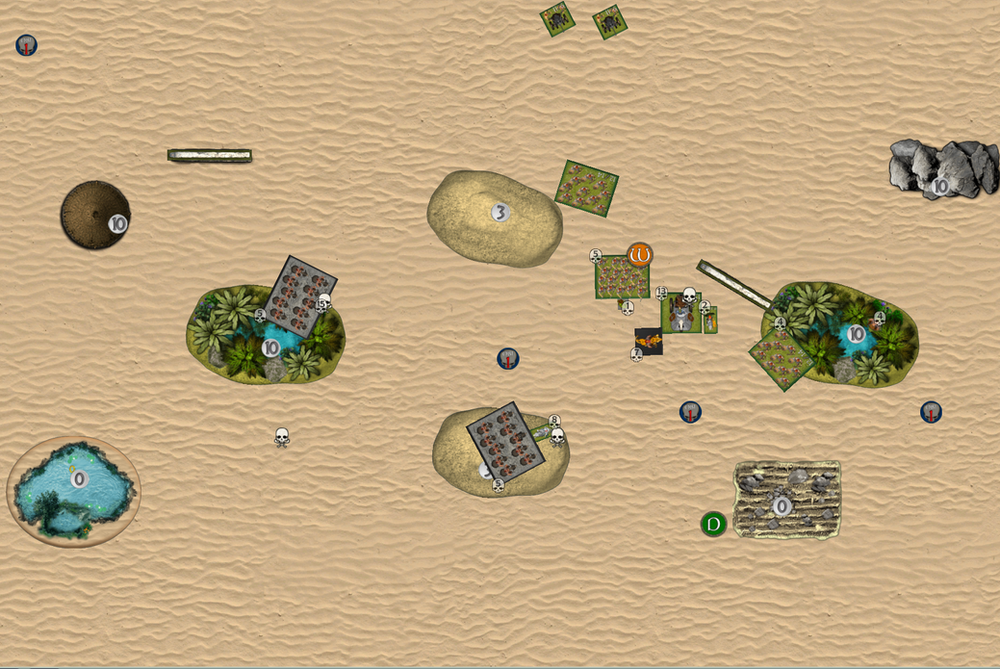
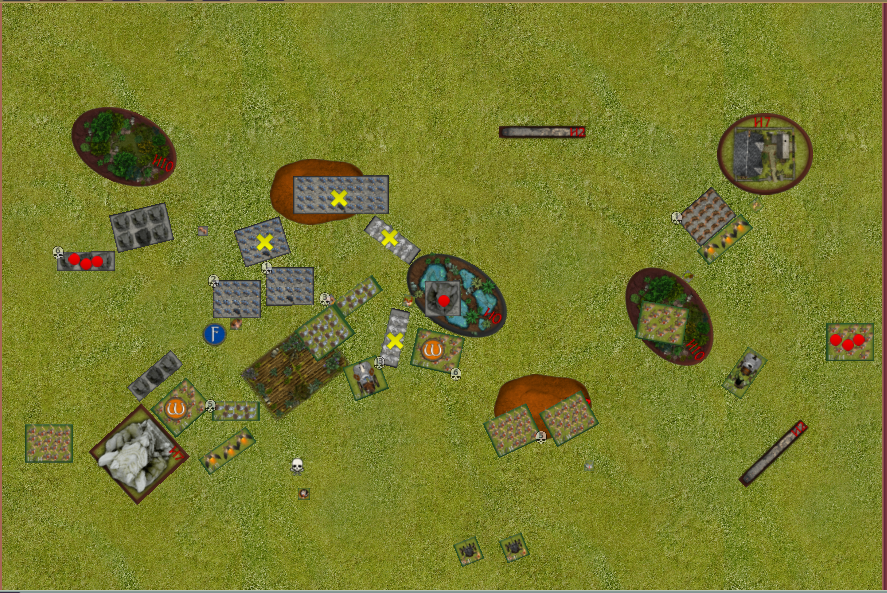
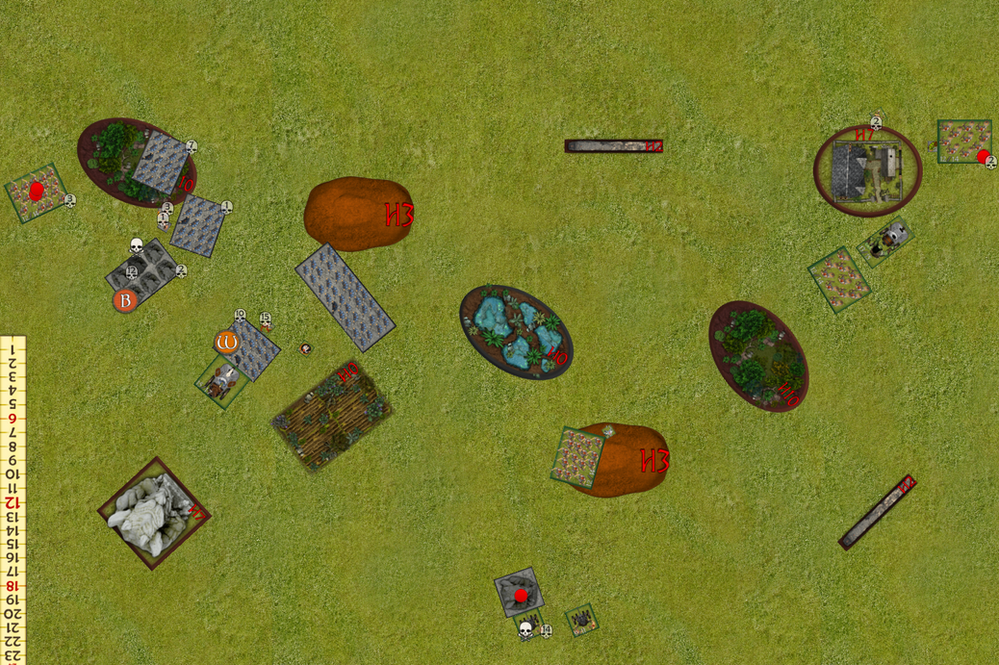
Turn 3
Dave:
A bit more cat and mouse on the left, I’ve positioned my harvester to project a lot of theat and send my feast master in to hold back the broc riders to hopefully get a next turn charge then take the center, but you now… the fest master didn’t manage a single wound so now its a sitting duck.
In the middle my rifles hold up Sveri, and my juggers delete the mastiff hunting pack. I pushed the sergeant and juggers as far away as possible to avoid any over runs as the brocs could easily delete and over run the sergeant.
on the right I found Greedy a little out of place, but figured I needed to pack wounds on the shield breakers and with a little luck I might take the off, and well I didn’t.
The Broc lord is annoying in my line and I can see it becoming a pest so i looked to delete it to, but rolled super low with my pride and its fine.
My howitzers put a round on the shield breakers.
Matt:
Things are pretty decent on the right. The mastiffs flank the braves, and the shieldbreakers go back in . The brock countercharges the pride whilst the shieldbreaker horde flanks the braves. Sveri counters the rifles whilst the strength brocks charge the lawn mower. I’m sick of the standoff on the left so the mastiffs and brocks double charge the horde of braves. Really lucky rolling could pop them. Because of the building he also won’t get super favourable charges if he chooses that path.
In combat on the right the shield breaker regiment only does a wound while the mastiffs do 3. A nerve roll of 11 with brutal gets them but then they are saved on the reroll. The sauceror cops two wounds and survives a waver due to rally. The brock lord does no wounds. Whilst the horde cleans up the braves
In the middle sveri does 6 wounds and pops the rifles. The brock regiment does 8 on the lawnmower and pops them as no inspiring. The mastiffs and sharpness brocks do 11 wounds but fail to waver by 1.
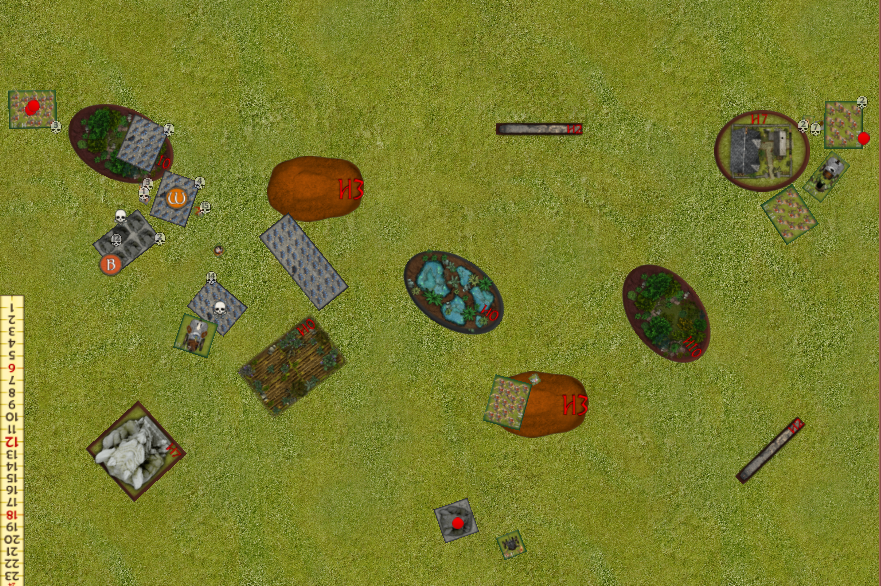
Turn 4
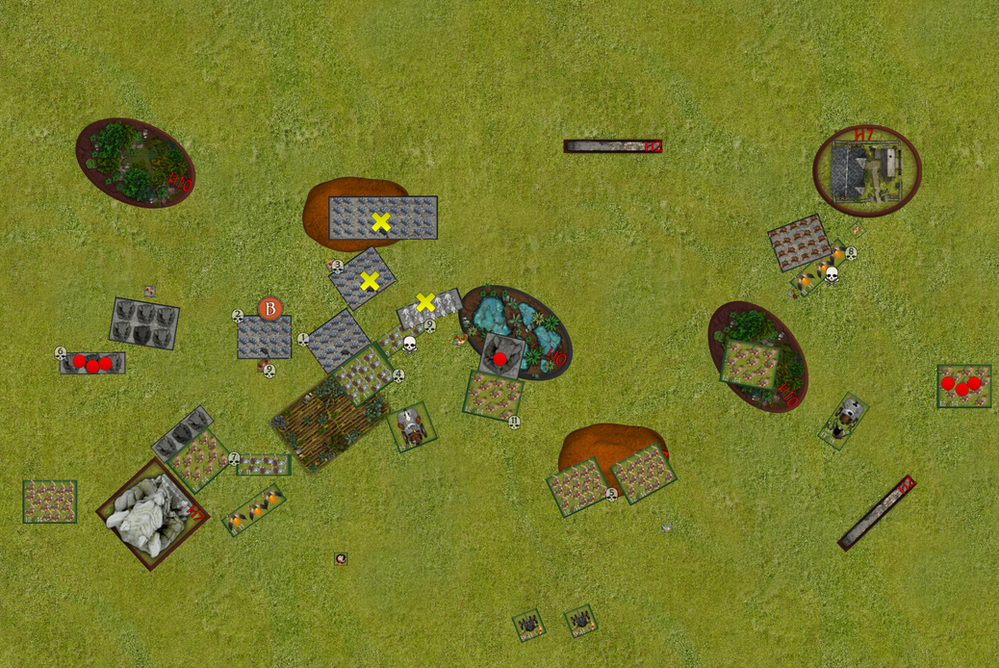
Dave:
Ok not going to lie, I’m going to struggle from here, I really didn’t need to lose the harvester and rifles.. and I have no decent charges on my juggers.
Currently its 3-0 so i Jump my EJ’s over to claim the left token, My braves hit back and delete the mastiff back and turn to receive the brocs next turn. My aeros and feast master chew into the brocs but massivley fluff the role and they end up fine.
In the center I turn to face the juggers towards the right.
My howitzers put a lot of wounds on the shield breaker horde but dont waiver,
on the right, Greedy takes out the right shield breaker regiment and my braves waiver the mastiff pack, my pride finally chews through he broc lord but its a turn to late to have real impact. with my sauceror disordered I just leave him be for some reason and my not so mighty sergeant pins the right broc rider regiment in place.
Yes I killed a lot, but im no closer to my tokens on the right so its pretty well me done here.
Matt:

How I move my king and my mastiffs gives me headaches this turn. I really need to properly look at UB as I forgot greedy existed and again couldn’t see a character cause of green on green and a unit is gone, but it’s not hard to check the board so I’m just a dumb idiot.
Any how, the mastiffs charged him, the king charged off to block up the juggers which will be critical for him to do a wound and the horde took a hindered charge into the pride, not going to do much damage but I will be able to steal that token and hold him up for another turn, making it less and less likely that he gets the bottom two tokens.
The left brocks go into the horde of braves, the middle charge the aeros and the other charge the sergeant.
In combat the sergeant is saved on the re roll after having 4 wounds put on him. Greedy has two wounds put on him, 2 wounds go on on the pride with no wavering. 3 on the jugger for the mighty king with a ballsy nerve roll wavers them. So perfect as sveri has moved up to sniff their butts.

The brocks on the aeros hit only 8 times and do only 2 wounds so they will likely be dead next turn whilst the others do 20 on the horde and pop it.
I claim the two tokens and it’s 3-1 to me so far. Looking good Croger!
Turn 5
Dave:
Well here is a lesson I leant the hard way, never… ever… ever… ignore a nimble flyer. Matts stupid king with wings has pinned my juggers and signed their death warrant.
on the left I decided to block both brocs front he center, so i charged my feast master across.. turns out I didnt have LoS, so we just added both wounds on the right broc regiment and this was enough to take them off.
I sent every thing at the shield breaker horde and missed the rout by 1, this will be a costly waiver as it stops my units over running near objectives.
My howitzers hit again, this time the left mastiff pack and manages to take them off, greedy for once rolled super low and failed to break the other mastiff pack. My plan here was to have greedy break the mastiffs, and over run, while my right most braves shuffled down the board, only to pivot and advance into token territory next turn. This didn’t happen, so that right token is officially out of reach.
Some how my sergeant survived so I counter charged but he did a no more wounds.
So between that waiver on the horde, and greedy failing to break the mastiff i’m well and truly screwed, maybe turn 7 I draw… but I’m not winning
Matt:
Time to play the death march. Brocks charge the aeros and the fire oil brocks go through the wavered segreant to the EJ’s, Sveri rears the juggers and the king withdraws to block up the rifles. The mastiffs charge Greedy. Greedy and the rifles survive the rest die a horrible bloody death
Turn 6
Dave:
Tried to get petty and blow Sveri off the table with my howitzers but that didn’t happen, also routed the shield breaker horde and last mastiff hunting pack. but didn’t get tokens so I’m screwed.
Matt:
I mopped up and win 4-1.
Wrap-up
Dave:
I’m really surprised with how much off Matt’s army I killed, once again greedy did amazing work, I’m a little disappointed I let the juggers and harvester go so cheaply so I think I need to have a better look at how I use characters.
My biggest let down was again deployment, so someone please get on Dash/28 and write a good article on deployment for me.
My howitzers rolled so hot I think I need to give them another go, but at 2000 I will struggle to keep them. Not sure on this list but I like it enough to keep the core together. I might look at one brave regiment going to give me some options
Well played Matt, you deserved the win here.
Matt: I probably like having the bit of extra speed in the list. It is likely I will look at a BC option as not all lists will be as squishy as Dave’s . Probably a mastiff pack will go to get it in.
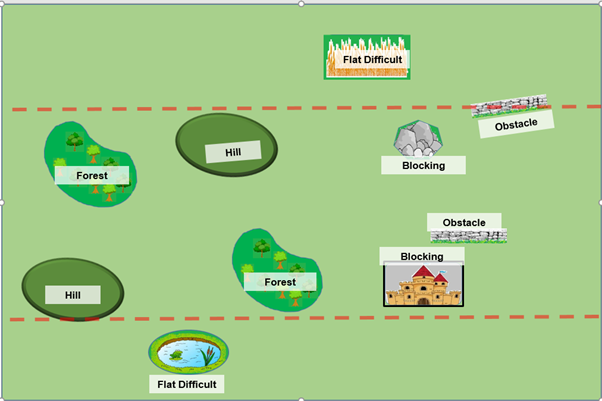
Game 14
Scenario: Push
pts 2300
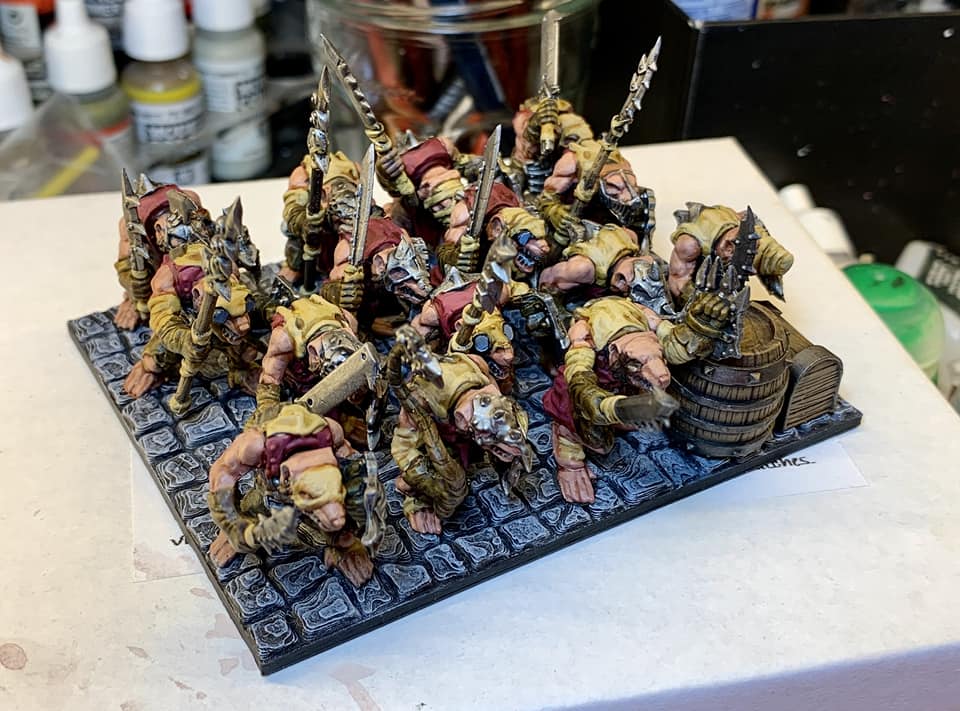
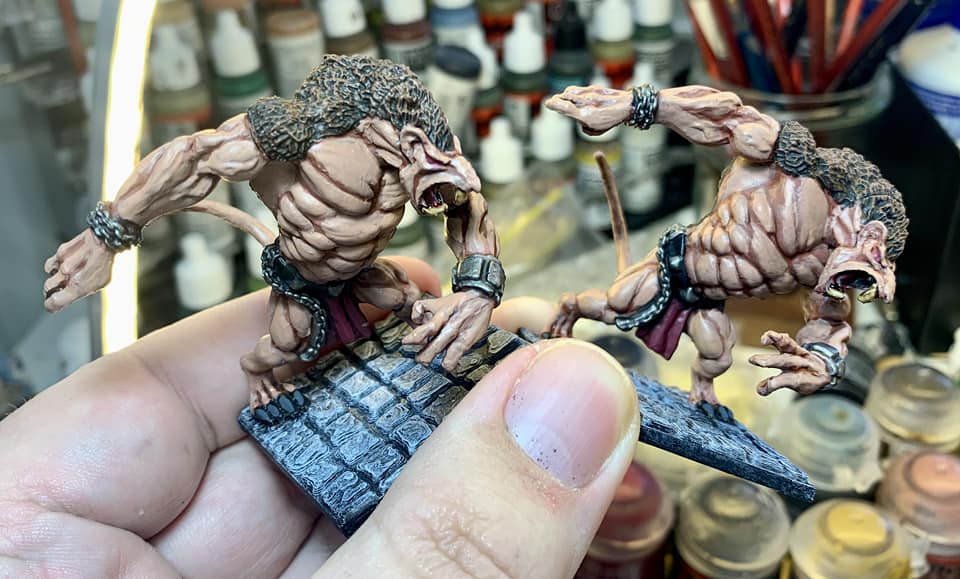
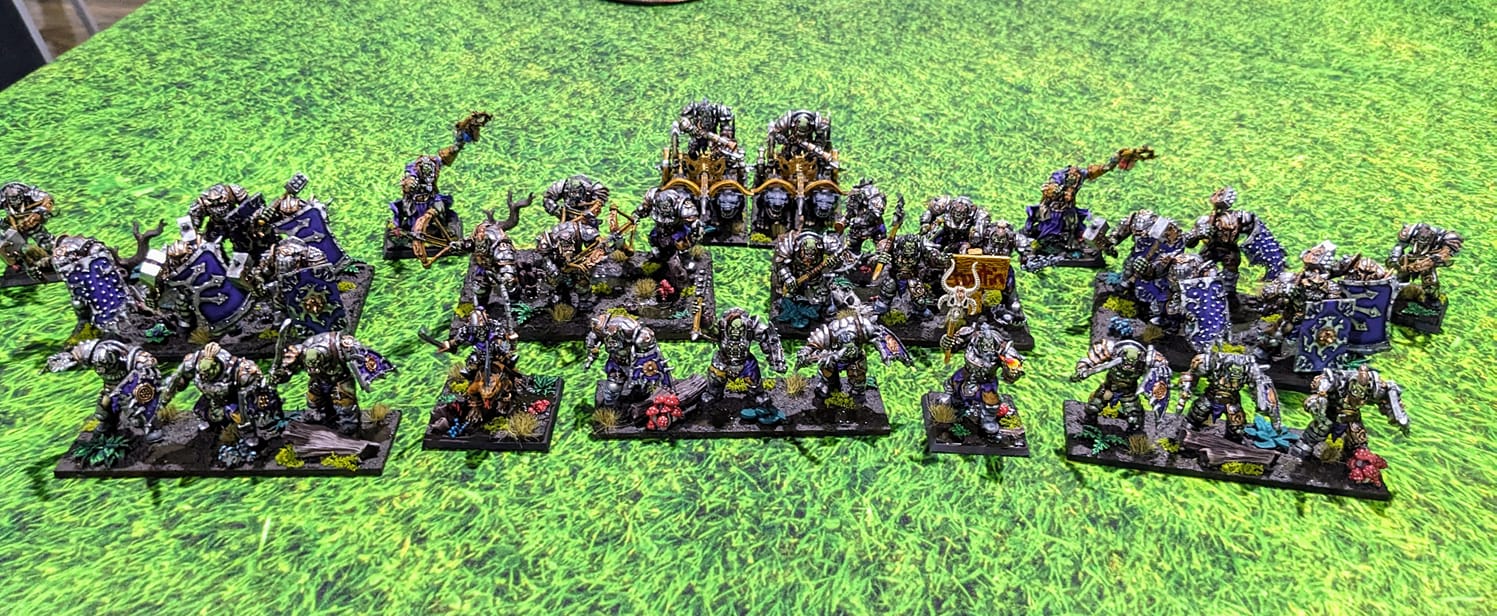
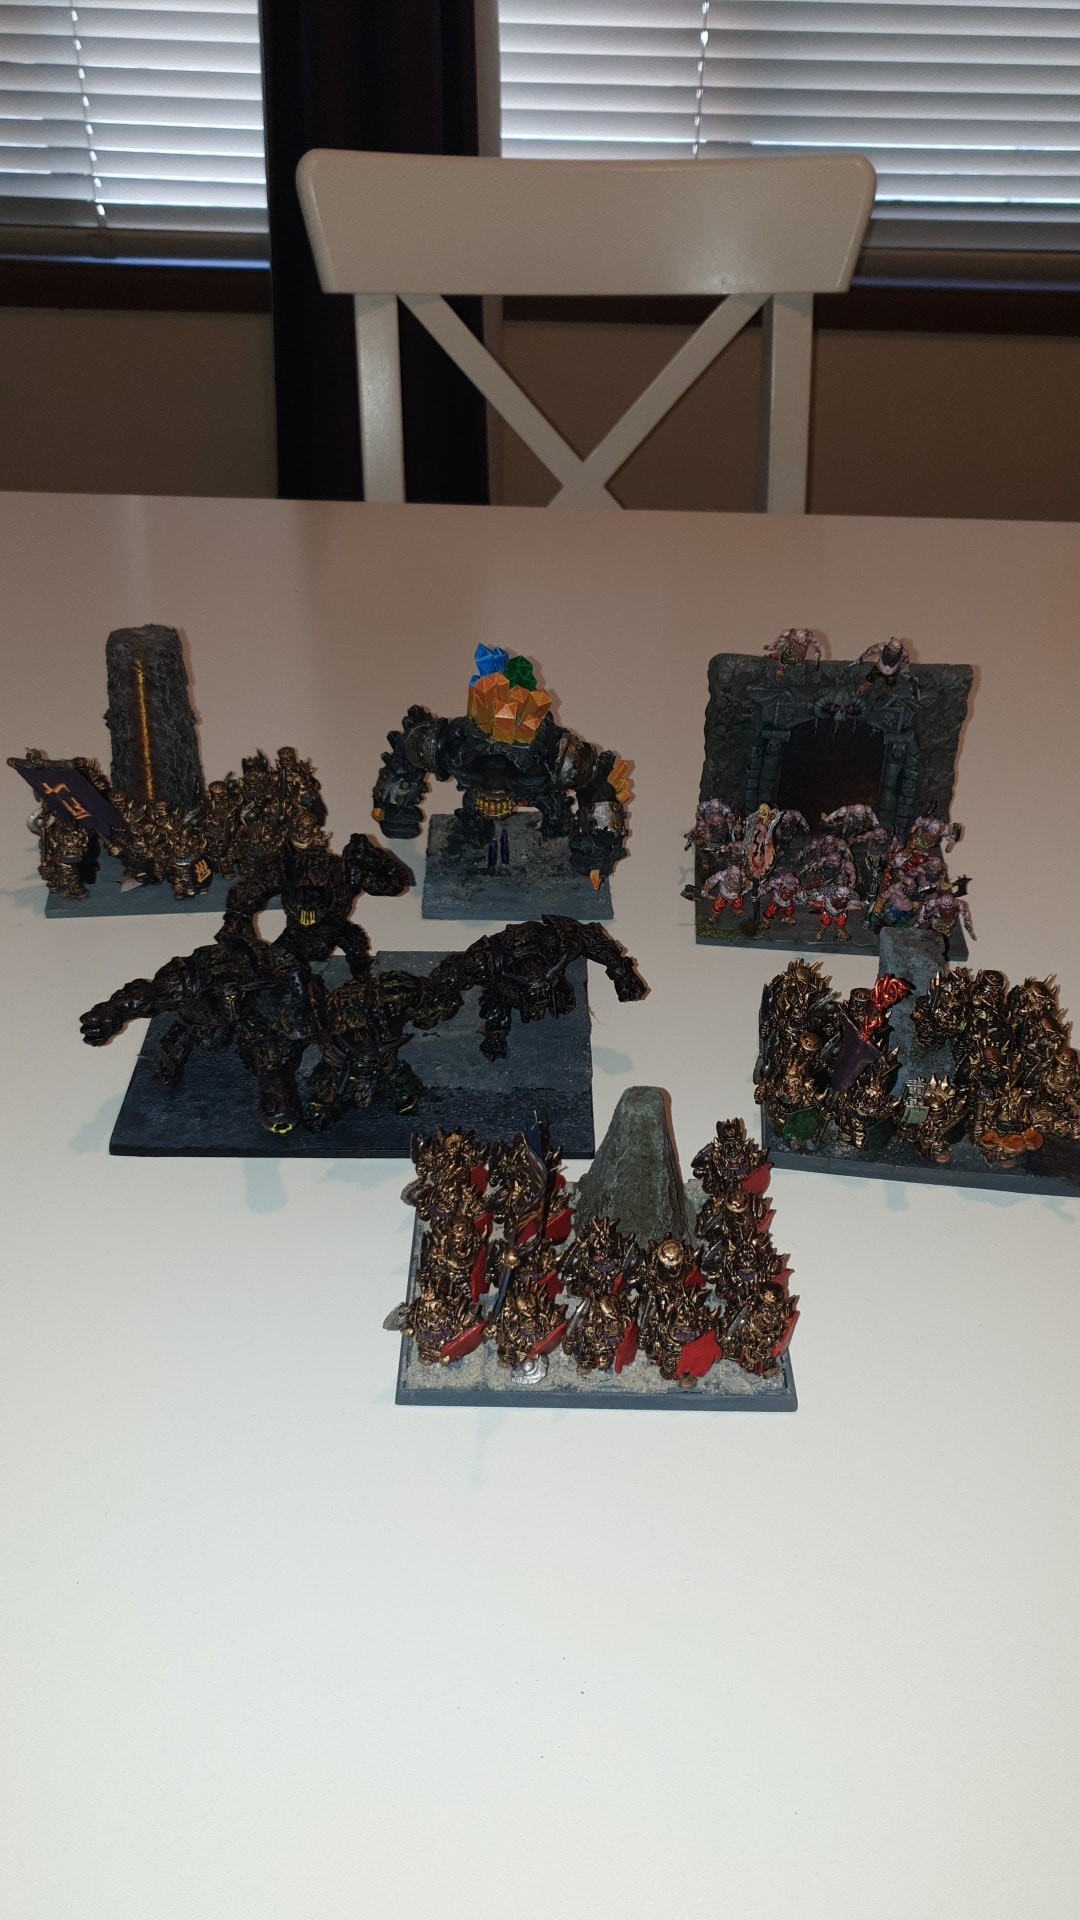
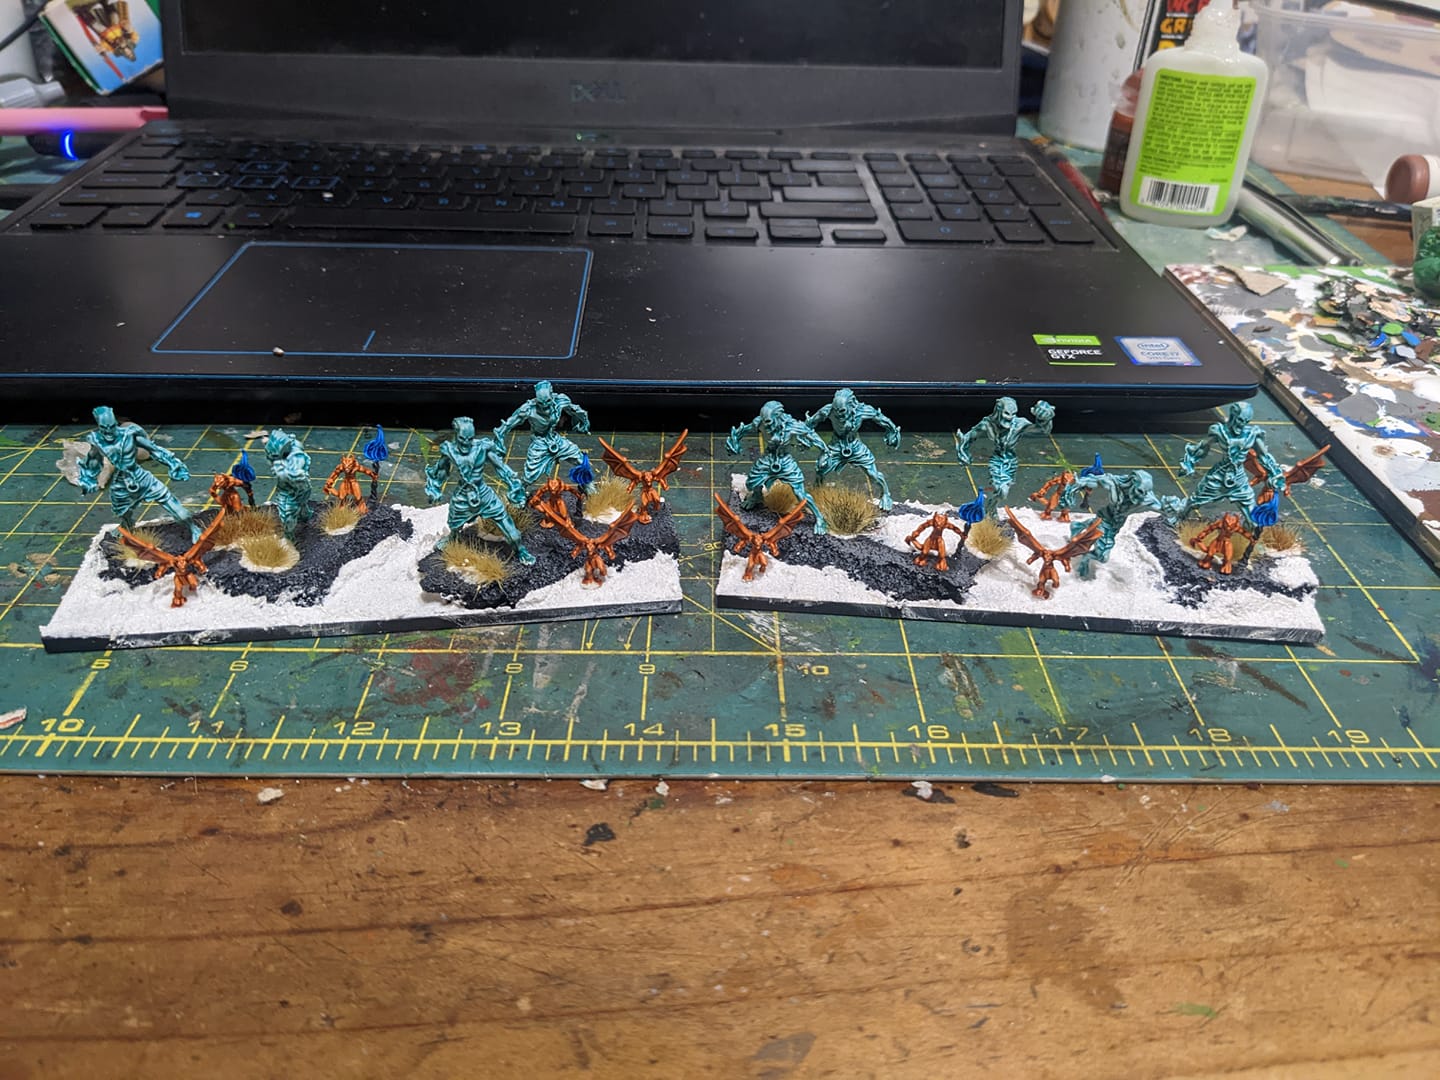
The Lists:
List Thoughts
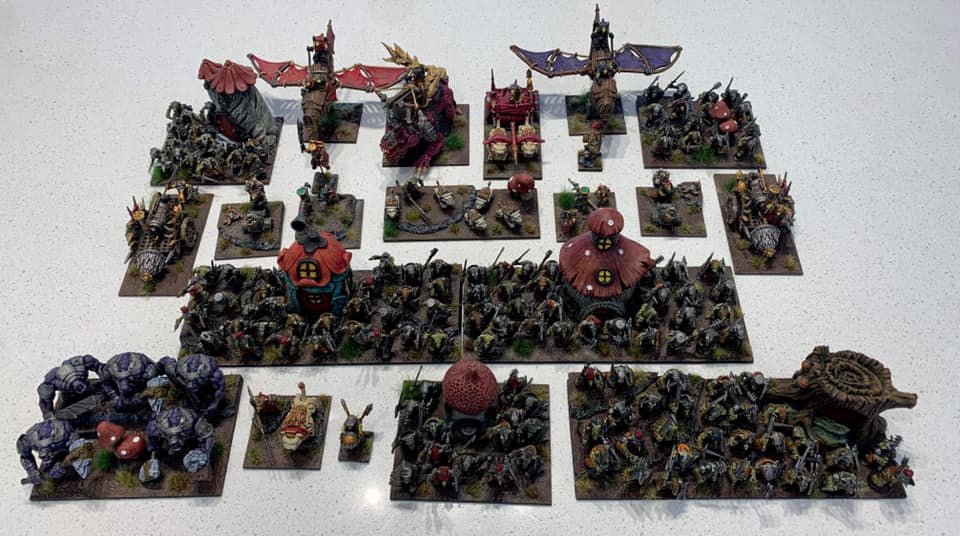
Dave:
So I’ve noticed a tendency in my play to default my mindset back to kill, I know I’m not winning an attrition war with halflings, so I’ve taken out nearly all my hammers and built a list around delaying and maintaining field position.
I’ve adding in some mighty individuals as I think they will come in useful for blocking and bouncing around the lines causing havoc. I’m trying greedy guts for the first time as I want to see how well he can hold up combats.
I’ve also added in some artillery, mainly because I thought we were playing 2000 pts but when I loaded up Matts list I noticed I was short and scrambled in an extra 300pts with 2 howitzers and another rifle troop, (I drop the banner of hodenburg and juggled some items too)
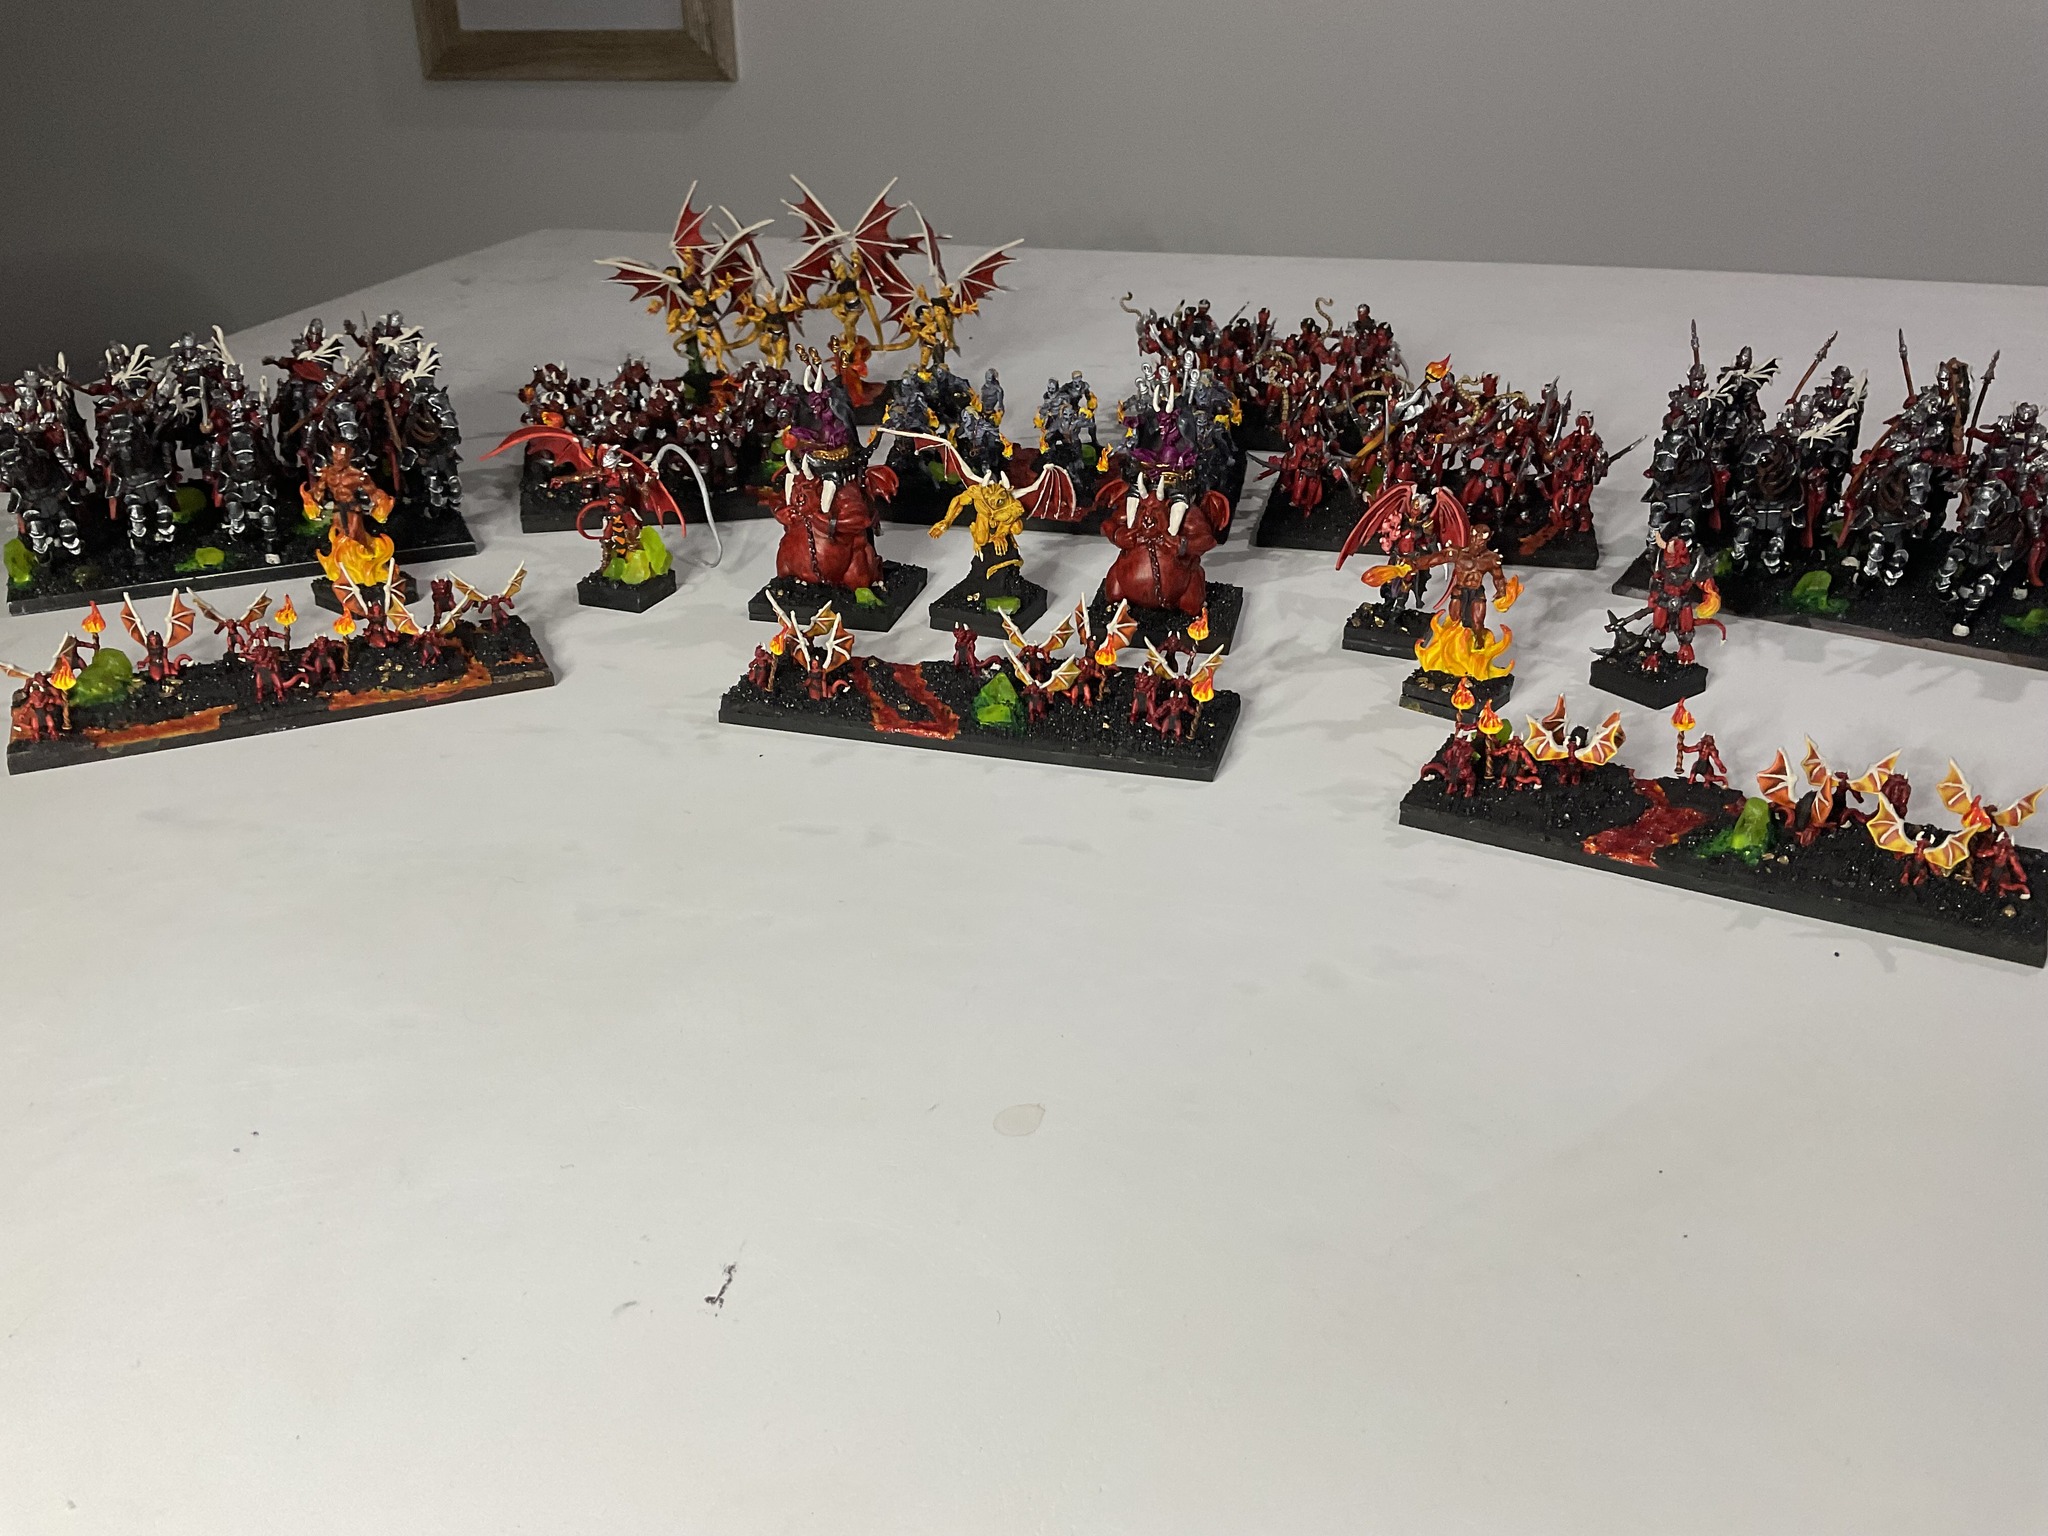
Matt:
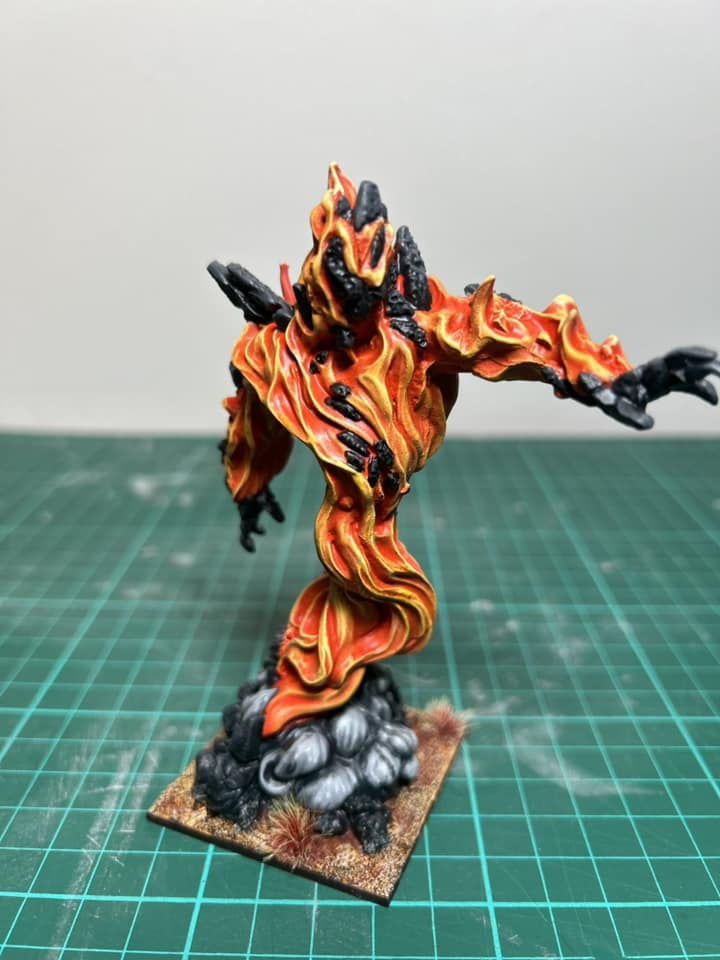
For those of you that read game 14 you’ll see some shieldbreakers have gone in favour of a horde of earth elementals and a stone priest with surge and scorched earth. Again tuning it in a way that fits with models I have because even though I have a bunch more dwarf models to paint I’m not going to have time on top of the Counter Charge challenge.
Normally I don’t add to my bits after reading Dave’s but it’s nice to read that he is finally starting to listen about the lists. I feel he’s maybe gone too far down the trash path but we will see. Aeron in particular I think isn’t worth it.
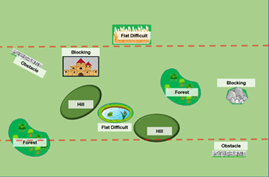
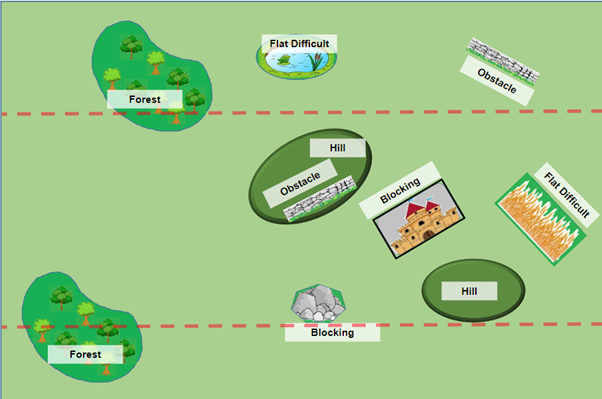
Deployment
Dave:
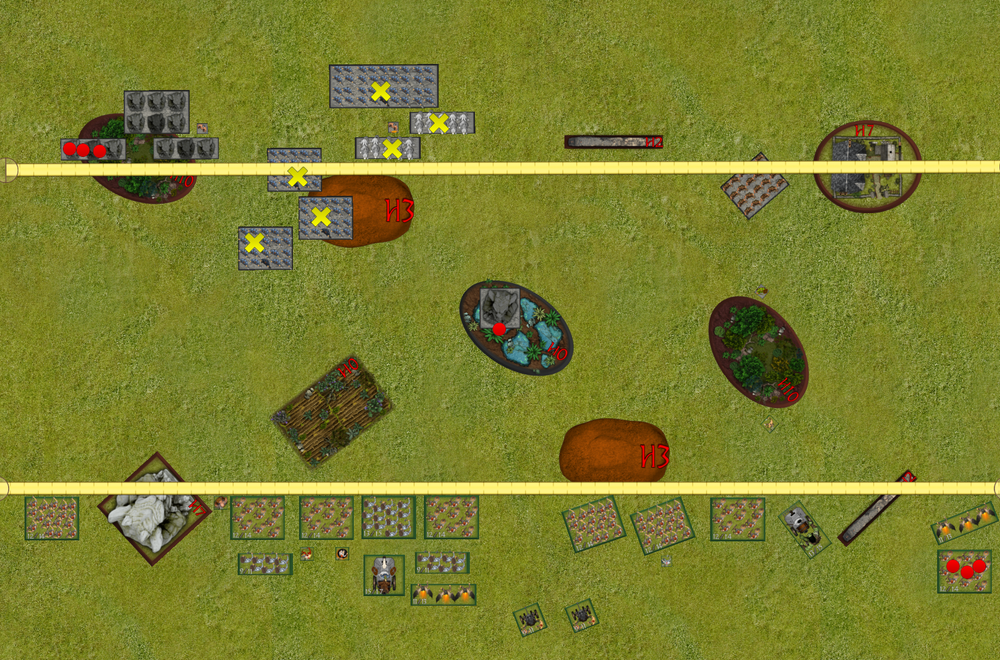
So out dropping Matt pretty comprehensively I’ve thrown down the majority of my force in the center with a kind of checker board deployment. I’ve got my rifles ready to hit the hill and get good lines of sight, and my last few drops were my mini contingent on the right.
Matt:
So when Dave picked bottom I knew that I would try and use one of my EE Regiments as my token caddy and that I would start in the forest on the left and move forward because would have limited ability to deploy next to the building. The next was just then what formation to deploy the rest and the idea was to make craggoth super annoying by deploying amd marching up the middle. I held him back until I was relatively sure this woldwortk.
My plan
Dave:
I don’t expect to kill Matt, i just want to block him up and slide my brave unit on the right over the line. As for the centre force, I need to delay and die slowly in front of Matt to keep his token on his side of the board. If I can do that I win 6-4
Here is my pre game speech to the troops
Matt:
Phase 1: Def 6 carries tokens and hopefully doesn’t die
Phase 2: Shoot the right side using the king as re director/hold up
Phase 3: Craggoth takes the middle
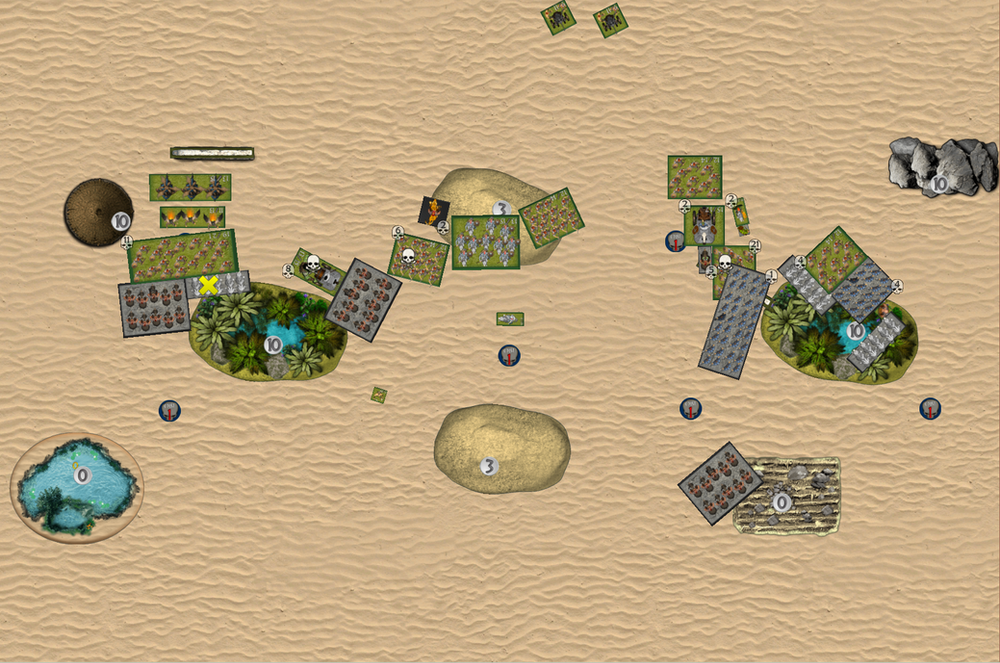
Turn 1
Matt:
My scout had put me on the central token immediately so craggoth moved slightly to be able to shoot the rifles and then picked it up whilst staying out of charge range of those slow halflings.
Herneas Rangers had scouted to allow shooting at the EJ’s. The idea is between the king and herneas I am hoping to shoot the Ej’s off and then be able to get the regiment to drop the tokens eventually. It may not be enough but we will see.
The only damage done in shooting was to the rifles with 4 from craggototh even with spellward. Shattering came home for me and they were wavered. No damage from Herneas rangers is a big deal and immediately puts my plans in doubt.
Dave:

Gulp…. That’s a big scout move I didn’t particularly plan for… in fact from here I think im screwed… but I’ll give this a red hot crack.
I’ve pushed out my braves the full 10 (making use of Aerons nimble aura) in an attempt to get ready to block next turn. As for the rest of my army I’ve just launched shots at the soft target dogs with my rifles and the howitzers tried to shot the rocks carrying the tokens but missed miserably with only my rifles adding a lone wound.
On my right flank its looking slightly more positive. I’ve pushed hard with my feast master to tuck 1 inch behind the crossbow regiment, this will stop matt backing up and shooting so I’m free to creep up my harvester and EJs to charge over the next few turns. The feast master, crossbow regiment and Matts king are all H2 so there is no LOS, effectively protecting it from the charge, but limiting matts moving options as he needs to avoid my potential LOS. This should give a clear path for my braves regiment to slide over halfway.
Turn 2
Matt:

One of my favourite things is to turn Dave’s misfortune into my own. On the right the king creeps fwd slightly so as to not be seen by the harvester but if the EJ’s go for him they will be hindered and if the go for the rangers they’ll leave the token carrying braves open.
The EE regiment over on the left charges the braves, whilst the rest of the EE move forwards. The shieldbreakers moved forward to stay out of charge range but to start unleashing dogs whilst the mastiffs take the flank on the braves in front of craggoth
In shooting the two dogs do 10 wounds. Big lol. Kohlearm adds a couple more to be sure. Herneas rangers do none again!
Craggoth does one more to the damaged rangers they fail to waver but the braves die.
I also cast scorched earth on greedy guts just to be annoying. The mastiffs do 6 wounds and force a waver also.
In combat the EE’s go beserk with 5 wounds and waver the braves
2 Turns in a row with no wounds from Herneas Rangers is massive and potentially could cost me the game. Particularly as I chose not to push forward with the king to block the EJs. If Dave has half a brain he will now be a chance.
Dave:
Ok…. So I’ve opened up UB and all I see is Matt’s rocks slowing shambling down the board with nothing in range to block…. Fuck.
So Naturally I just tried to pull some bullshit out of my back pocket and you know what…. It might just work.
Matt’s left his flamey boy off to the right of his shield breaker regiment and knowing that individuals align to the charging unit I tried some sneaky crap. I rolled up WC with my sauceror and had Aaeron around for nimble, My first unit to move was the right stalwarts pushing the Kholearm off on an angle and with my stalwart regiment joining for a multi charge I’ve got 22 attacks on 5/4 ready to take out this flame priest and overrun into the flank of a shield breaker regiment taking it off…. Except I only rolled 4 hits… so that died in the arse
In other news, Greedy guts punched into the other shield breaker regiment to hold them up, and my iron beast and Aeron made short work of the mastiff hunting pack.
On the right I launched my EJs in to die valiantly and my braves creeped closer to victory supported by my harvester in case I need it to pick up tokens
In good news my howitzers spiked and I put 5 wounds on the rock carrying the tokens.
Looks this is pretty much over for me now, but lets face it, it was over after scout moves.

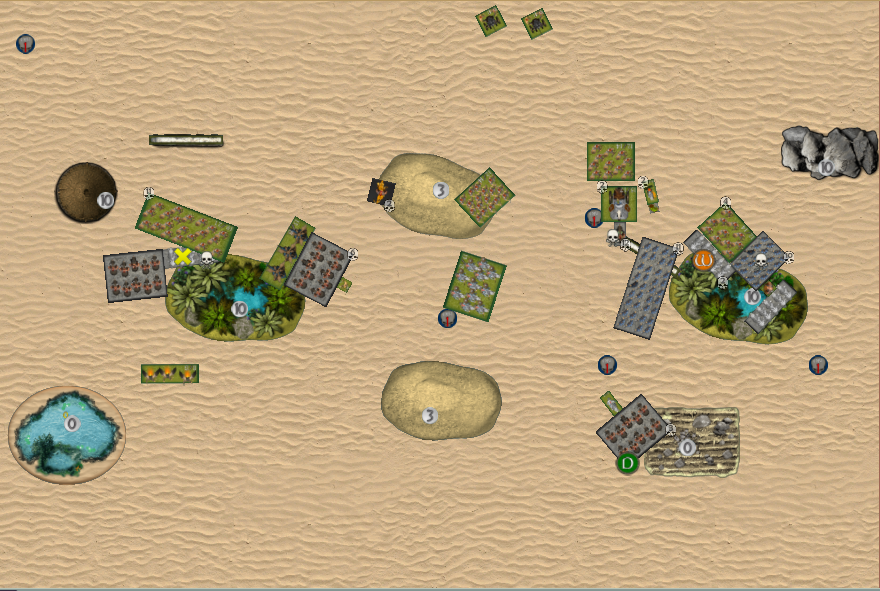
Turn 3
Matt:
I always forget that cheeky sauceror. Thankfully it didn’t cost too much, what surprised me more was all the wounds on the token carrying elementals haha. That is some A-grade luck right there.

They continued to push forwards, Khanick pulled out of combat and the regiments charge in. Craggoth charged the braves whilst the ranges and the king both tagged the Ej’s.
The earth elementals only did 2 wounds and rolled a 3 so no waver. The shieldbreakers on greedy got 9 wounds but rolled a 4, craggoth did a couple of wounds but snaked the roll. The troop of stalwarts died, the shield breakers backed up. Herneas and the king took off the EJ’s
Those 6 wounds on the EE is big as they are now VERY vulnerable to someone like greedy
Dave :
Just when I thought all was lost I noticed a very cheeky sneaky play.
Using Greedy guts WC d3 I launched him into the side of the rocks with tokens, Greedyguts its 8 attacks on 3/5 vs the rocks with dread, it should give me 2 wounds and I’ll need 6 twice to break them, I launch my rifle horde into the combat too, just to pick up the tokens if greedy gets the kill. From here my plan is to slide D3 left with the tokens and scoot down the left flank while greedy guts and my other units delay and disorder his army. If I can pull this off I think I actually might win
Across the main battle field I throw my stalwarts in to block up matts shield breakers and I turn my iron beast to the rocks and start to make my way in support while my EJS strategicly blocked up the earth elemental horde to stop any surge bullshit Matt might try and pull.
On the right I punched my harvester into the crossbows to disorder them and add about 4 wounds, and my fest master and braves disordered the king and locked him down in the combat.
In shooting I managed to pack some wounds on the mastiff hunting packs and got the waiver.
Ok it’s time for the last combat…. I nervously pray to the UB dice gods, begging for forgiveness for whatever I have done that’s seen my UB dice cursed. I get my 5 hits, I get my 2 wounds… first nerve check is a 7…. The second a 6…. You beauty…
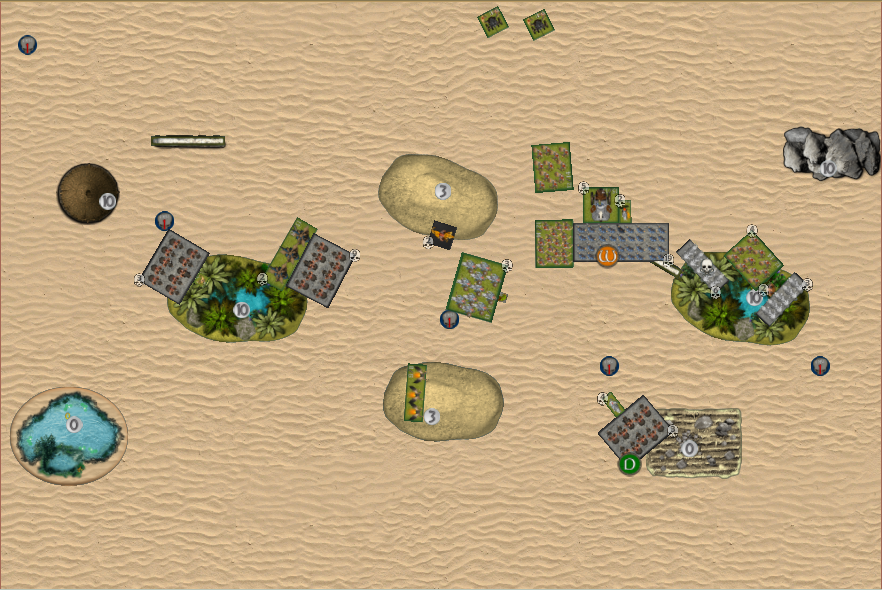
Turn 4
Matt:
Ok so after more wounds than expected on the EE’s the round before he’s managed to get the tokens. I should still have some shennanigans hopefullu but will still rely on greedy getting out of the way soon.
I kept not seeing that bloody feast master lol he’s too green for me and my colour blindness. Dave is now in a really good position top right.
I withdraw the earth elemental regiment and reform ready for a surge and charge with the horde. The shield regiment. I reposition to allow three shots on aeron. The king charges the feast master and the rangers into the harvester. In retrospect I was very dumb here and confused myself thinking I couldn’t scoot away due to not being able to withdraw. But I didn’t need to withdraw to do it.
The stone priest gets surge and BC off on the regiment. The three shots do enough to waver aeron.
In combat both stalwarts die the left breaker reg pulls back and the other reforms
The Ej’s die on the left the horde pulls back and the regiment reforms. Dave can get them if he uses WC on the sauceror with the iron beast but we will see because Rally may be the call he makes.
Craggoth takes off the braves and reforms
The rangers do no wounds and the feastmaster is wavered after 2 wounds brutal.
So luck hasnt’t been the problem this turn only my own dick fuckery.
Dave:
So filled with energy from my last turn hail mary I get straight to work disrupting and delaying.
My lower braves launched into Matts stone priest getting a lucky wound and disordering it, while greedy guts blocked up the lower earth elemental regiment. Matt was forced to expose a rear charge to my pride of the shires so I rolled wild charge again on my sauceror and got it into the earth elementals taking it off with the help of greedy guts dread.
My rifles continued to scoot away and my rifles shot away matts last masstif pack and the throwing dogs he had left with them.
On the right I finished off the crossbow regiment, continued to disorder the king and have now tucked away my braves nicely.
So my plan might just work. I don’t intend to hold Matts tokens for ever, I just plan to get them far enough away that his stumpy dwarf legs can drag them back over half way. I’m expecting this to go 6/5 my way.
Turn 5
Matt:

I finally remembered I can still scoot my king out of combat so out he goes. The Shieldbreaker horde has limited options – they really got stuck this game – and charged aeron. A regiment flanked the braves and the horde of rocks reformed to take on the rifles.
The was no shooting on relevance as the priest was disordered. Craggoth killed the rifles, the regiment of braves died and Aeron got snaked. IT’s likely Dave will be smart enough to move greedy round to protect the rifles so realistically the only chance is over running him and then needing to turns and some luck on the top tight.
Dave:
My rifles continue to amaze me as they duck even further away from harms way. Fireball from Kholearm is about all that can hurt them now as I stay just out of wild charge range from his shield breakers and my very mighty greedy guts blocks the earth elemental horde.
My pride took another unit off in the centre but its not impacting the outcome of this game, I’m also happy to let my centre fold at Matt keep wrecking face with his giant fire spewing earth elemental.
On the left I thought I would be super tricky and block the kings LoS with my feast master, until I found out from Matt individuals don’t block LoS….. so there is another rule to stick in your memory bank.
So right now I hurry up and wait for this game to be over.
Here is actual footage of my rifle regiment scooting down the flank
Turn 6
Matt:
Matt:
Greedy died the king did a few wounds but no likely spike. Even Turn 7 is not likely
Dave – I’ve done my best to protect the rifles, but if this goes to 7 they are gone. I’m very caution of the king on the right, his only managed 2 wound and I have the unit inspired but to protect this game for me I actually drop the tokens and counter charge.
Currently its 6/2 if we go to 7 I’m loose that rifle regiment and it will be 6/5, however there is a chance Matt packs on a few more wound to my braves turn 7 and pops them, if this is the case I’ll slide my harvester in to collect the tokens as even on an over run Matt won be able to block them with his king. If my braves live, I’ll just pick them back up…
As it turns out we didn’t get a 7 and I won 6/2.
Wrap up
Matt: This is probably the loss that most annoys me most so far. Even with the poor luck of two turns of no herneas damage, and the rifles overperforming there should have been no way for Dave to win after his deployment. I shouldn’t have had the regiment of rocks that were carrying out in front that was just stupid, and I should’ve been able to lumber my way to victory regardless of his units on the other side. I feel I should’ve been able to take this one at least very very easily.
Dave – There is no way I should of won this game, it was very interesting piloting a list that is built to delay and annoy. I still had the urge to pick up flanks with Aerons nimble aura but all in all I was very happy I was able to get the rifles away un harmed.
Greedy guts is getting the MVP award for me this game and I’ll be keeping him in most of my list for a while now I think, he links up well with the sauceror to really block up the battle field.
It took a lucky spike from my howitzers to get this result as really I should of lost as soon as Matt scouted his fire spewing earth elemental bullshit on top of the token before we even started.
But I did win…. So suck it Matt I crushed you
Final thoughts on the list
Matt:
This list is better than my last. Scorched earth wasn’t of much value but I think what I need to do is drop the knowledgeable and SE 3 and take it down to 2 as conjurer’s staff works on it. That way I can add mind fog as well which allows me to reach out and touch units more for a lucky waver etc, epecially when combo’d with throwing mastiffs. That will have 4 spells on one caster but they are cheap so I don’t think it’s a waste.
Dave:
Outside of dominate, push is probably the worst scenario I could of rolled, It would be interesting to see how this list played on pillage with 7 tokens or raze.
I don’t think stalwart troops have a place here, yes they are CS1, but at +4 melee they will not deliver like a true hammer should. I’ll most likely dump them all together and free up some space for aeronaughts or something that can move over my blocking forces to hit targets when I need.
My plan was to strategically die with this army and after starting with 22 drops I finished with 11 so I think I have scope to cut down to 16/18 drops to still have that MSU feel but with some decent strike options.
If Matt stuck the tokens on the horde. Or even positioned so I couldn’t scoot down the edge I’d have no answers and it would be a sure loss for me. So how I sneak some hammers in next time I don’t know… but it was a fun exercise to really focus on placement even if its not a competitive list.