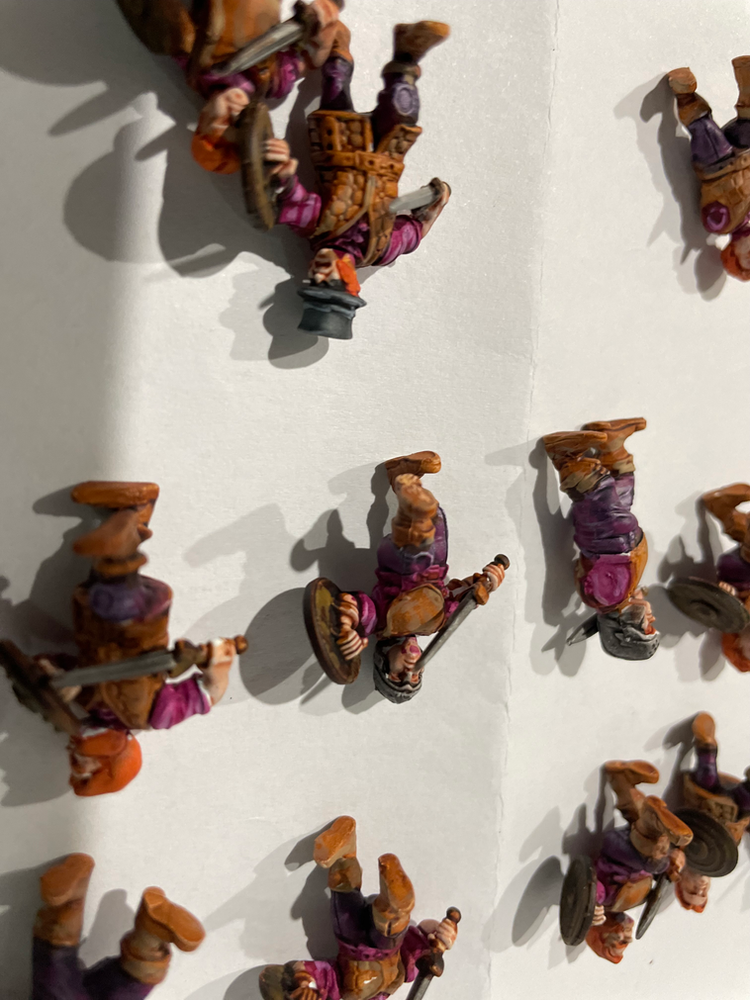
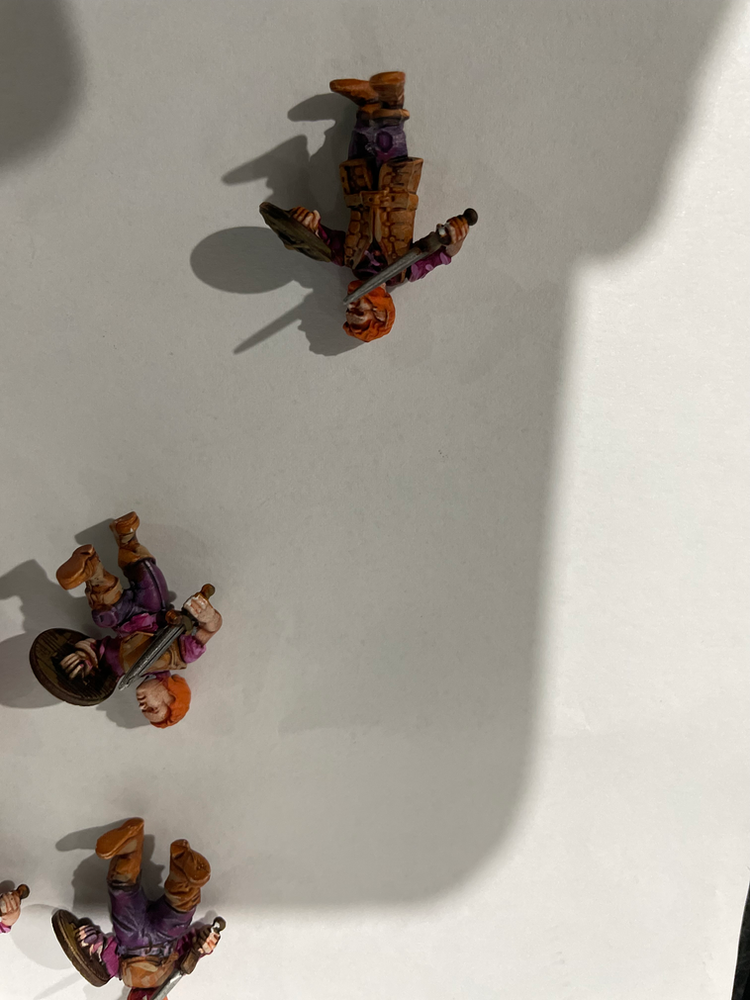
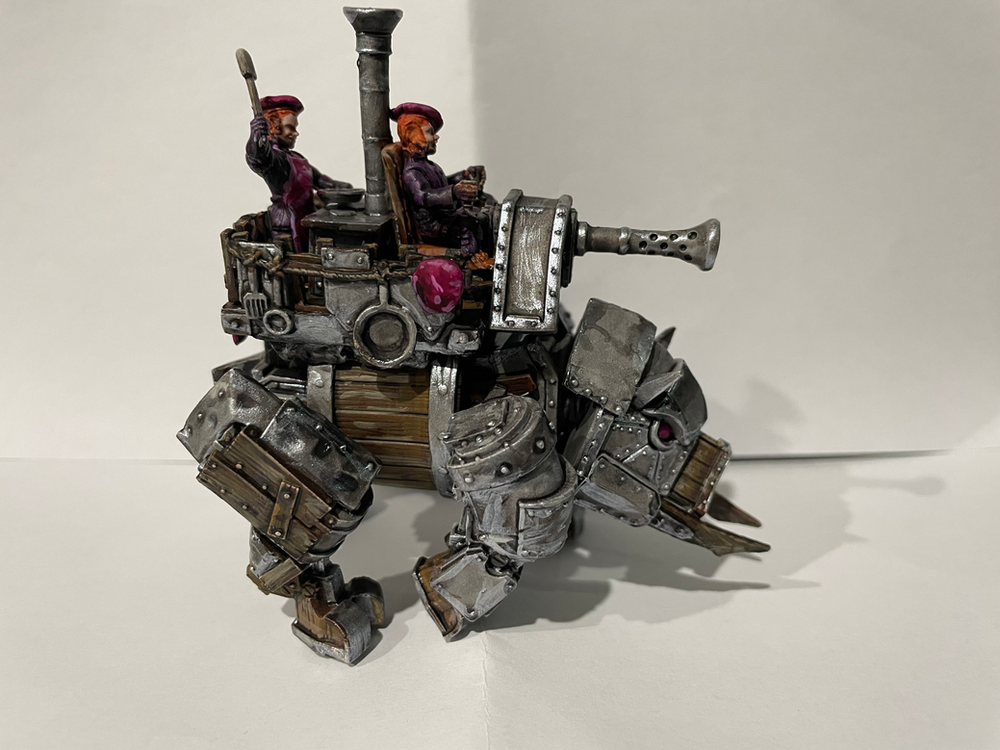
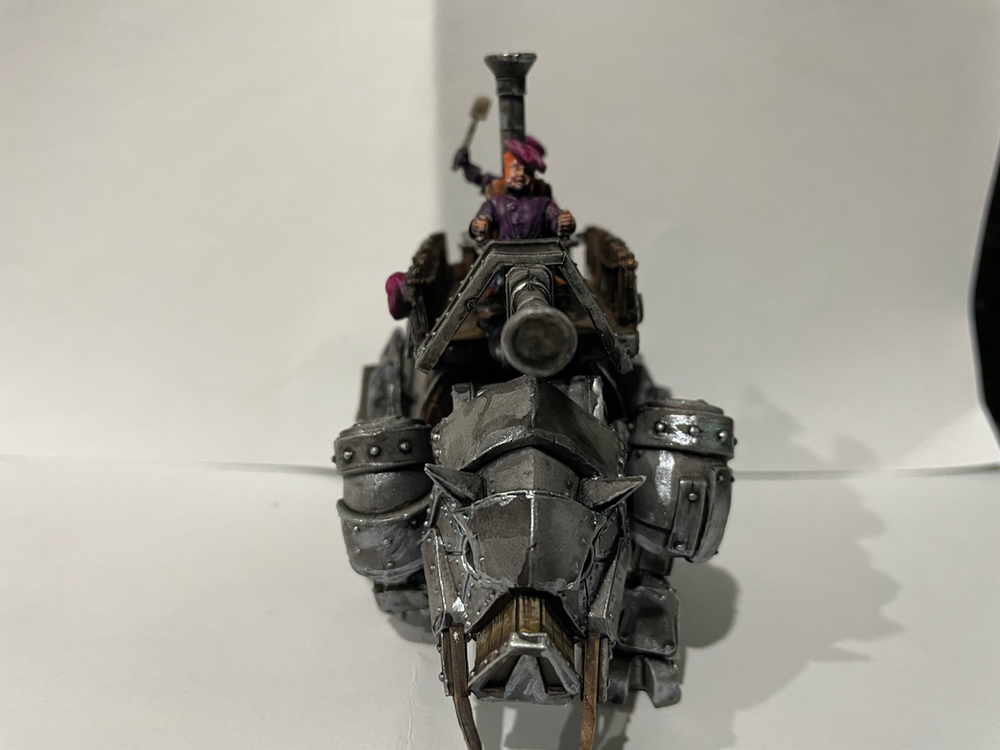
We have a change up this round with Dave pilotting the dwarfs and Matt with the halflings
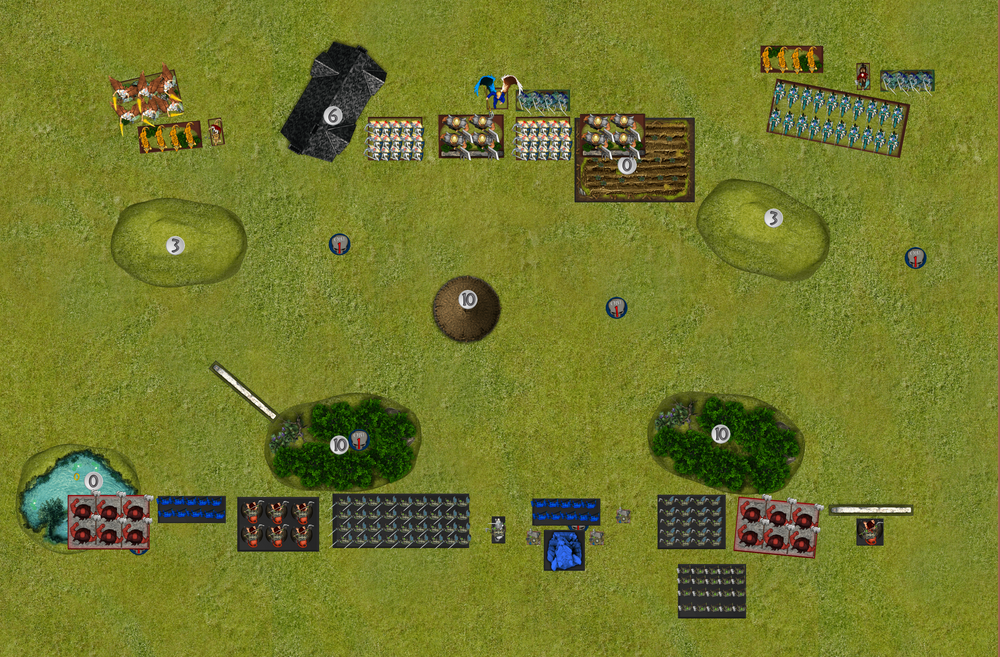
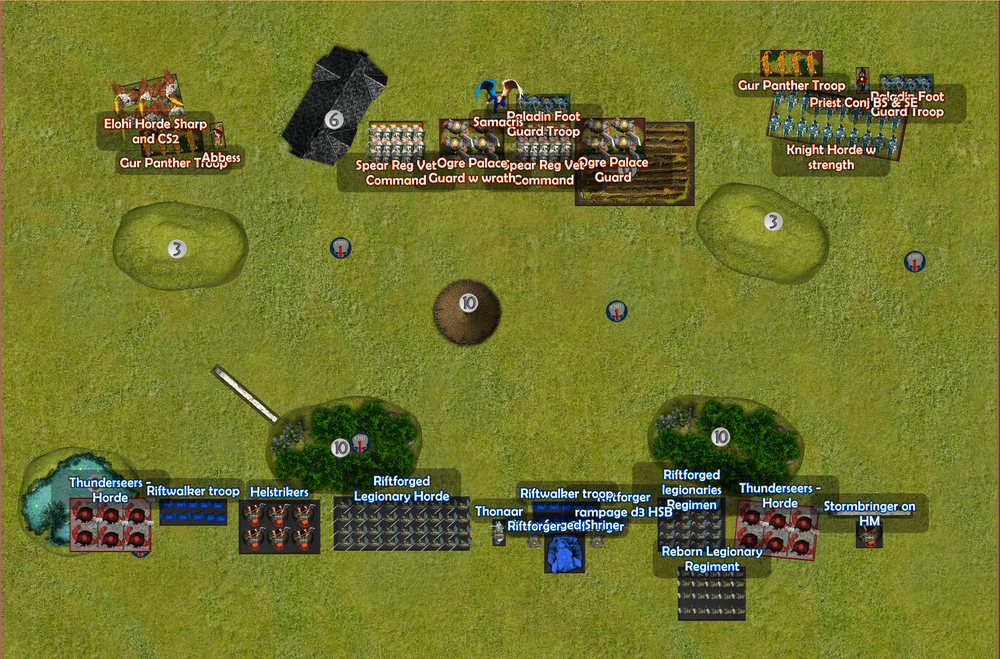
Lists
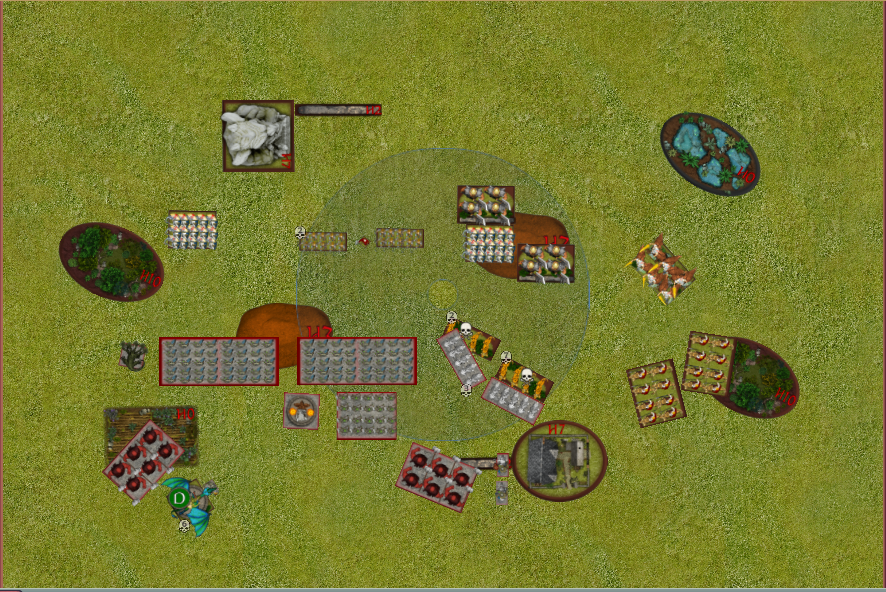
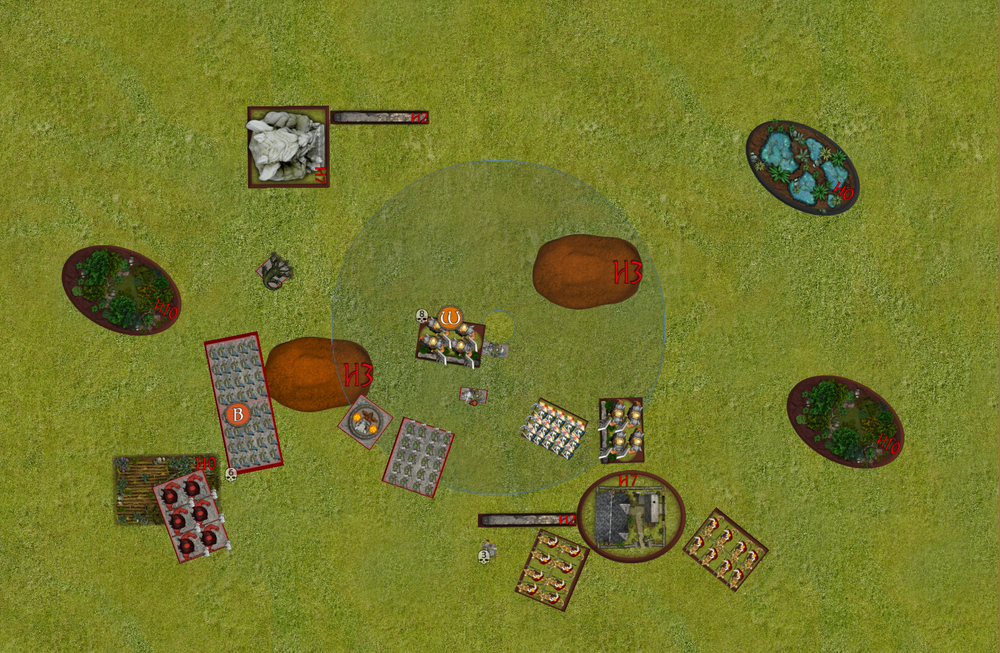
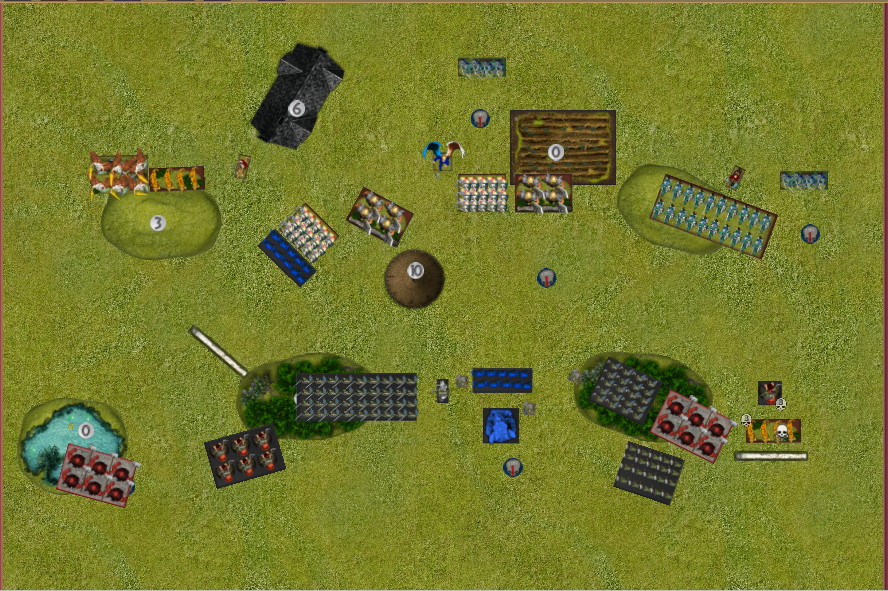
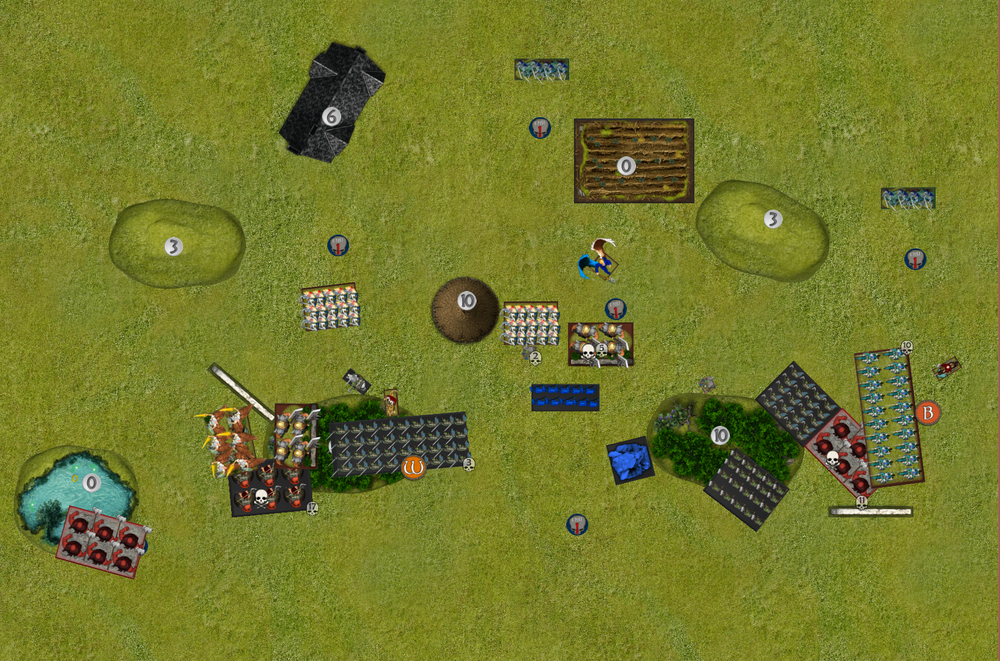
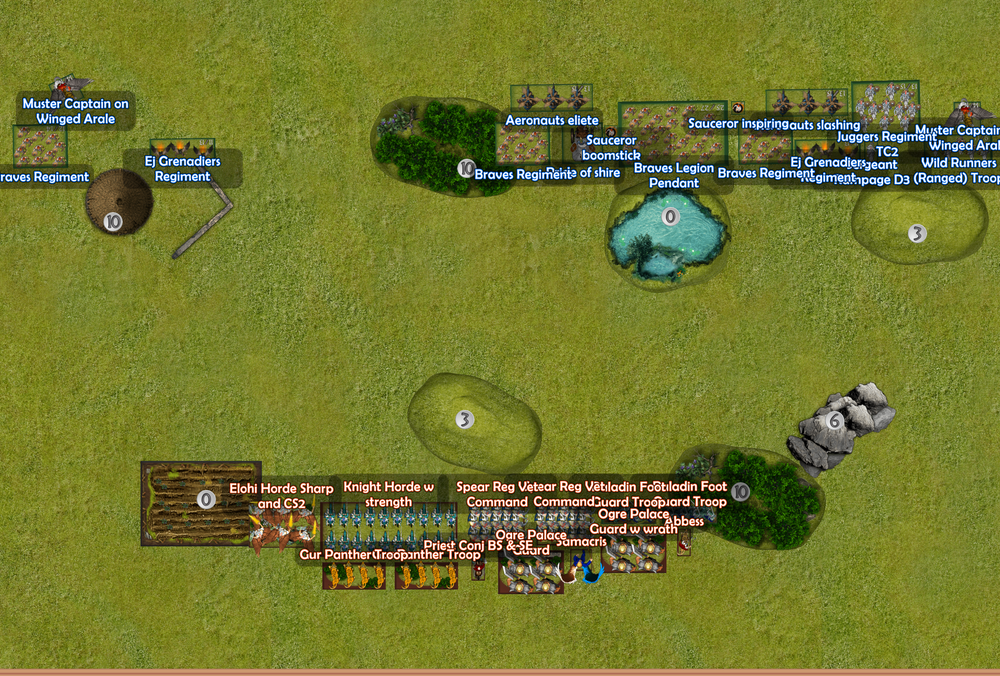
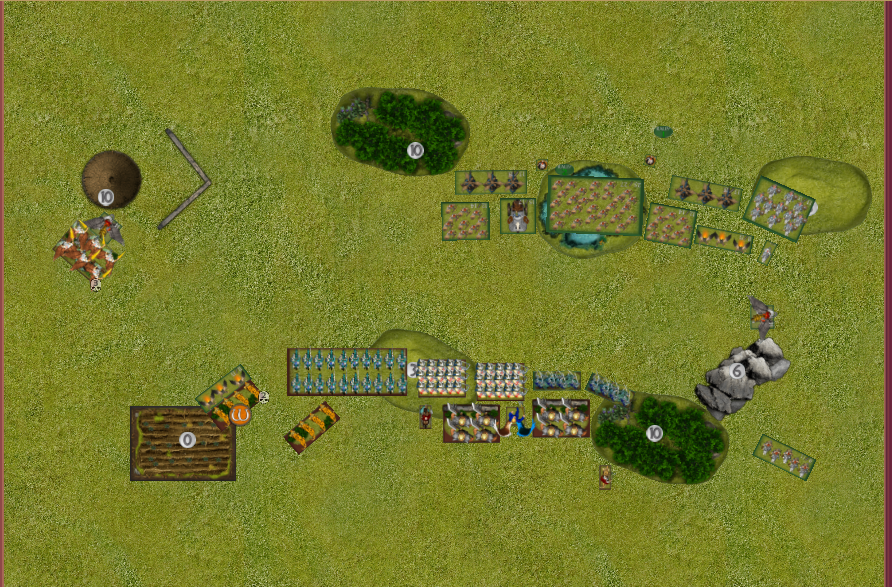
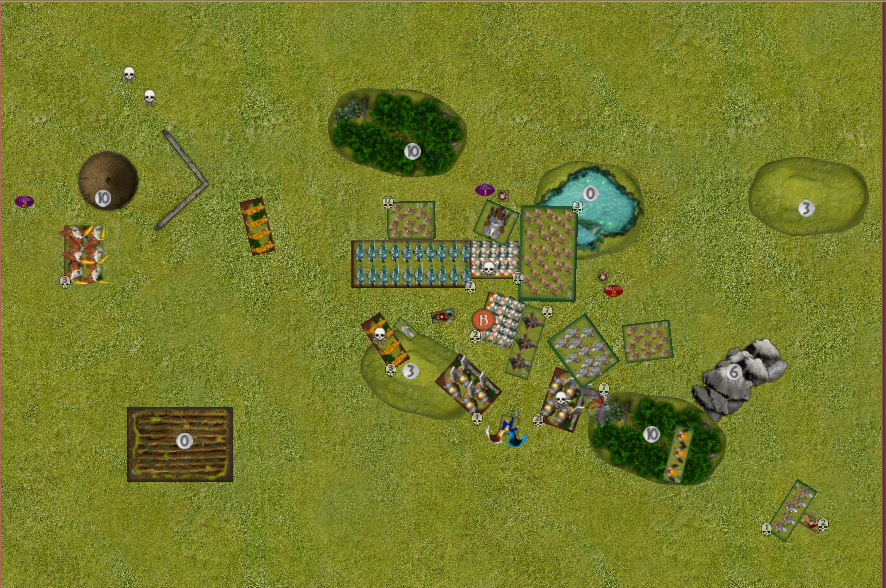
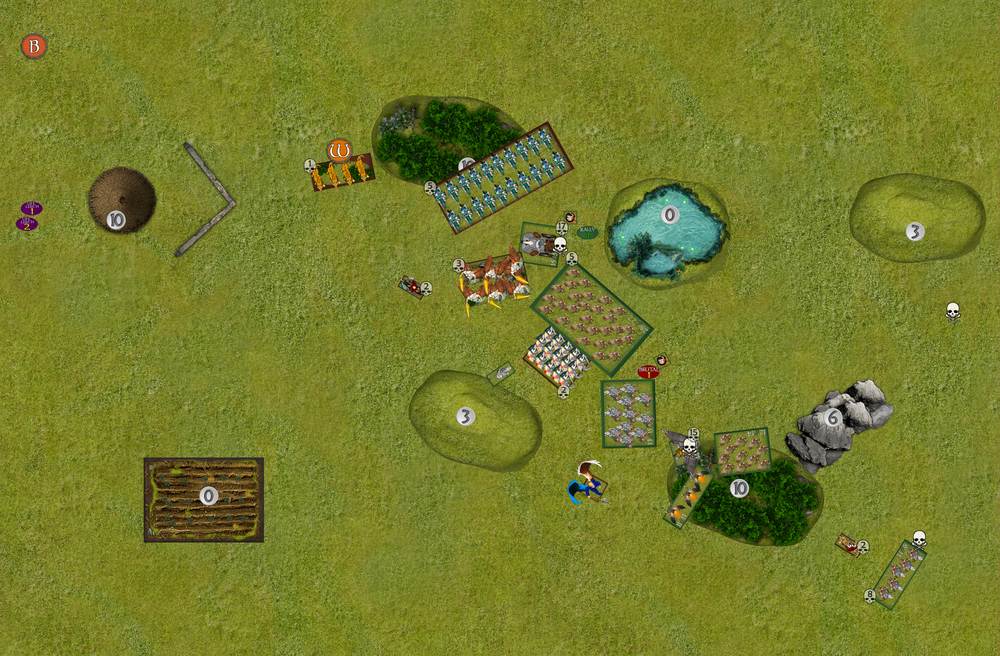
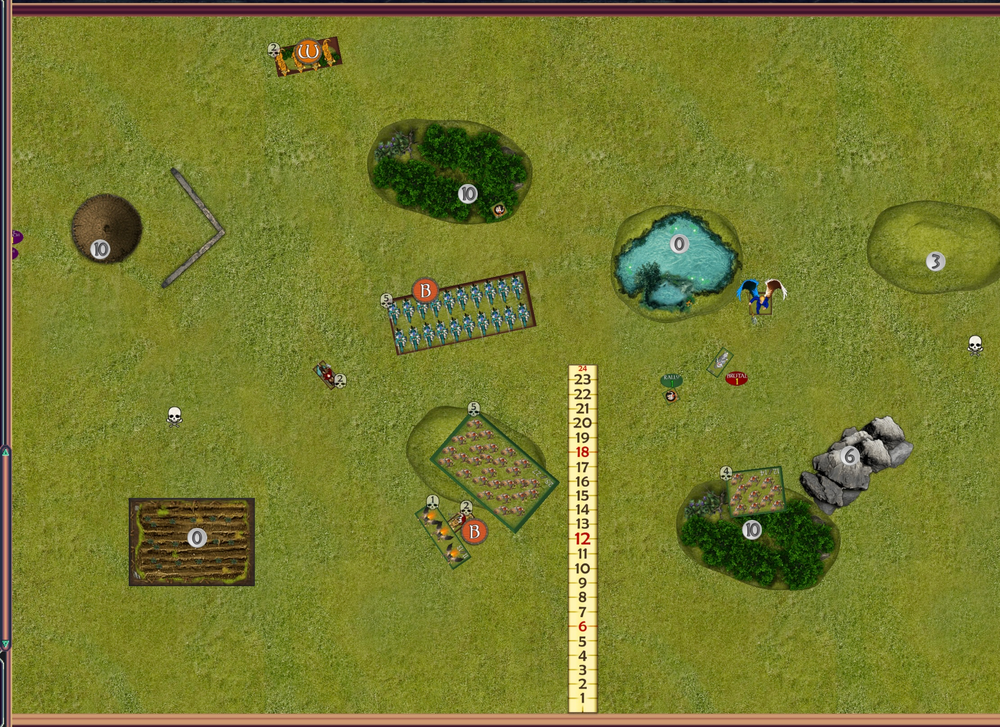
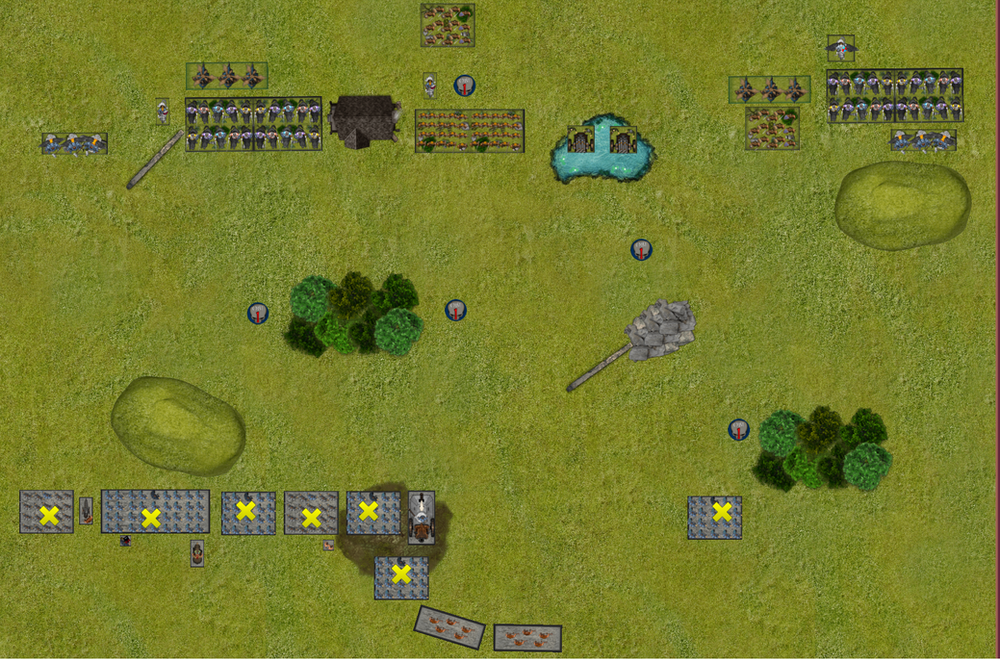
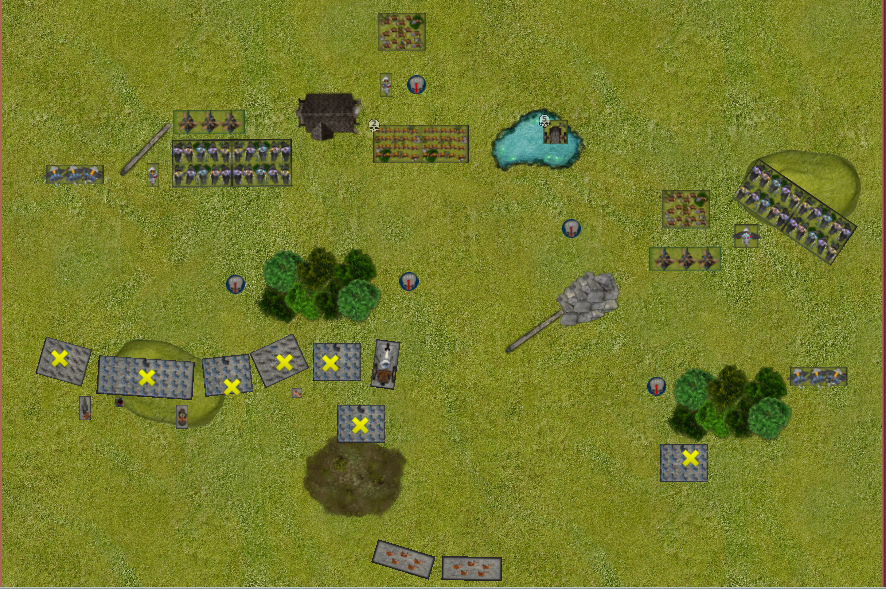
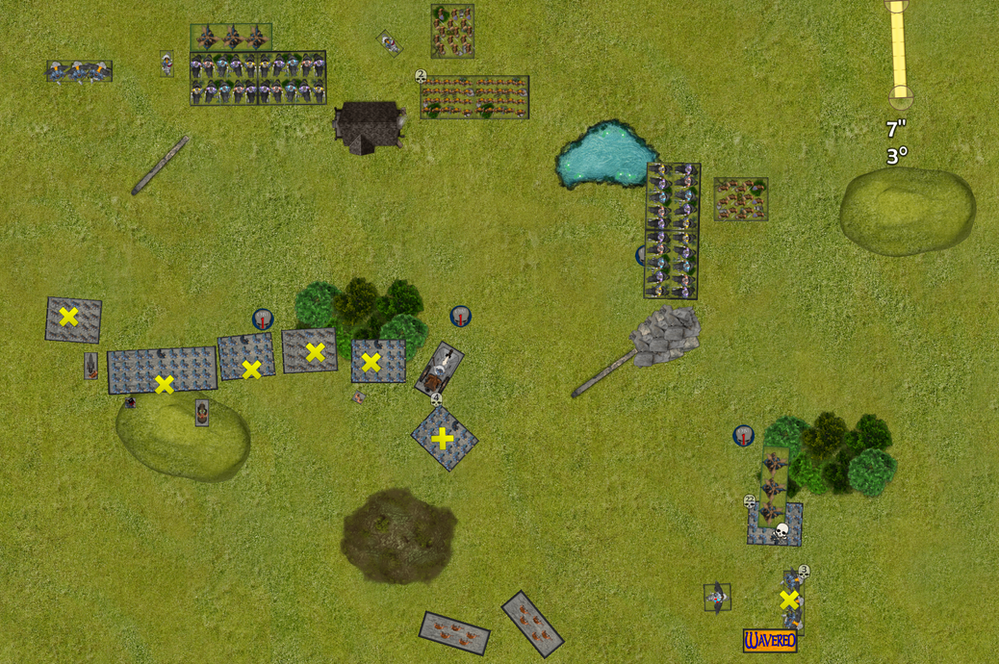
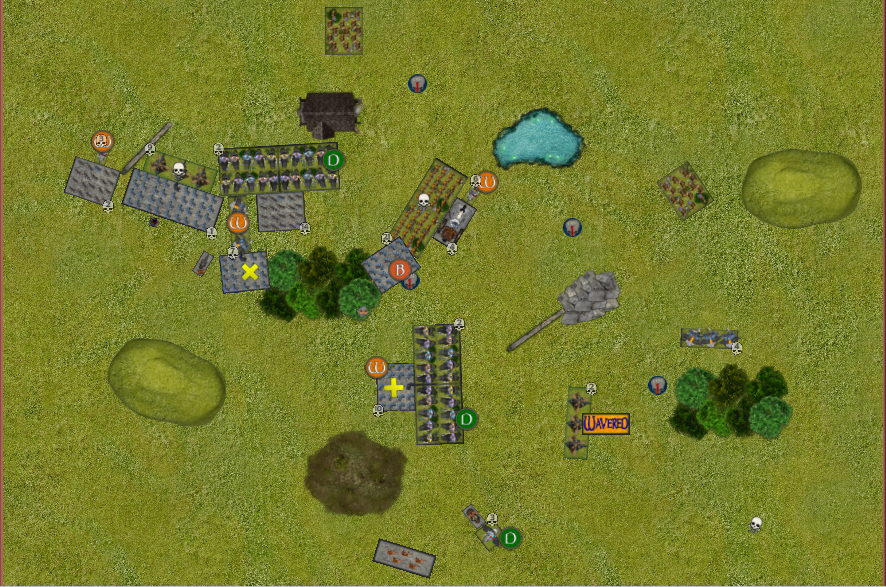
Deployment
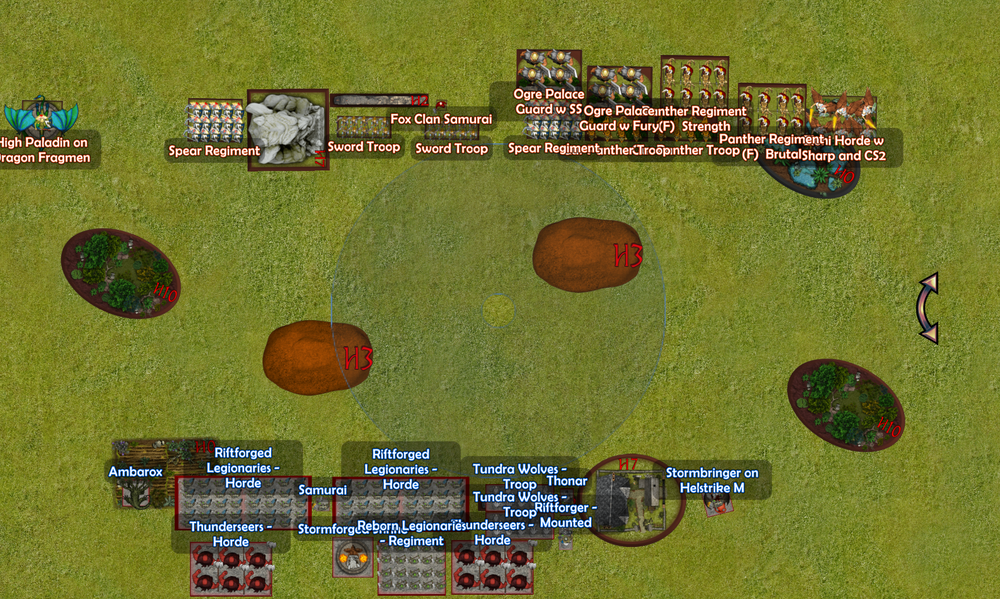
Matt:
I decided to centralise the tokens thinking Dave would clump up around them with the slow dwarfs and then I’d be able to pincer from either side. He surprised me with deploying hard centre left however. My first drops were about shooting in the middle to control tokens, then have enough to dellay him on his left while my right hopefully flanked around.
Dave:
I Stacked one side, and im not 100% sure why, I left a token regiment on the left to delay and annoy matt, My sharp shooters in the middle to clear off his weaker units left in the open.
Plans
Matt:
My plan involves completely around the fact that Dave will want to volume shoot his dogs, so plan is only allow him to do 1-2 per turn so I don’t lose a unit in one go. On top of thet with his hard deployment left I plan to draw his units in so that he is not concentrating on tokens and in fact likely moving away for them.
Dave:
This one was very simple, I’ve stacked to the left and plan to push up, meet Matt half way and then dog him down before we engage.
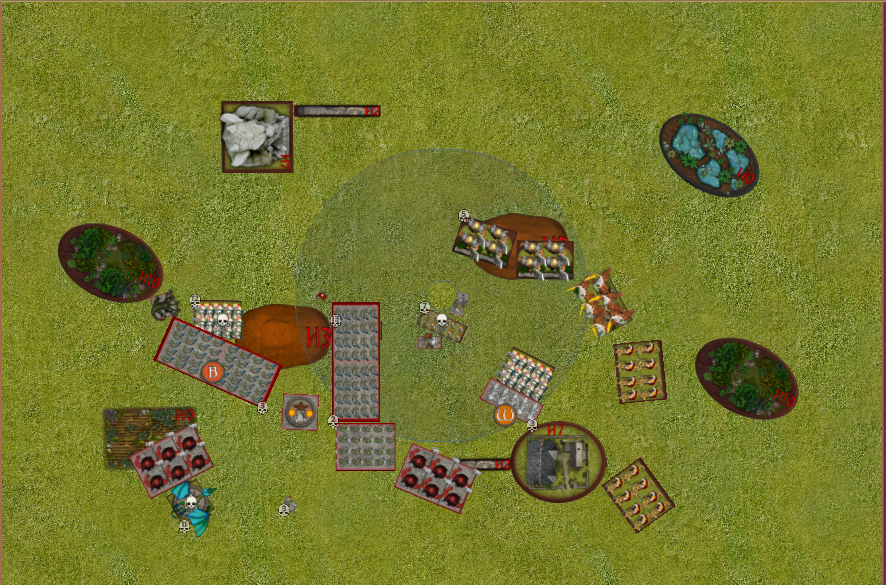
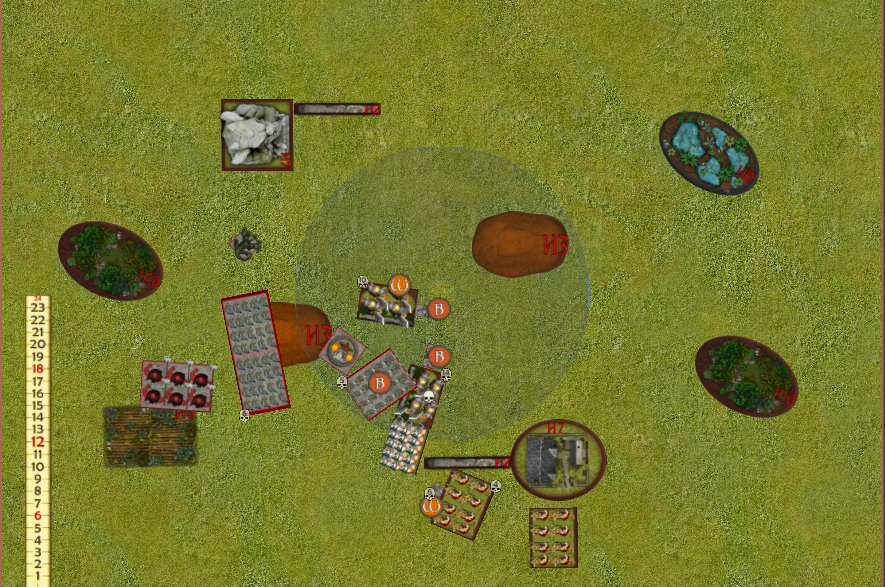
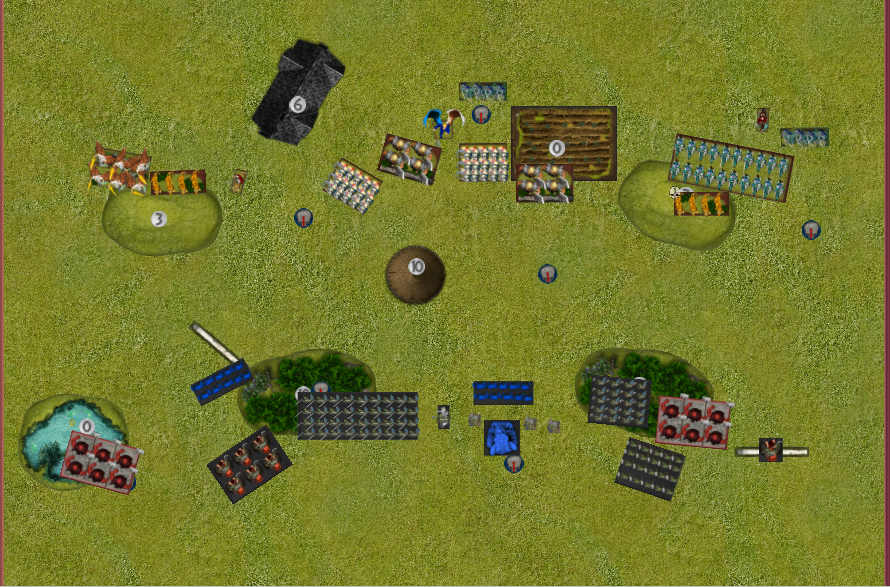
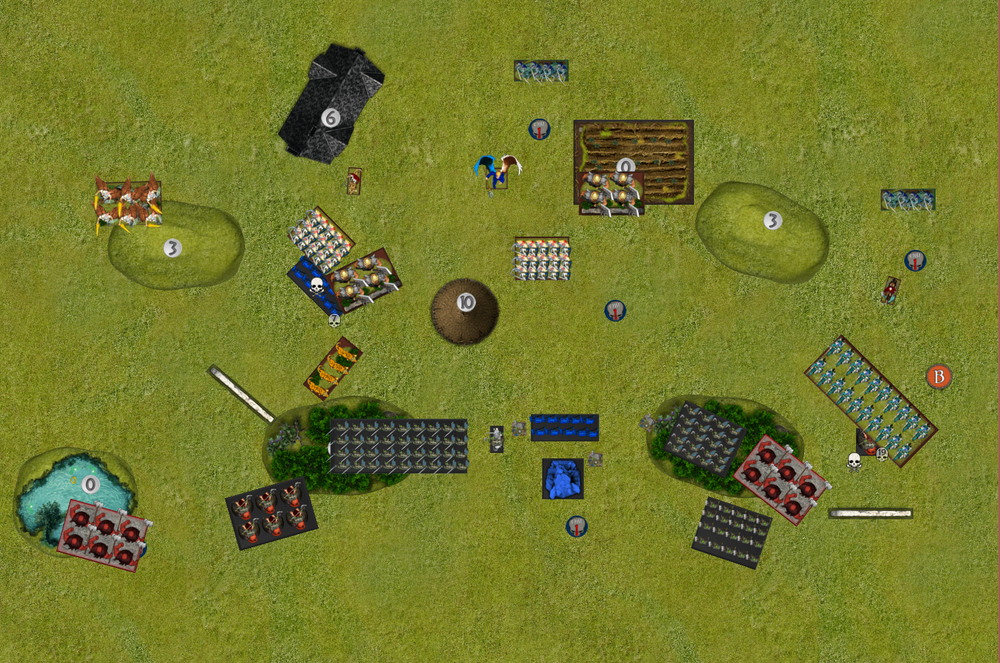
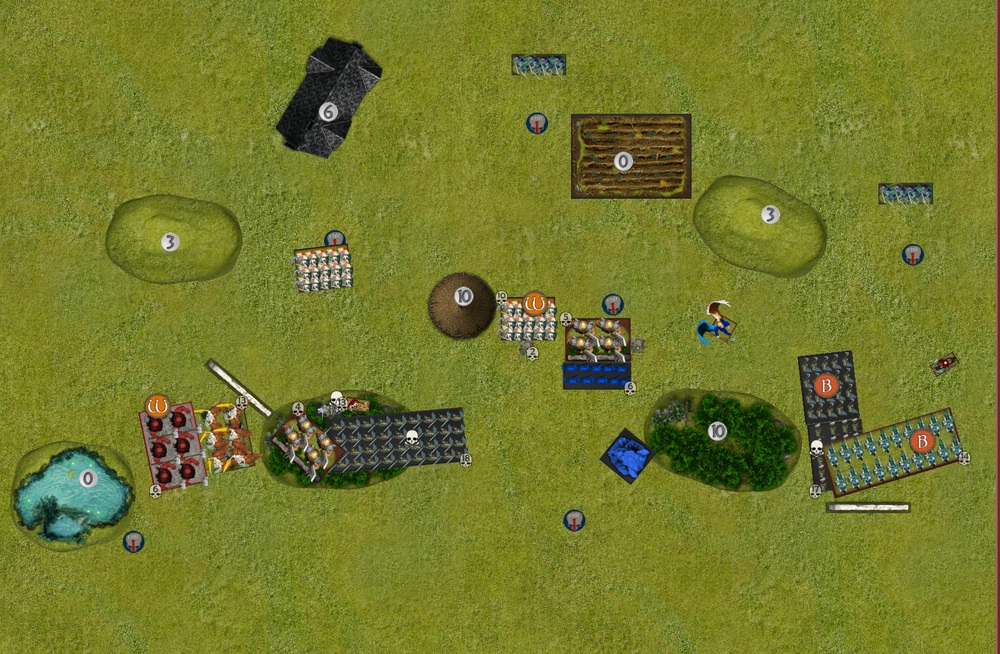
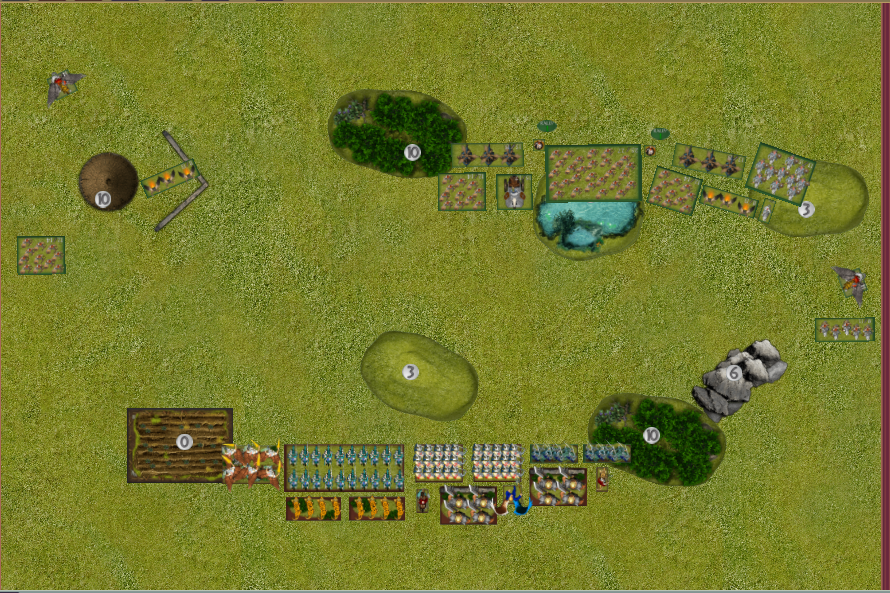
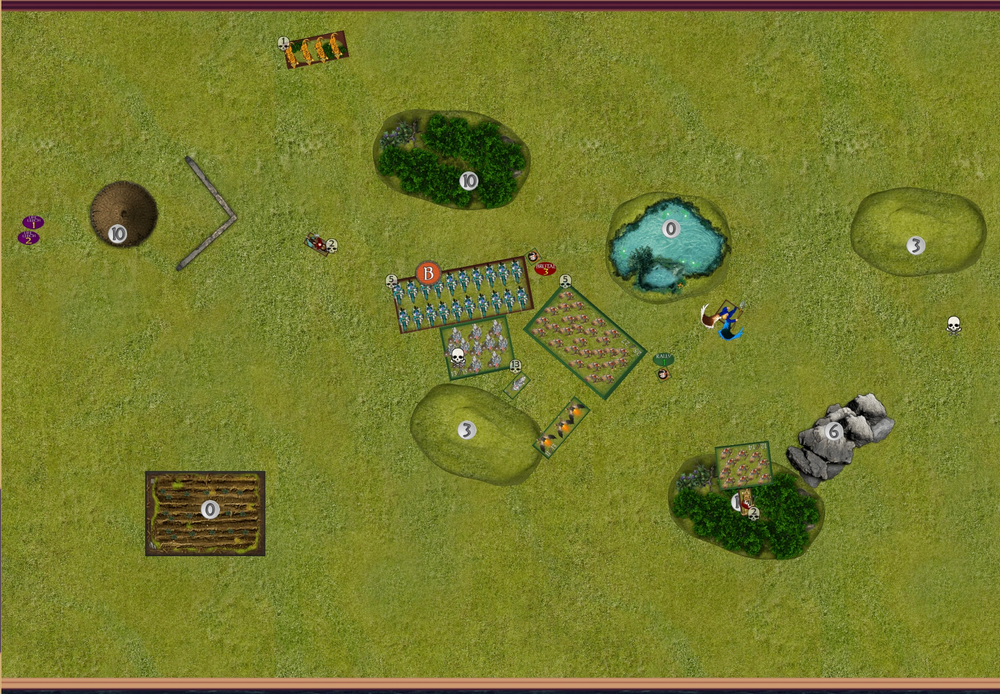
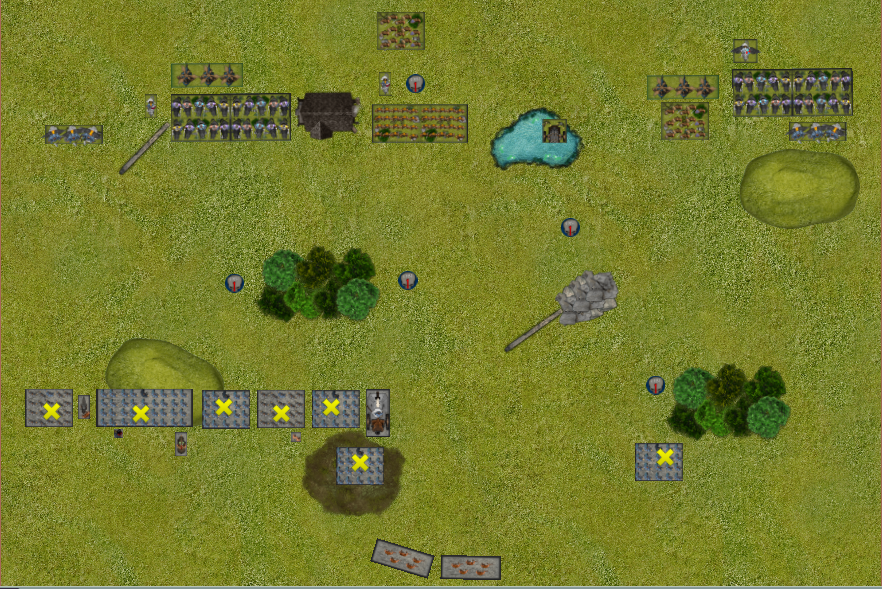
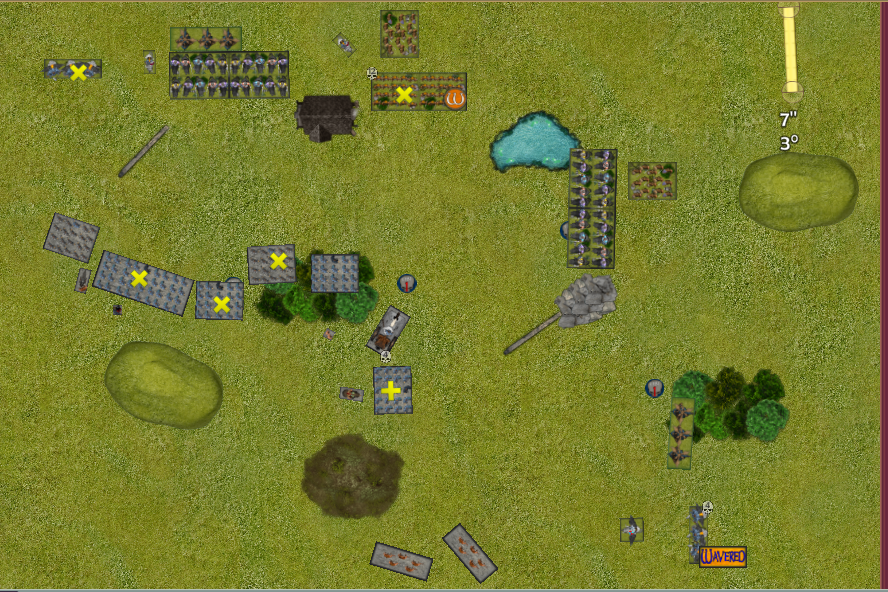
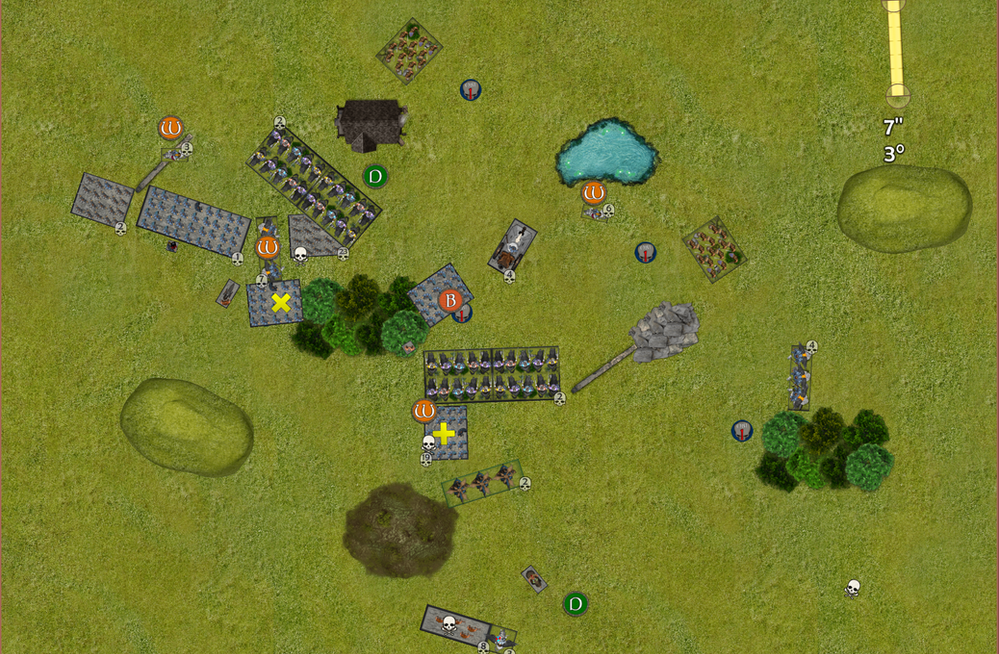
Turn 1
Dave:
I just crept up with my line keeping my deployment formation in tack, I’m about 20 inches away from Matts line so only his EJs have a charge and I’m not that afraid of them. If he gets close enough to jump my line next turn he should be in range to send some dogs.
My sharp shooters were very sharp, landing only 1 wound on his volley guy but a cheeky boxcar for nerve without inspiring sent it packing…. Suck it Matt.
On the right I’ve hid my only regiment a little better to stop any multi charges on it.
Matt:
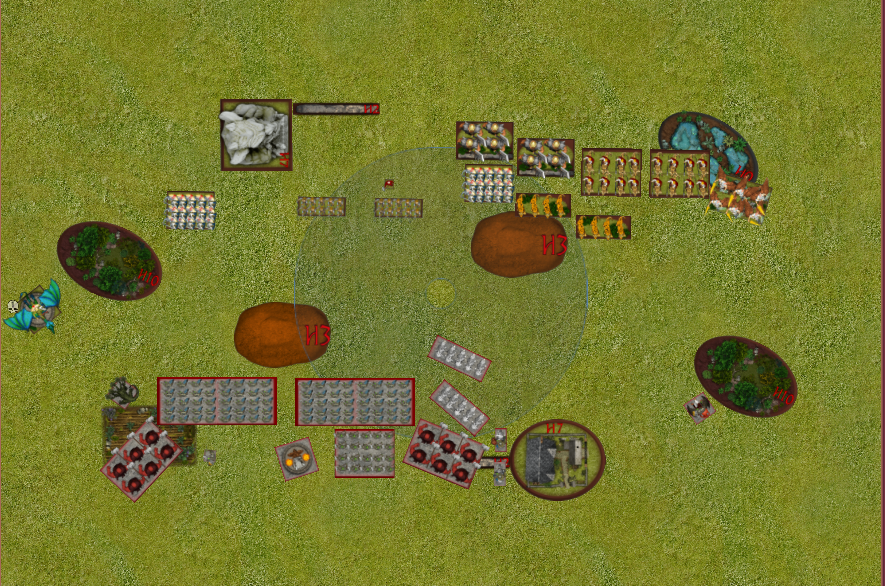
Cheeky bugger getting a double 6 on those guns. That will learn me for leaving them uninspired although tbh I am happy for them to be target practice from the sharpshooters it protects my other stuff. Everything pushes forward. The left staying out of 16 so he can’t use his dogs yet. The right pushing hard to flank hard. The centre just forward enough to keep golloch coming forward to shoot but taking the movement penalty.
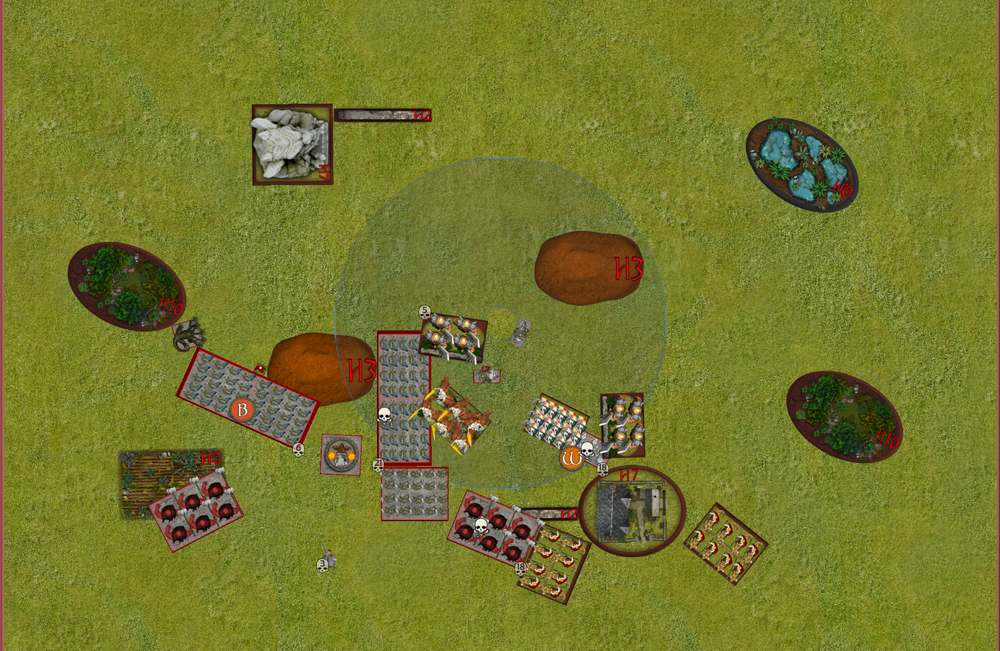
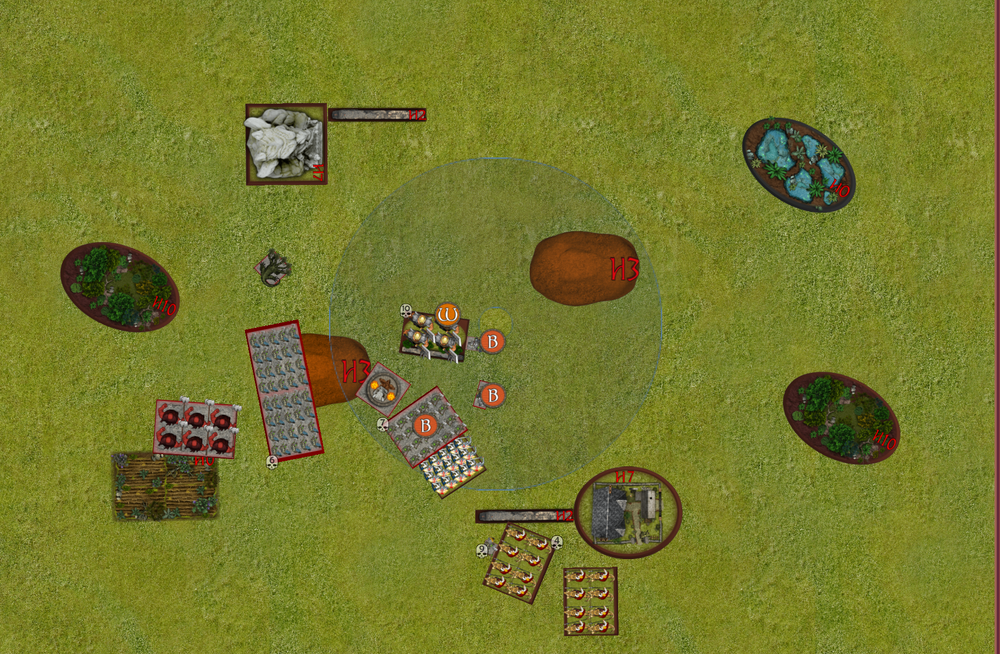
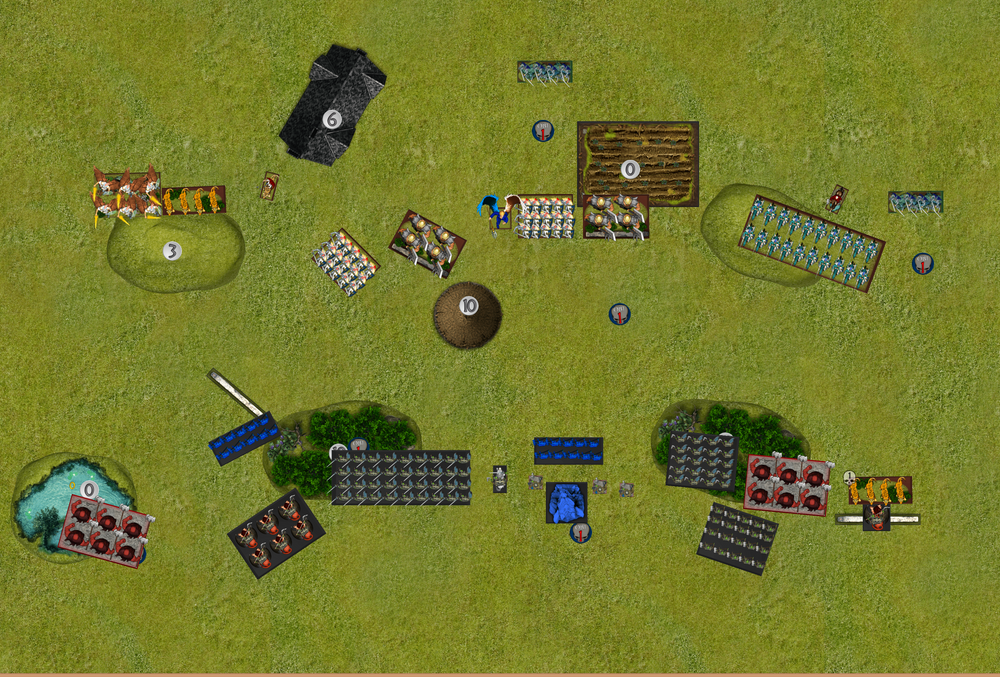
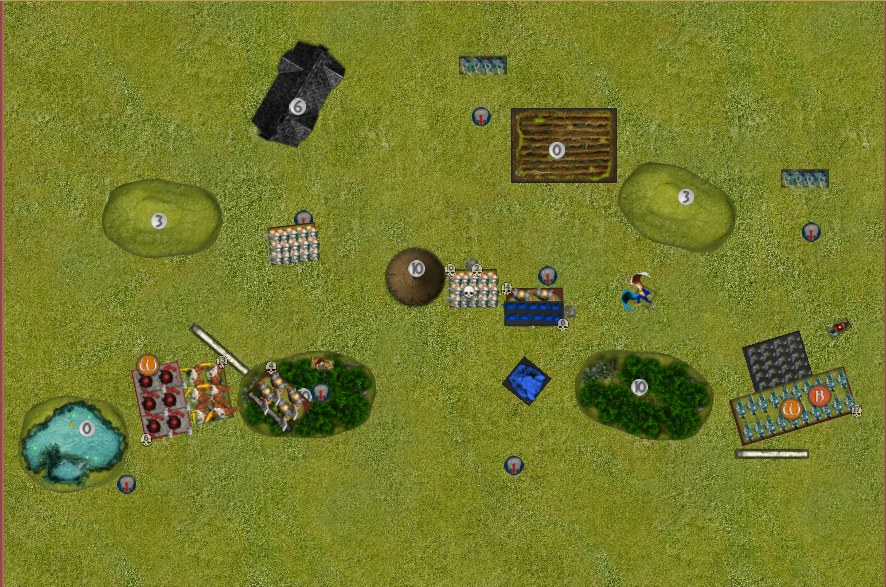
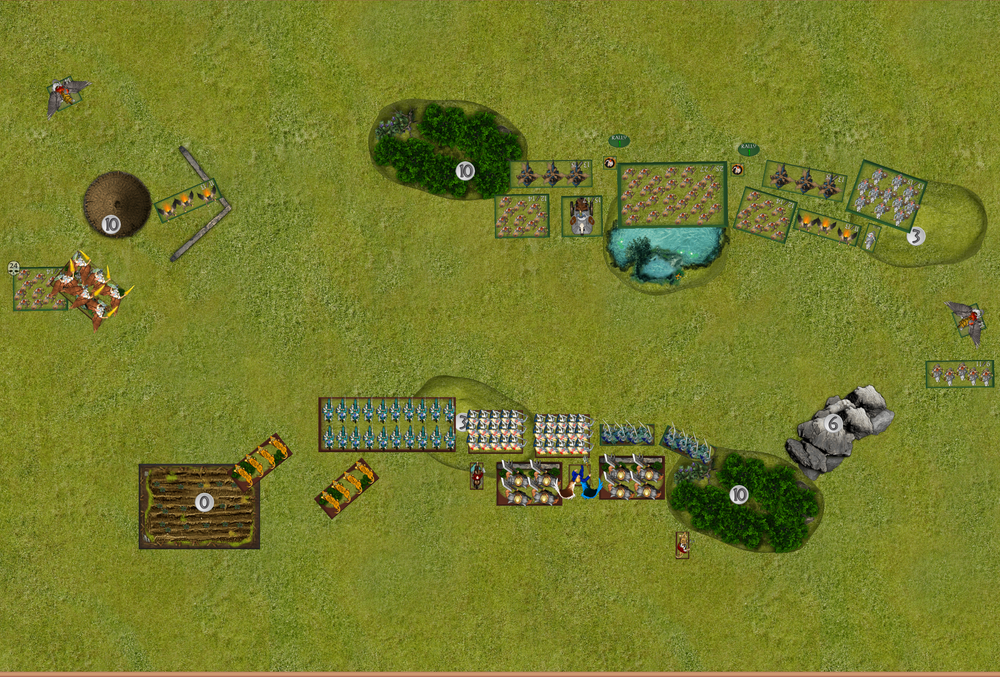
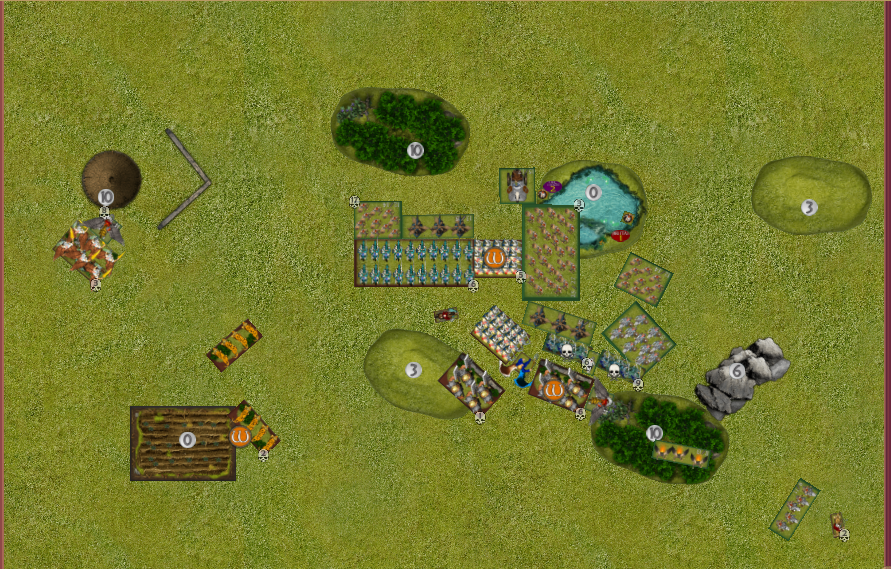
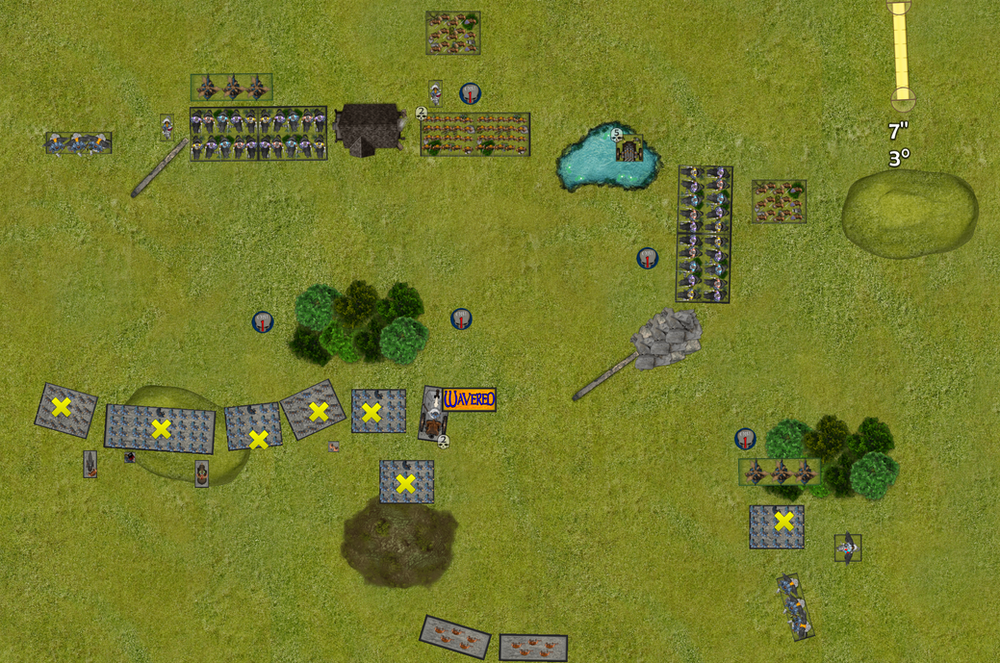
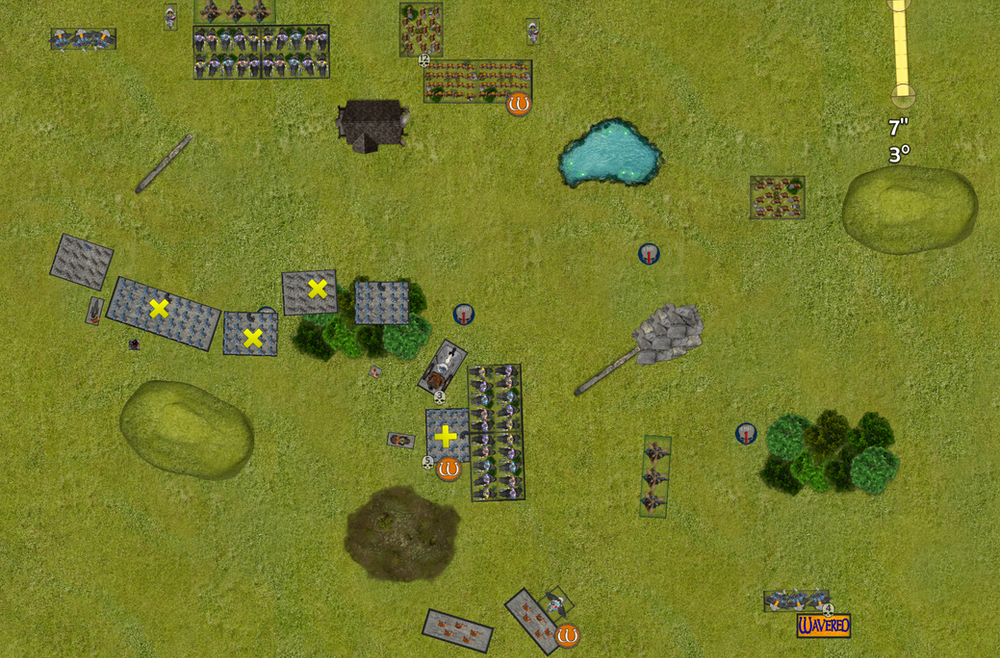
Turn 2
Dave:
I’ve crept up again about 2 inches I really want to get my dogs unleased before Matt gets into combat with me, so I’ve pulled some shenanigans so he has only a change on my bullwalkers with his horde, I feel like I’m at a sweet spot with his flyers that’s if he moves over the top I can take out the EJS with my lord on broc, or dog them off if they stay in front.
I also moved my stone priest in range to radiance of life back the one wound left from matts shooting last turn…. Suck it matt
My sharp shooters got very sharp and did 5 wounds to his last volley gun, but a 3 for nerve leaves them ready to fire away next turn.
I’m expecting a very fast out flank from matt come turn 3 so I’m doing my best to delay his force. I feel like my bark is worse then the my bite with the lone unit of ironclad with dog, and my limited shooting so I have to be careful and just look to delay and project threat.
Matt:
This turn is about resisting the temptation to push forward on the left. I am looking pretty damn strong on scenario at the moment. I think Dave is distracted by the left and he is too heavy on that side. Terrain will make it hard to move back adequately to the other tokens with the slowness of dwarfs. So pretty much everything backs up out of dog range on the left, if I can keep him moving that way that will be a win and then I can try and hold him up from getting back to the tokens.
The shooting horde in the middle also backs up. The wild runners on the right pivot back and come back towards the centre whilst the Ej’s and the general on the right start to dance around. The aeronaughts come in front of the ironclad and drop into the forest. He can now choose to charge or use his dogs on def 5. Either way I should be winning this exchange.
The horde shoots at golloch as there’s no cover and does 2 wounds, the remaining organ gun shoots at it also for no extra wounds. And then I box car the nerve roll!!!! Cop that you filthy animal! Although he could still get his headstrong roll.
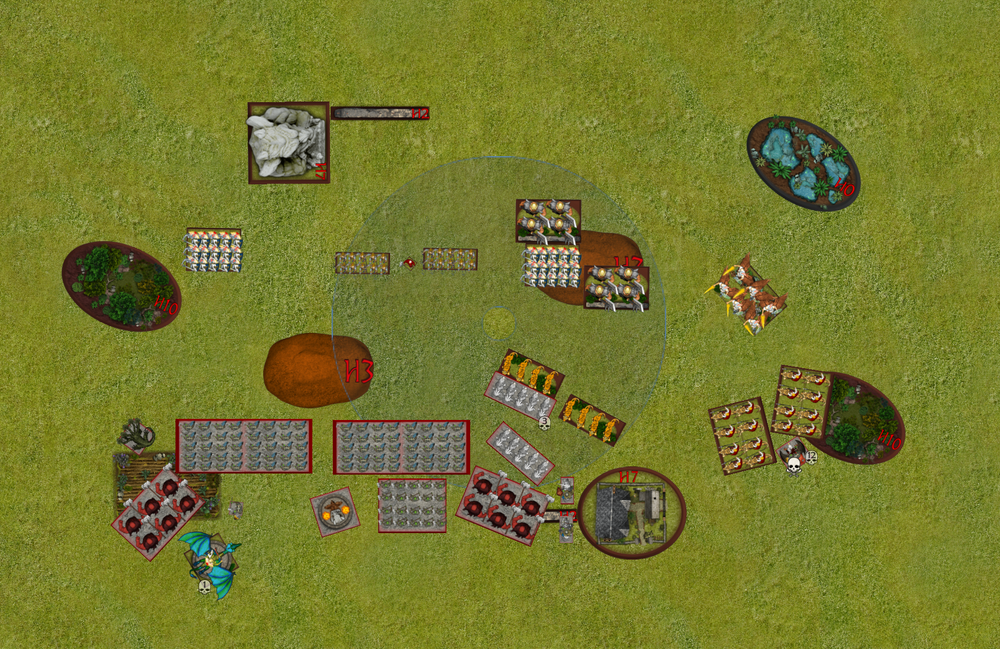
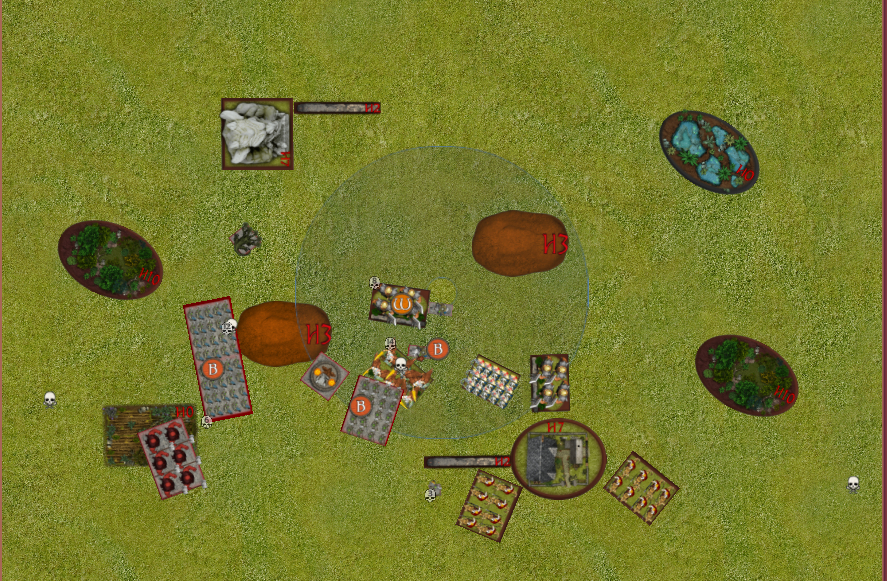
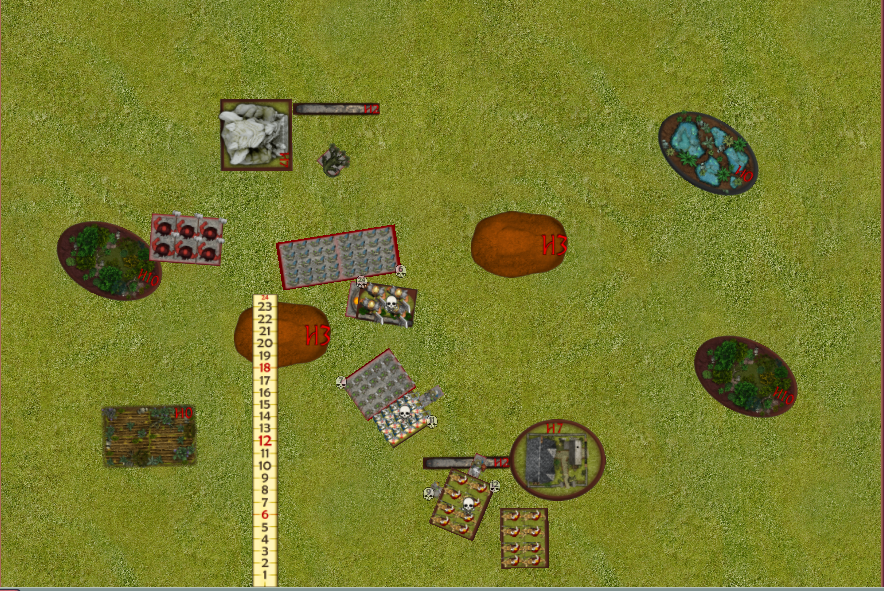
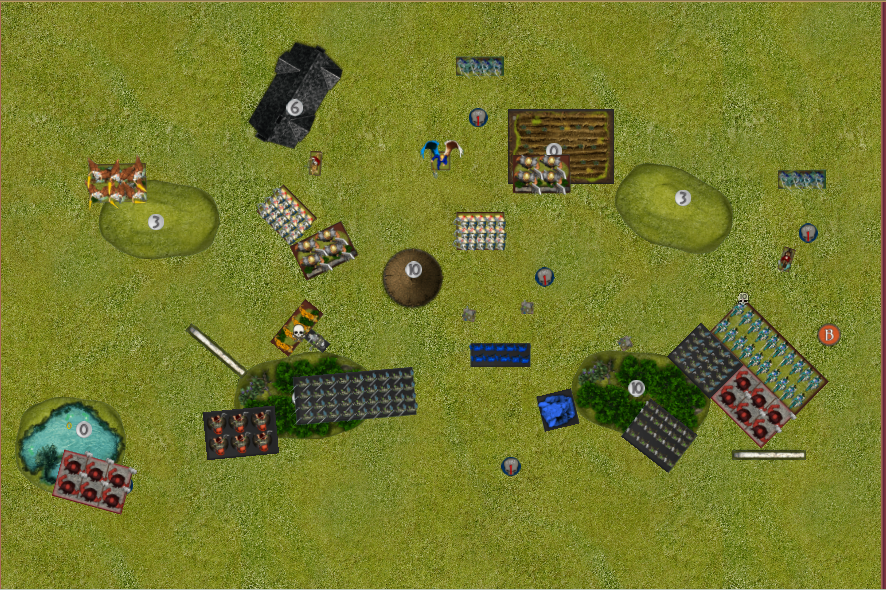
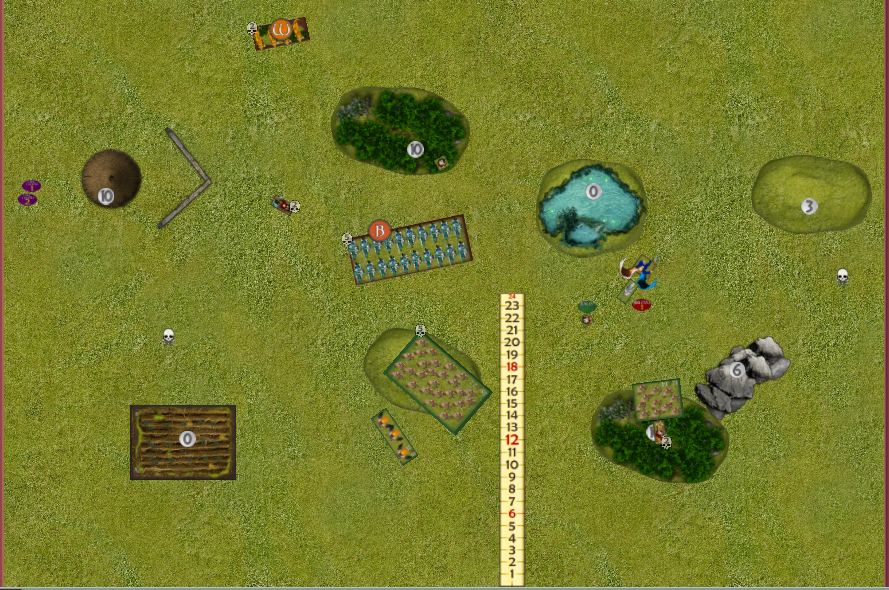
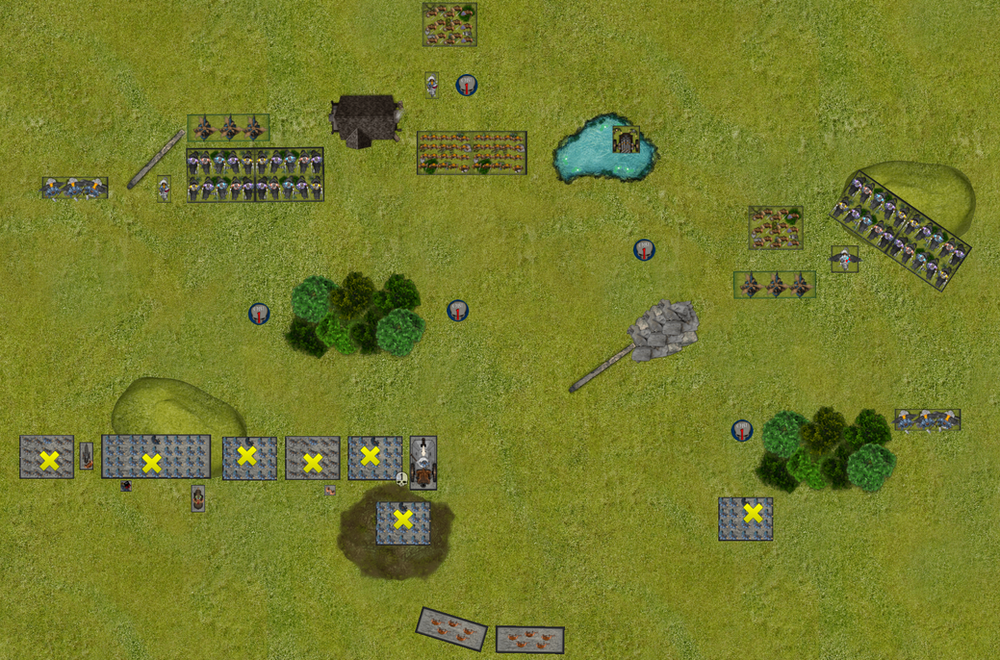
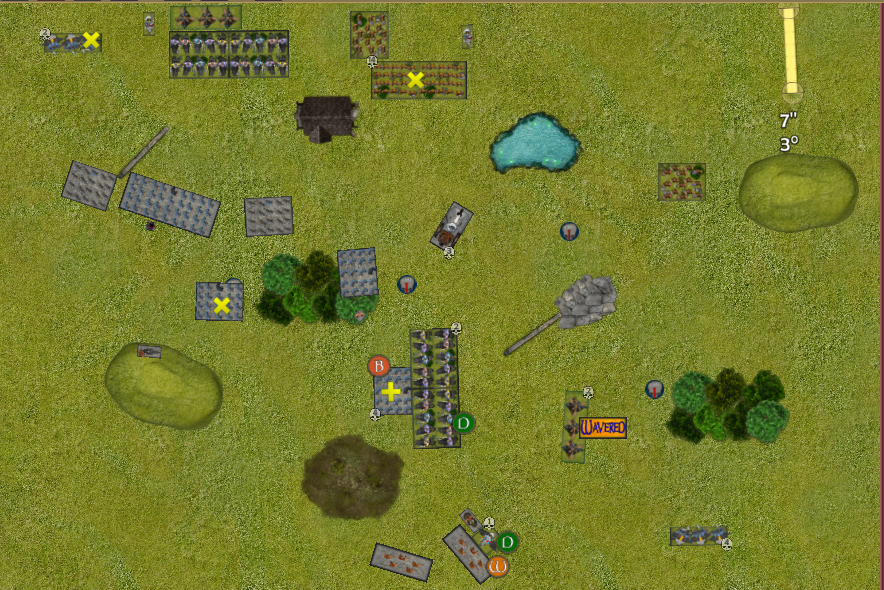
Turn 3
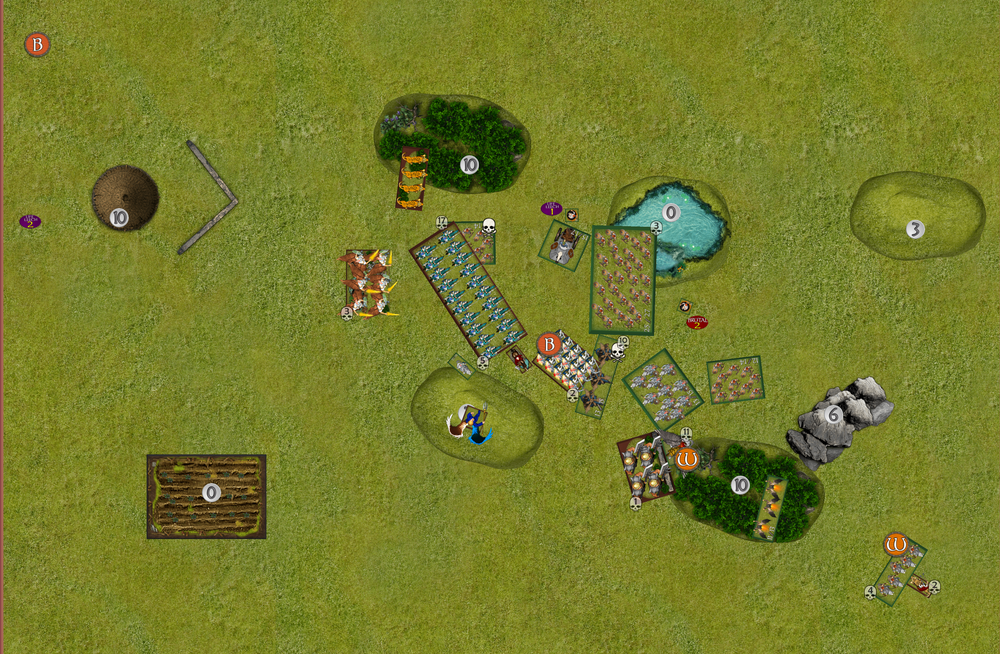
Dave:
Ok Matts pushing hard with this out flank on the left, I’ve launched my dog at his EJ to try and pull a lucky nerve roll but only managed a waiver.
I’ve continued with my push up the centre carful not to give away cheap units.
Matt is holding 3 objectives so I’ll need to work to take 1, I’ve got my eye on the centre one sitting on top of his rifle horde.
Matt is slowly retreating and usually id see this as a bad strategy but my stumpy dwarf legs will keep me out of charge range and unfortunately out of the fight longer then I want to be, I need Matt to engage and his not which could be by undoing.
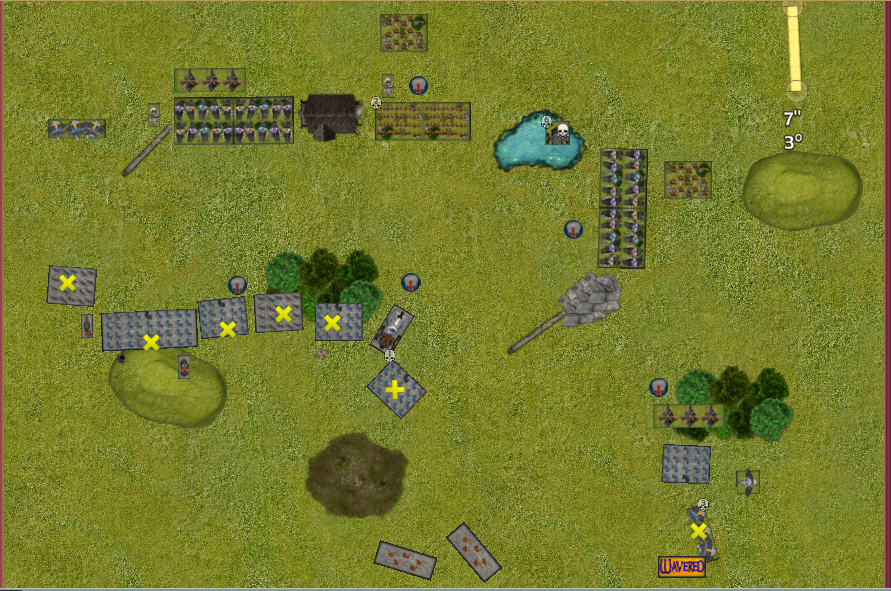
Matt:
I’m trying to play to the strength of halfings against the dwarfs which I believe is outpacing and the key with Dave’s list is not letting him get a whole lot of dogs out at once. I think the dog spam is best combo’d with the shooting (which golloch is currently directing elsewhere) to help take units off.
I move everything on the left back so the only thing he can get a dog off on is the top left EJ’s, I couldn’t get them back quite far enough without facing them the other way. To be fair that might not have been a bad option either but at least now he has to keep pushing forward to use them and I know psychologically he wants to use them.
The rifles back out of charge range of golloch after moving the character first. They will remain in range of one mastiff. I pivot the central braves so next turn they back up around cover and then eventually can move forward to contest the token.
The wild lancers on the right push forward far enough to stay out of range of golloch’s charge and to take some shootingin cover from sharpshooters. The other brave unit sidesteps to get close to cover.
The aeronaughts rear change the ironclad on the right and the winged muster captain jumps in front of the Ej’s and into range. The Ej’s just play with themselves.
Shooting does 3 wounds to golloch.
In combat the aero’s do 22 wounds and take off the ironclad.
Turn 4
Dave:
Another turn of Matt slowly retreating, clearly afraid of the dwarf fury I’m ready to unleash on him,
I sent a some dogs towards the top EJ regiment, however they were all distracted and all 8 failed to hit.
Towards the centre however, Golloch, some dogs from the centre ironclad and a regiment of sharp shooters all combined to pile on 11 wounds to the rifle horde, wavering it.
On the lower front I managed to waiver the EJs again only adding 1 wound.
My plan really needs to shift here, I’ve pushed up again as far as I can, however I fear Matt will retreat further leaving a charge to take out his units out of reach.
If matt doesn’t engage next turn I’ll have to try something stupid with Golloch.
Matt:
Dave is giving the appearance of being willing to continue to come to me on the left which works in my favour. I think with the amount of units, and how he has positioned them, not allowing me a decent charge with the horde, that I can afford to back off for one more turn and keep drawing him in. This turn he will get two dogs off on the wild lancers horde, so I have to hope against a waver. The braves up the back, back up slightly and the shooting horder does also. The winged captain goes into the sharpshooters and the other lancer horde goes hindered into the bottom ironclad. The EJ’s reposition to fly into the forest for the token and the other brave regiment bounces slightly to the right staying away from golloch but plenty of easy to pivot 90 and go back to the token. The aeronaughts move far enough forward to threaten but stay out of range of the brock lord who might want to ground them.
No shooting
In combat the winged dog does a piddly one wound but manages a waver ona. Roll of 9. The dogs do their expected 5 and will now be an uber distraction hopefully.
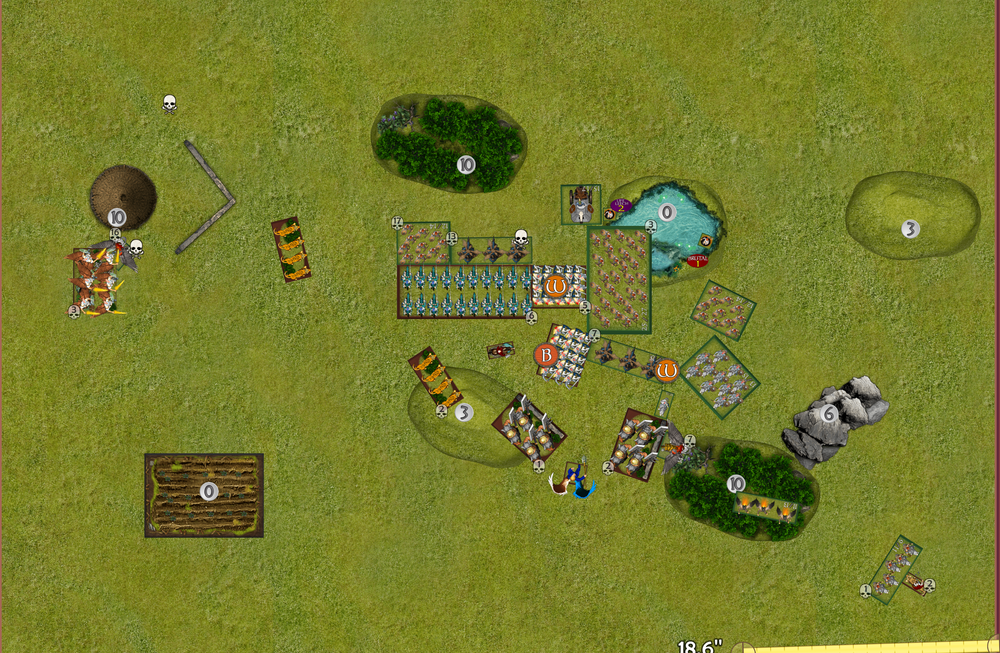
Turn 5
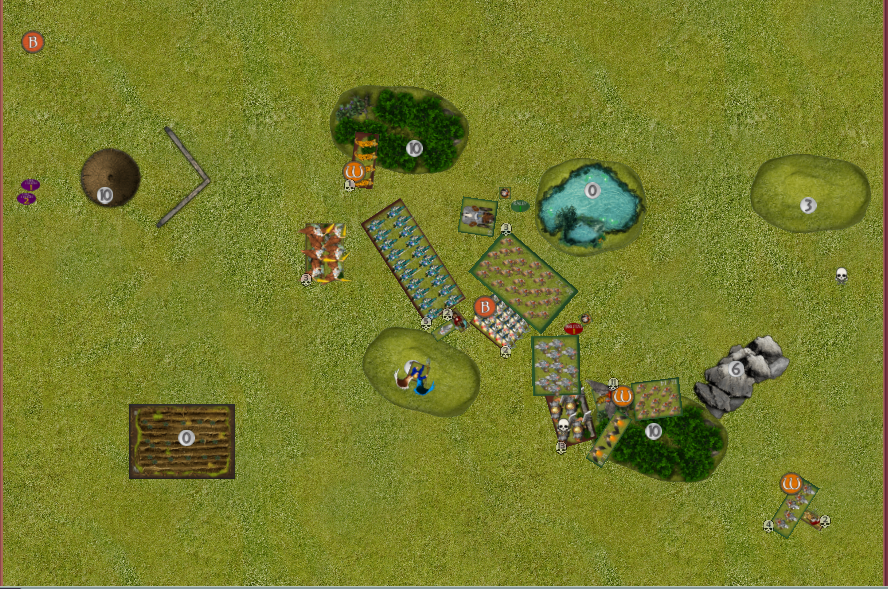
Dave:
Time to move, I passed headstrong on the ironclad and sent them back in on the CC, I failed on the sharp shooters so they had to sit idle,
I pushed up as far as I could with my left flank, managed to launch some dogs at the EJS and another at the rifle horde. Both managing two wounds but failed to break either.
I’ve now got to keep Matts units pinned to not contest my objectives next turn.
Golloch steamed away into oblivion, just out of charge range from the aeronaughts and now very much threatening next turn on the braves and rifles.
I’m predicting some tricky bullshit to contest the far right objective turn 6 if I get my way.
Further down the battlefield, my stone priest bane chanted the now non waivered ironclad who have manage to disorder the lancer horde. I’m hoping to hold them off now for the game (edit… turn out they are just within 3 inches… so I’m going to have to grind hard to dig them out now).
And lower down my berserker lord on broc as grounded the muster captain.
My other unit of non-waivered sharp shooters has however, managed 2ws and waivered the aeronaughts – suck It Matt.
Turn 6 will be super tough for me to out maneuver Matt now
Matt:
Is there a cheesier bastard on earth than Dave Fanning? Box-carring my bloody aeronaughts.
In the end it isn’t a complete travesty because if they survice they’re another token grabbing option still. Other than that I had some luck. His throwing mastiffs hadn’t produced any wavers and he had continued the march away from tokens with the bulk of his army.
I wanted to tie up the left flank now. So lancers went into the phalanx regiment with the EJs flanking them. The aero’s went into the ironclad horde and the sergeant went into the other buklwarkers.
The rifles may not survive another round of shooting and they are now within charge range of golloch so they decide to flank him to tie him up and double with the seargeant. Surely 40 attacks will do some wounds even on 5/6.
The bottom lancer horde counter charges, the winged general counters the sharpshooters and the Ej’s duck to the other side of the forest. The top right halflings reposition to be out of LoS of golloch.
No shooting
In combat
The winged general does 7 damage from 7 attacks haha and pops the sharpshooters. I don’t reform 90 as I want to stop the sharpshooters if there is a turn 7. The horde of lancers in the middle do 7 wounds but only roll a 3 on nerve to waver the ironclad. The rifles and sergeant only do one wound combined on golloch but at least now he cant shoot. The sergeant at the top left does 2 wounds, the aero’s a measly 1 causing no wavers. The combined horde and EJs do 14 wounds and then roll SNAKES.

This one is particularly hard for me as I feel I’d lured Dave nicely and if I had gone through there it was basically goodnight for him. I am still likely to win at end of 6 but can’t predict 7 at this point but it’s likely still good.

Turn 6
Dave:
Well dwarf fury was unleashed, waivered 3 of Matts units and killing 2, however the key combats were golloch vs Sergeant, and ironclad vs rifle horde.
The rifles folded like a pack of cards but the reroll saved the sergeant when I could only manage a 4.
This has pinned golloch in place, and although it wont be disordered for next turn, Matt only needs to avoid my front arch (including when I disengage the 1 inch) with both his braves to claim the win.
So my current plan next turn is to pray for a draw… where golloch disengages, pivots and some how hoses down a regiment with a single volley of fire.
Matt:
General flanks sharpies, most other stuff repositions onto tokens. I do damage and take stuff off. I lead 4-1 and we roll and go to 7 but it won’t get better for that loser I’ll still win.
Final Thoughts
Dave:
We played Matt, I learnt a lot this game, mainly just how dam slow those dwarf legs move…
I really needed to “at the double” for the first 2 turns, to get into position for the game. A mixture of poor deployment, terrain and fear of getting a bad charge early saw me out positioned and I never recovered.
I was not expecting the delay tactic of just backing up into your deployment zone. But when you were already controlling 3 tokens It was a smart play.
I really should of placed more tokens towards the center line of the board and deployed in the center using the blocking terrain and obstacles to help defend flanks. From there I could of formed my turtle shell and ground him out
I was lucky with my sharp shooters to pick off the volley guns early so I really had no long-range threats during the game. Again poor placement meant I didn’t get to take full advantage of that.
I also think its worth noting at this point that I roll headstrong incredibly well… only failing it once all game haha.
I played the list poorly so I think it deserves another shot with smarter play to better evaluate what works and what doesn’t or maybe i need more dogs
Matt:
I think I was definitely benefited by Dave not understand dwarfs. The double horde likely won’t work against some armies but was super fun and given he amount of bloody dogs that come in the army boxes I will probably give it a go. This game for me was definitely a case of playing the scenario for the win.