Another PBEM game between myself and Dave Fanning
Lists
Matt: After my game with sylvans I really liked the idea of berserkers as a second line so I decided to go infantry heavy with berserker second line and some combined shooting. Wth infantry heavy I need more control behind my lines and so this is the idea of the double brock lord.
Dave: I’ve gone with my battle tested high US list and added in some versatility with 2 volley guns, another grenadier unit and made 1 aeronaught regiment nimble.
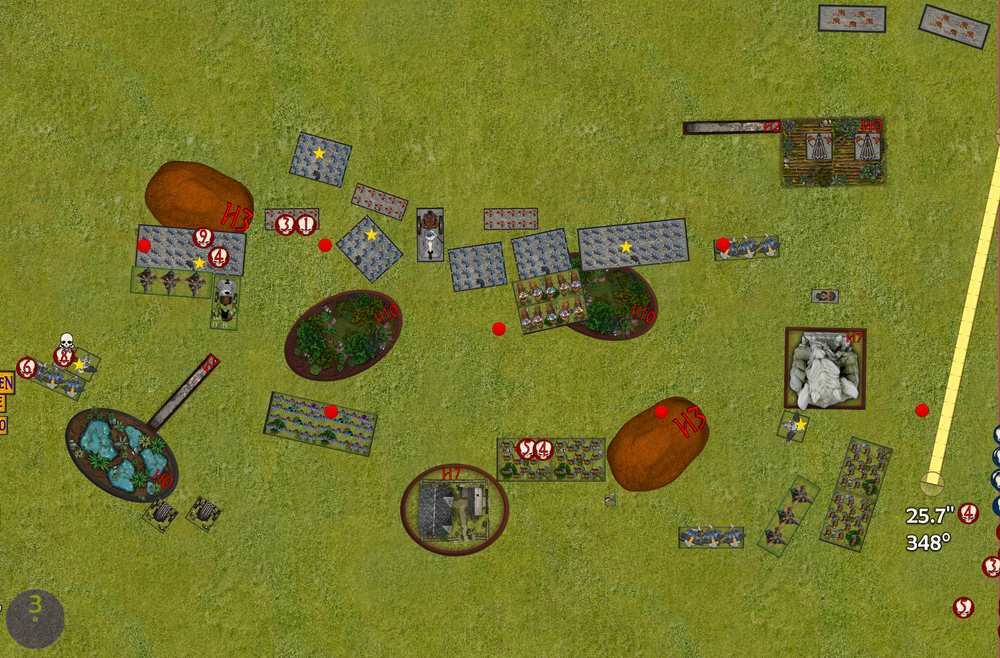
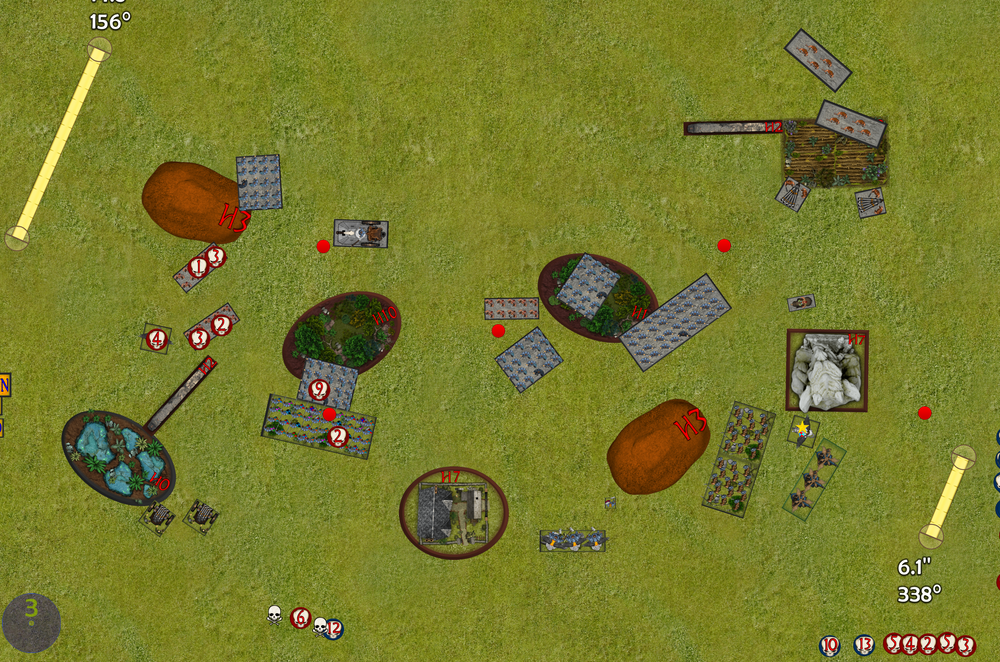
Deployment
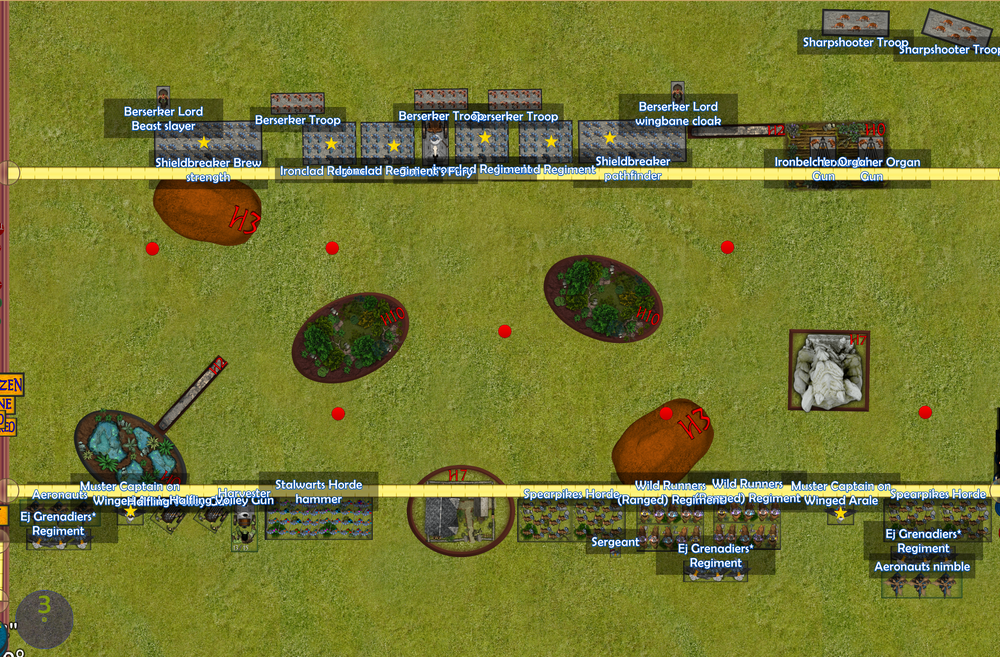
Matt: As I put the tokens out one I decided I wouldn’t be able to get to on the right so primary goal was to go to my middle two and defend his three with my resilient unit strength. The shooting would hopefully protect one side of the board. Golloch went in the centre to spread the inspiring and a brock lord on each side to protect.
Dave: Full disclosure… I’ve never played raze before, and it wasn’t until I put my 2nd token down did Matt inform me that I was placing the objectives I needed to claim. I placed my hordes in the centre to delay as I figure that’s where the bulk of matt army will need to go. I’ve put flyers on the flanks to hopefully turn him about, however Matts dog heavy list will be hard to sneak past. Lastly I placed my volley guns protecting the middle for some later game pressure but also to keep Matt off my tokens so I can swoop in.
My plan: I have a lot of flyers who can in 1 turn claim my tokens, then with the rest of my army I can delay matt and claim the win. That’s not going to be a walk in the park (see what I did there) against Matts Dog heavy list so I’ll need to pick my battle and chaff up his army with unfortunately probably a big horde.
– Edit… turns out that’s not how the game works… you actually need to have the most US within 3 inches at the end of the turn… and here folks is where I fucked up…. I realised around turn 3, so if it looks to you like I’m doing stupid moves…. Well I am
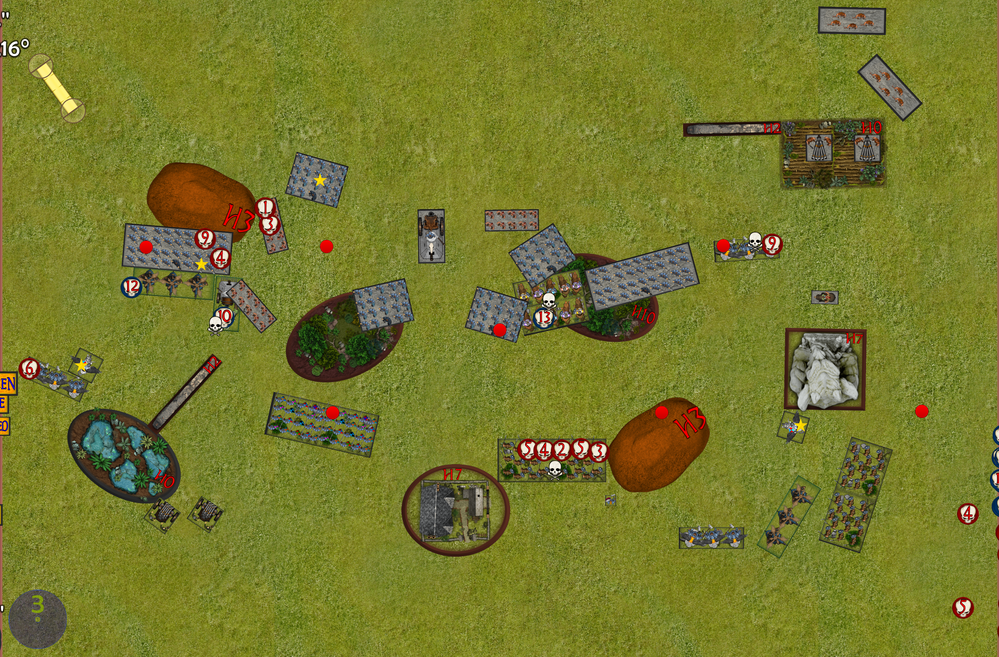
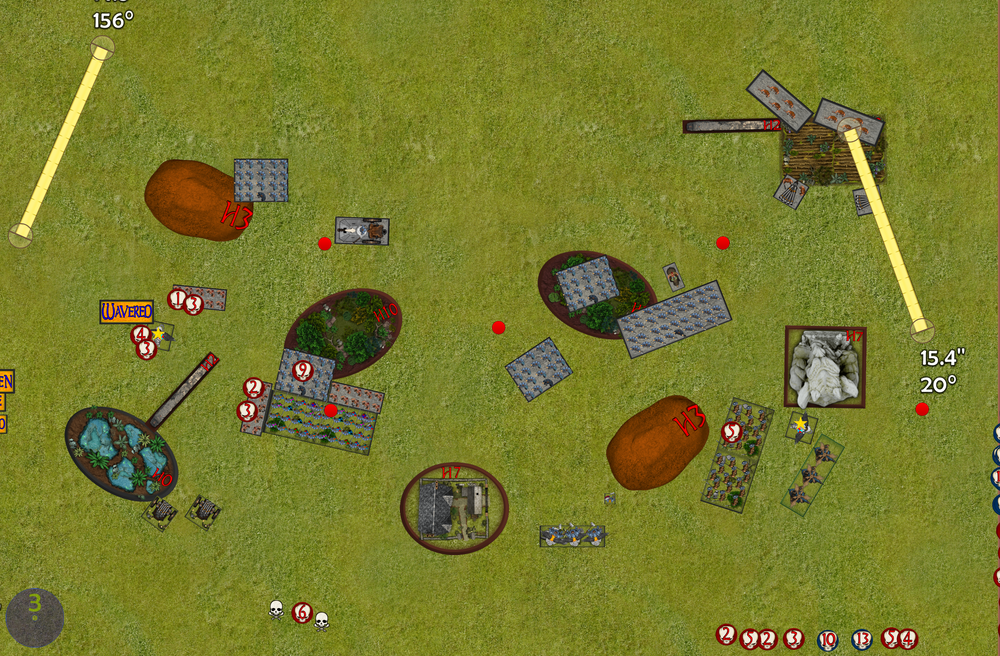
Turn 1 Matt
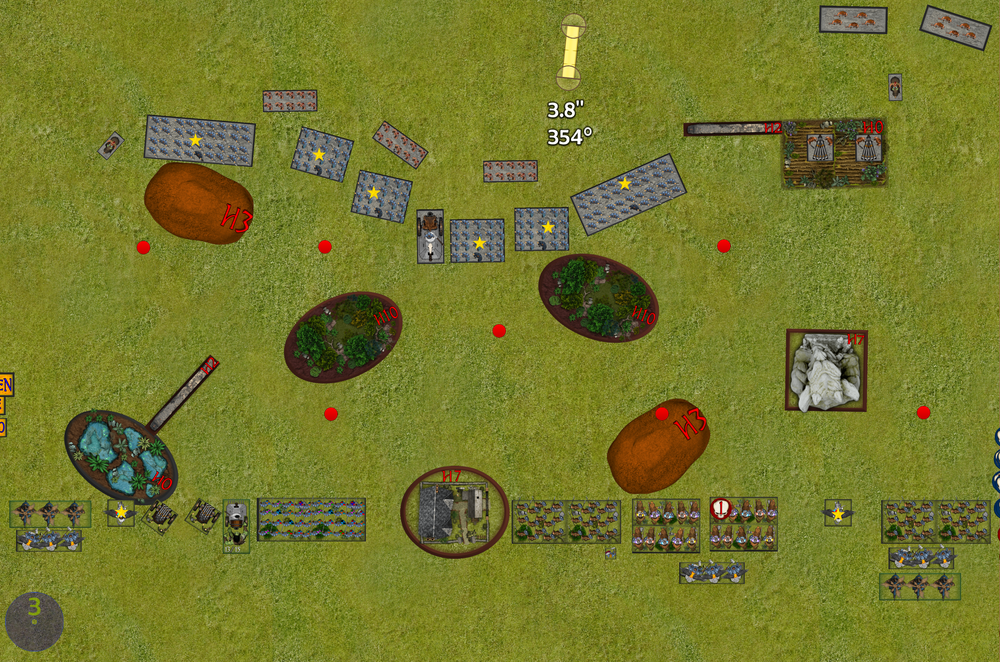
My most immediate concern is Dave not being able to fly over and pinch tokens on turn 2 with US. My baiting for the right token has worked somewhat so basically I plan to all but ignore my ability to get that token and try and compete for the other 2 and the centre whilst denying his. Everything positions to stay out of range of the organ guns but also be able to compete on US next turn. The two mounted brock lords reposition to be more of a threat to fliers as well as the right one to inspire the shooting.
Sharpshooters do 1 wound on the runners and none on the aeronaughts,
Turn 1 Dave
I’ve redeployed my right flank as I don’t believe Matt can effectively collect that token with his movement 4 units so with no need to protect it, I’ve moved my nimble units behind the protection of the blocking terrain and I’ll look to put pressure on his middle once he advances, my wild runners will be exposed to the organ guns for a turn but there wasn’t a lot I could do (also there wasn’t a lot they could do, putting 1 wound on some ironclad).
I pushed up slight on the left flank to stay out of dog range, I screw up and realised he has a charge on my grenadiers however I don’t think matt will claim that just yet as it’s a suicide run for his lord, if he does it will box me in and getting a double charge might be hard. Lastly my middle crept up ever so slightly
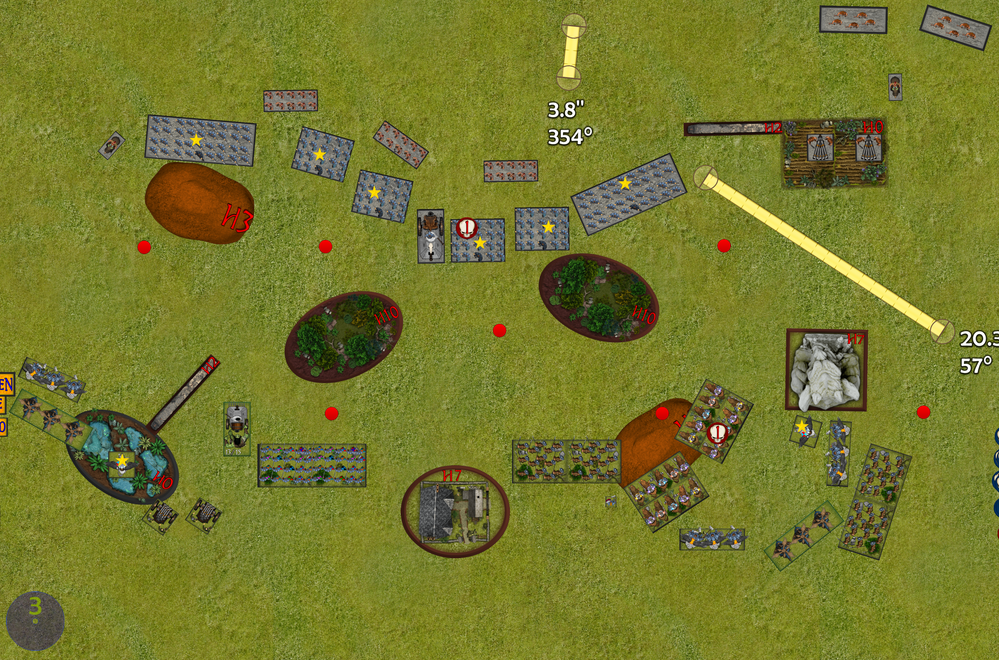
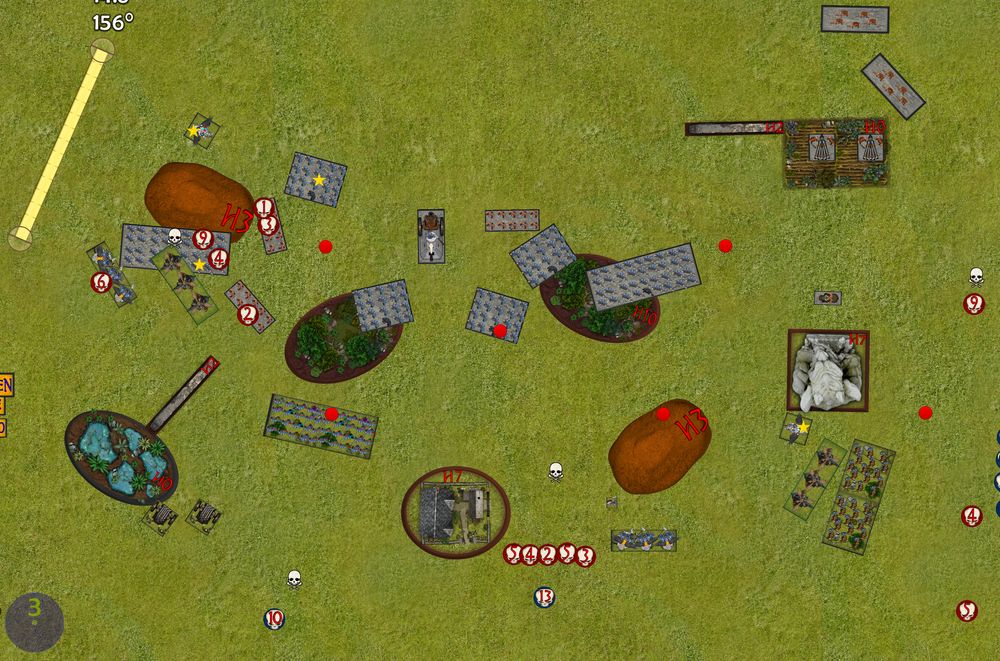
Turn 2 Matt
Dave’s movement is making me think I have underplayed the left hand side of the board. On the other hand on the right I am not sure if pivoting back towards the centre was the right move for Dave because as he brings units out slowly Ideally I’ll be picking them off with shooting.
I’m aware the EJ’s are probably bait on the left but I think I have to take it to limit his triple charge options as I need to push the horde forward to contest the objective otherwise he will just jump forward and burn it. The other left hand units move slightly to support. On the right I move the character behind the building to threaten later. And the other units shift forward. The horde to make sure it is contesting but charges are hindered. The other two units to support and throw their dogs at the horde. Golloch stays unmoved to not take movement penalties when shooting.
Shooting, all the shots on the right unleash on the dogs to kill them. On the left the dogs from the regiments do 9 wounds on the horde but don’t break them.
The berserker lord went berserk in combat and did 6 wounds. On the re roll was snake eyes. This isn’t the worst snake eyes but is frustrating none the less, Dave has a triple charge available next turn but the EJ’s will still be held up due to the board edge.
Turn 2 Dave
So Matt took that charge… dam, luckily I did get the captain in and spiked the nerve to take him off… that could of derailed my game. Thank god matts to good at rolling snakes.
I decided to burn the right token, it means throwing away some grenadiers however for this scenario I think its worth it.
My spear horde is now out in the open to catch some dogs, so lets see if matt takes the bait. I don’t know if throwing out a spear horde is the right thing to do but I want those dogs of the table so they don’t hit my softer units.
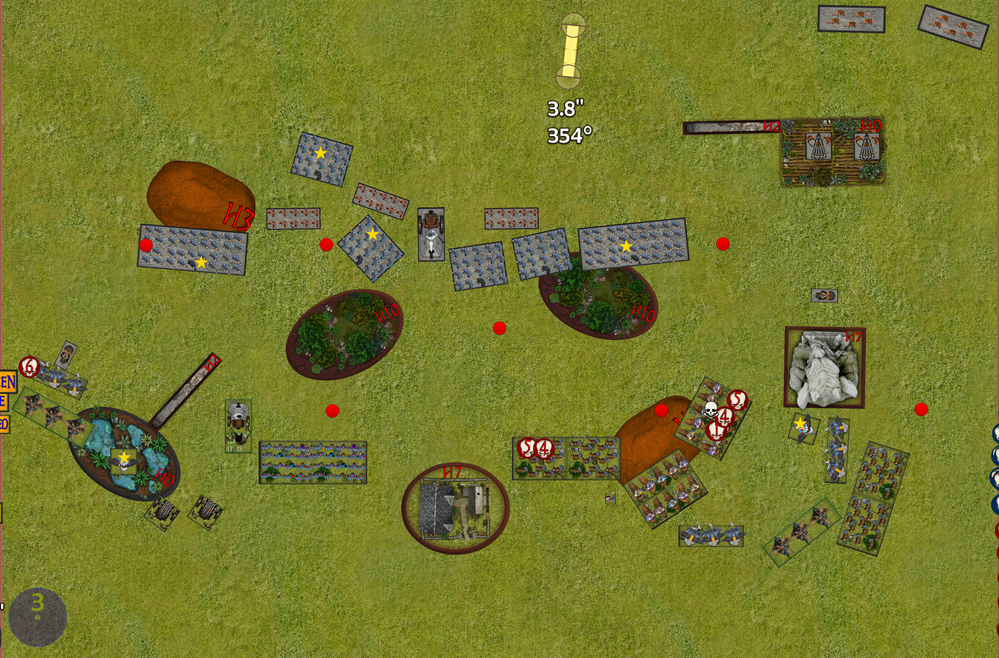
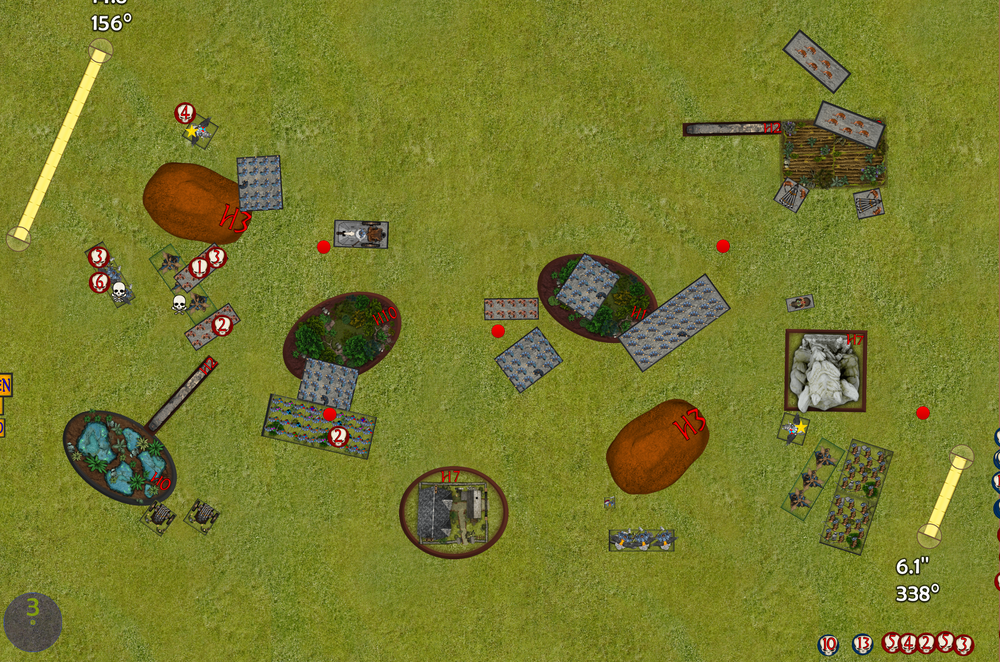
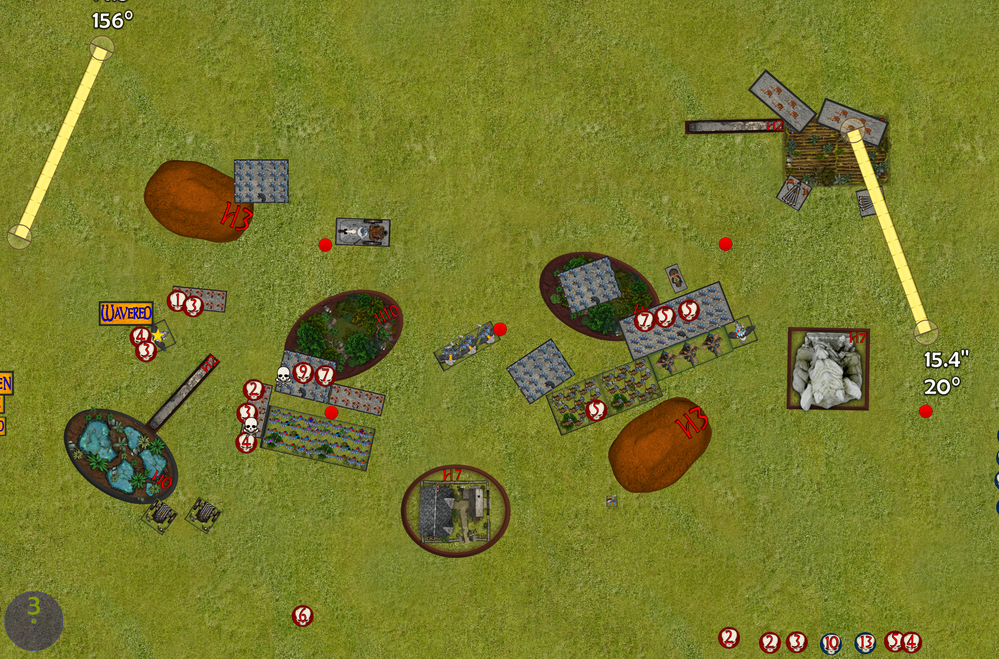
Turn 3 Matt
This was shaping up as a critical turn and I don’t think the last turn was a great movement phase for dave. I think he should have gone after my horde with his general as well in a triple charge to try and one shot it, instead the shieldbreakers have survived. Although I have lost my inspiring source over there which could be crucial.
I countered the aeronaughts with the shieldbreakers then opened up an unhindered lane for the beserkers to flank the harvester. In the centre I position to keep the stalwarts in my front but allow shooting of my dogs on the spears. 2 regiments charged the wild runners. The shield breaker horde moved forward slightly staying out of range of the aeronaughts, but still contesting the objective but allowing their dogs to be fired on the spears also. One unit of sharpshooters moved to allow sight between the organ guns.
In shooting the guns and sharpshooters took out the EJ’s. The dogs and golloch took of the spear horde.
In combat the beserkers took out the harvester and repositioned so the stalwarts couldn’t see them around the forest. The shieldbreakers did 12 wounds but then snakes on the re roll! arrrghhhh!!!
Turn 3 Dave
Snakes again Matt you are getting to good at this.
My forces on the left countered and took off the horde easily this turn, My volley guns added a few more wounds to some berserkers but really failed to do anything meaningful. Matt positioned well to only give me the one charge, a hindered charge on ironclad so I just held firm. On the right I tried to reform in the hope that matt pushes up a little further and I can pounce on him.
And…. This is about the time I realised I just threw away my grenadier unit for nothing as it turns out claiming tokens is measured in US (makes sense, would be pretty unfair for dwarves if it didn’t as turn 2 swoops with flyers would be the norm).
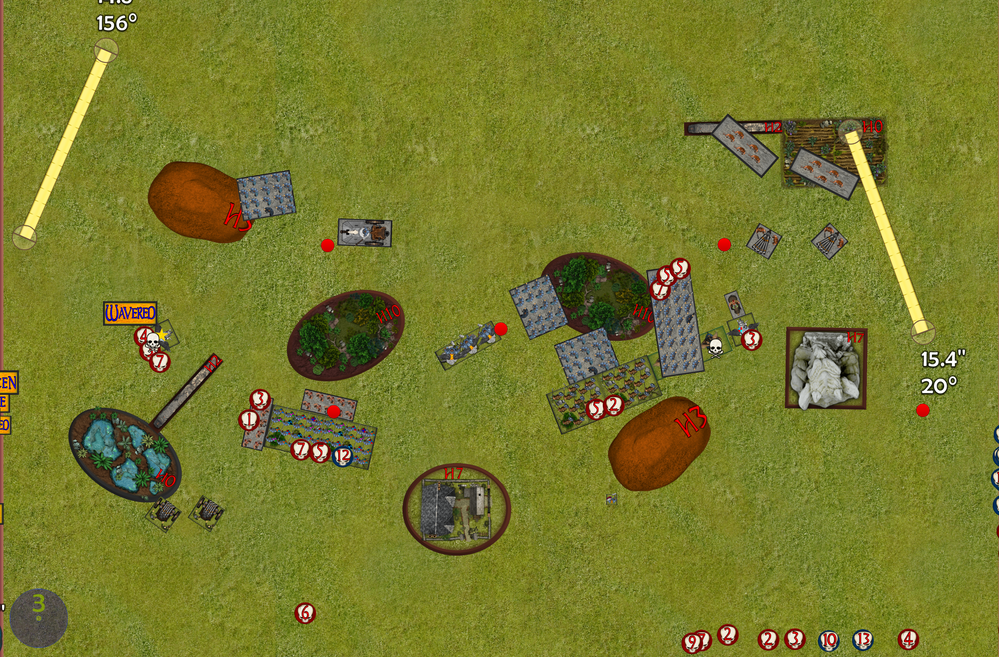
Turn 4 Matt
Thinks are getting tasty. I positioned the shieldbreaker horde forward on the right to still contest the above objective as well as claim the bottom one for myself. I repositioned the top left ironclad to be able to shoot their dogs over the hill and hopefully take out the EJ’s, I also made sure the general stayed in the front. Then the beserkers both went into the aeronaughts one flank, on front. Golloch came back to contest the central token and shoot at the general. All the top right shooting marched forward to be more threatening in the final turns and potentially contest if required.
The rest of the units repositioned.
In shooting Golloch did 5 wounds! I am hoping for a cheeky waver on the generla but then roll an 11 and kill him! Unfortunately he is saved on the re roll. The dogs do 3 to the Ej’s and they die.
In combat the aeronaughts are dead and both units reposition to threaten the organ guns and the horde. They are positioned so that if possible and they both survive then one will be flank on the horde and the other front.
Turn 4 Dave
What the hell was I thinking…. So now is the point where I realise, not only did I miss interpret the fundamentals for how this scenario works… but I built my game plan around that and now I’m faced with trying to pave a road out of pig shit to get out of this…. Its 2-1 to Matt and I don’t have the flying US to pull any shenanigans to creep that back. My Plan now is for Matt to just roll more snake eyes…
Look lots did happen this turn but Matts does so well to limit my options. On the left I went defensive and tried to hide the captain as best I could, preparing for a next turn swoop on gollock to flood US on the objective. On the right…. I pretty much quaked in fear and I tried to work out how best I claim that objective… so I did a few little moves to get LoS on most of his units.
Turn 5 Matt
It’s time to turn up the heat and torch this bean head. I triple charged the stalwarts and kept repositioning everything else.
Shooting the flank popped some wounds not he horde and Golloch did another 3 on the general wavering him. The triple charge did a bunch of wounds (about 12) and failed to break
Turn 5 Dave
My volley guns finally had a clear shot and removed some berserkers, and my stalwarts removed an ironclad regiment, I withdrew as my regroup, but it was just 1 inch.. I needed 2 to avoid the flank charge from his other berserker unit
I triple charged matts last shield breaker horde. My plan now it do delete it, move forward on the regroup and claim it, then next turn pivot and swoop gollock and the centre… this is pretty much my last play….. and waivered…. Brilliant.
Turn 6 Matt
My resilient dwarves succeeded their headstrong roll and charge the aeronaughts, the brock lord went into the general and the regiment went into the horde. Two units of berserkers went into the stalwarts again
Golloch finished off the general. Goodnight winged Fido.
The stalwarts took another heap damage and then my third snakes haha. The are-naughts died and I reposition to make sure Dave can’t even draw.
Turn 6 Dave
I called it, couldn’t even push a draw. Totally out of options
Wrap-Up
Matt: Dave should read the scenario.
Dave: Well… were to start…
Formulate a game plan that wont work due to miss reading the scenario… Tick
Screw up charge ranges again and get pinned down early…. Tick
Throw away units due to miss reading the scenario… Tick
Well if over committing and scrambling was my game plan I’d say I executed that pretty well, however that wasn’t the case…
If the Gatting ball was a game of kings of war… this would be it… I have absolutely no idea what im doing.
Well played Matt you cleaned bowled me.
Final thoughts on the list:
Its hard to tweak a list when its used like this, that said… I will.
I really don’t like volley guys but I think its more my deployment, I found myself continually shooting in cover so I might try howitzers before I drop them complete for the ignores cover rule.