List Thoughts
Dave: My thoughts with this list, so I tweaked my double shambler list from last game a little further to test its grind resilience. I’ve added some chaff and mixed up the mage to run veil of shadows over barkskin.
Matt: Dave’s been trying to get his Sylvan list right so we thought we’d go some proverbial sword fighting with wood on wood and I would run a variation. I was keen to see if bosks could work in regiments with having the Verdant key word could make them a real hammer. It meant that I would need to deploy in a reasonably big block to get most value however.
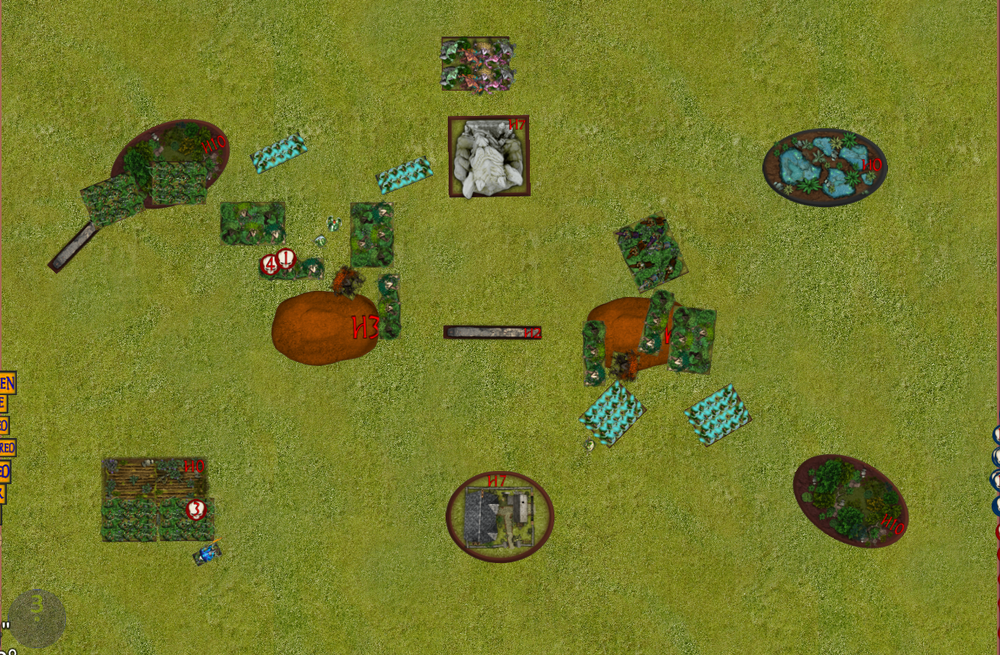
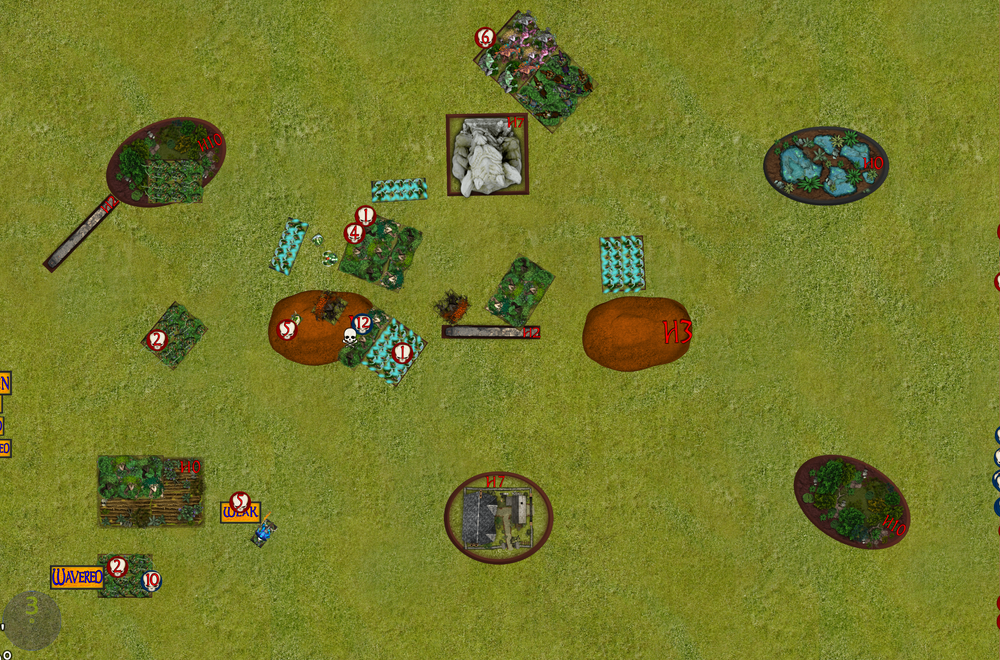
Deployment
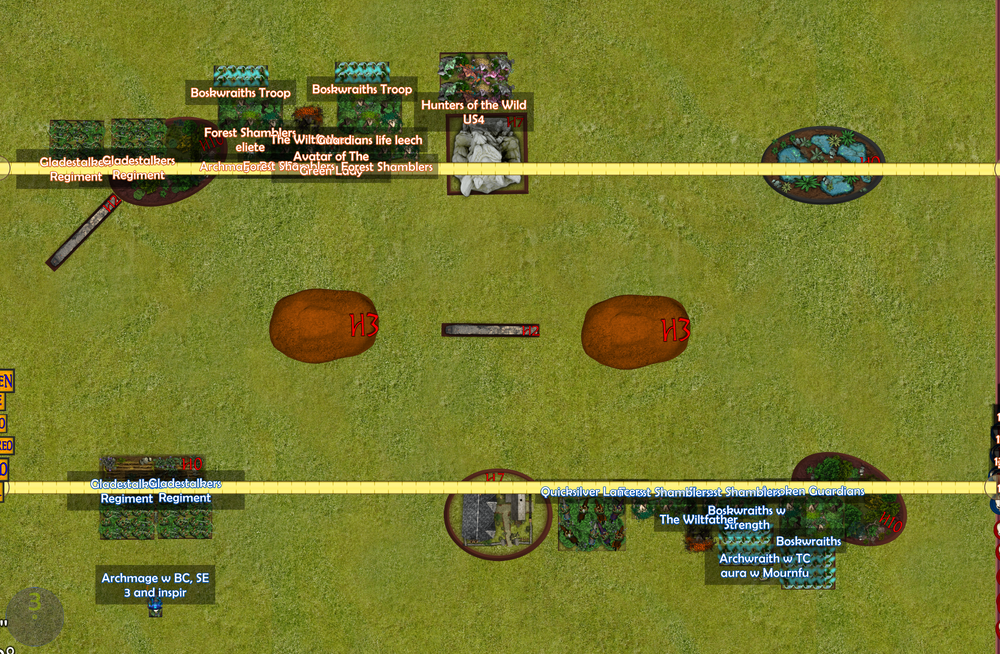
Dave: Well I finally deployed in some layers, most of my army scouts so I’ve tried to make the most of it. However Matt and I did end up mirror deploying slightly and I think he may have the upper hand by pushing his glade stalkers out on the flank. Hopefully stealthy can protect my force a little and they only do a few wounds each turn which I can heal off.
My plan for the game is to pick off Matt’s weaker boskwraith regiments and win the US game through survival. He has 3 regiments at def 3 and I plan to remove them leaving him with limited scoring options. I only need to control 4 quadrant to win so I have no real interest in venturing over to the right side of the board. Fingers cross Big wood holds firm (stop giggling Matt) and The little twigs turn to saw dust
Matt: Control is not the scenario I wanted to see haha as I had a specific plan of trying a deployment where all the verdant stuff was in one big block. I decided to go with that anyway and just see what happens but left my gladestalkers off to one side with a mage for support to encourage some movement that way. If I did it over I’d maybe just stack hard with the rest even despite scenario because after the fact I felt it was a dud move leaving them a bit isolated.
Scouts
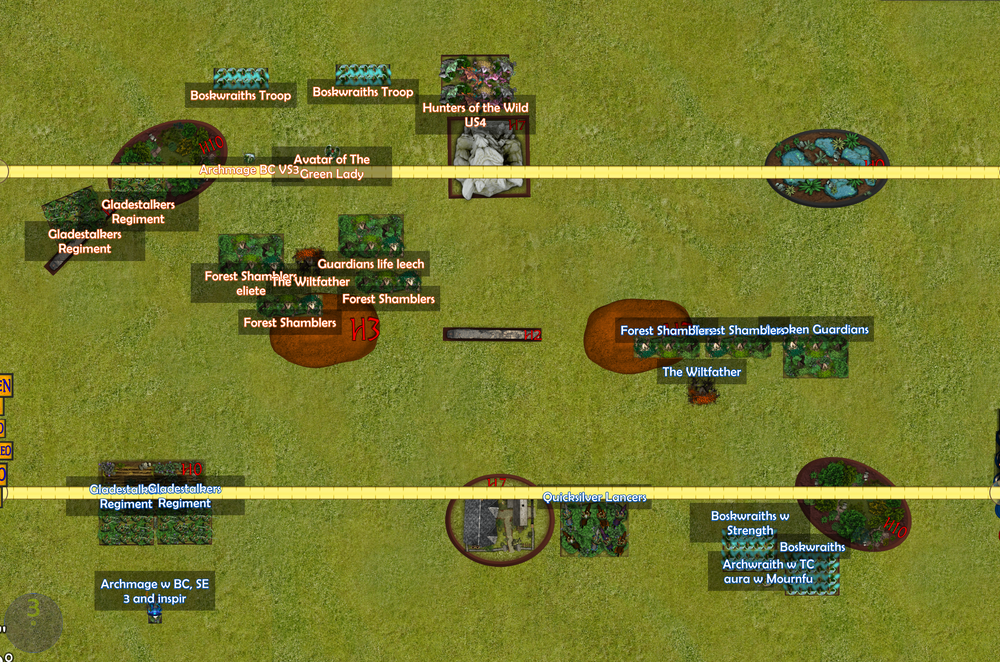
Turn 1 Matt:
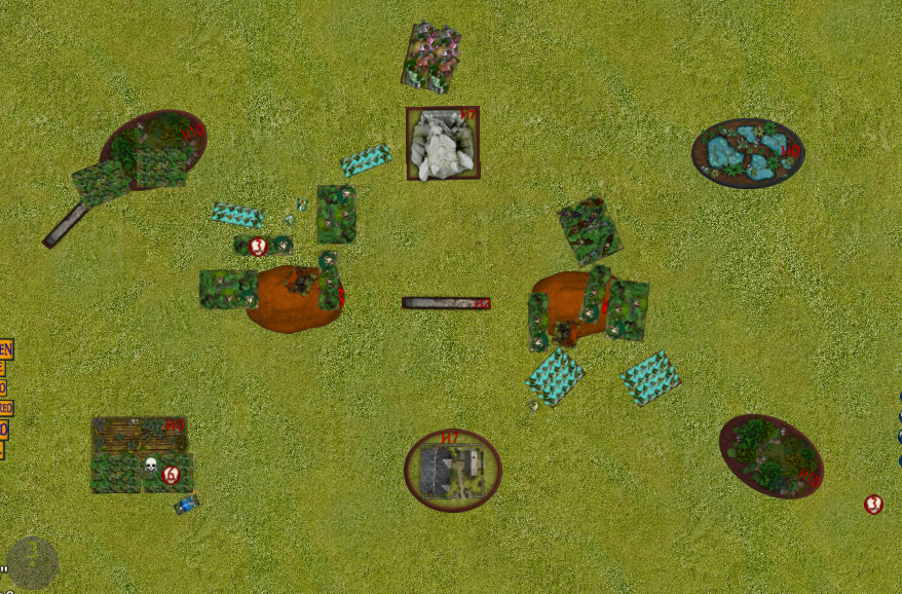
I was happy to get turn 1 as I wanted to get a round of shooting off before he managed to cast veil of shadows. Also it meant that I would be able to pivot back immediately with my vanguard moved and threaten him straight away. Everything moved this way whilst the gladestalkers stayed where they were. I flung the lancers forward and pivoted back also. This should be the unit that gives him the biggest trouble.
In shooting the gladestalkers went ballistic and got 9 wounds on the shamblers. I failed to rout them by one though. WHY ARE PEOPLE SO UNKIND!
Turn 1 Dave:
Firstly, I did not expect 9 wounds from a round of shooting. I retreated back a little and repositioned to protect my self from those lancers. If matt takes either charge on my shamblers I should be able to reposition well to take it off with a double/flank.
I did screw up deployment by putting my hunters too far forward to pivot, so I’ve had to fall back for a reposition next turn. They are US4 and sitting in the zone that will give Matt the most points, so protected and hidden isn’t a total loss for me.
I managed to heal the shamblers back 4, and another 1 with radiance of life, I’ve attempted to hide them a little now for cover and hopefully veil of shadows will protect them further…. Except this is a new spell that my mage clearly wasn’t too practised in as they rolled 3 1’s… so that was a bust. My glade stalkers managed to add 3 wounds to his glade stalkers but I failed to waiver or break them.
Turn 2 Matt:
Basically I just kept repositioning the middle allowing the bosks to catch up to the tree units. Shooting barely did anything so in this turn there’s not much to write home about.
Turn 2 Dave:
Another cagey movement turn, I’ve repositioned to protect myself a little further however this time VS went off, healing was sub par only taking back 1 W and 1 from radiance of life. Mixed shooting from my glade stalkers, with another 3 wounds, however I picked up the 10 I needed twice and picked off a unit of glade stalkers earlier… haha sucked in.
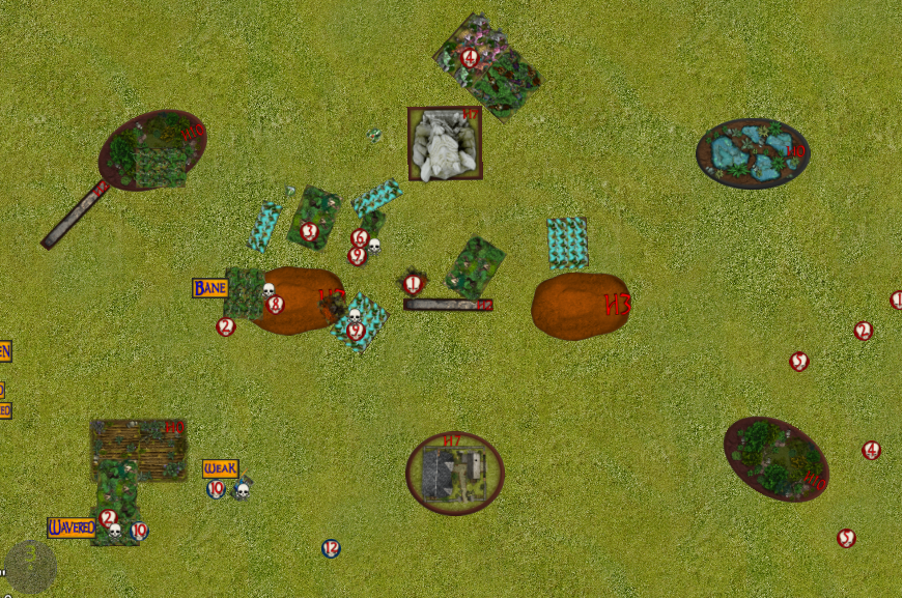
Turn 3 Matt:
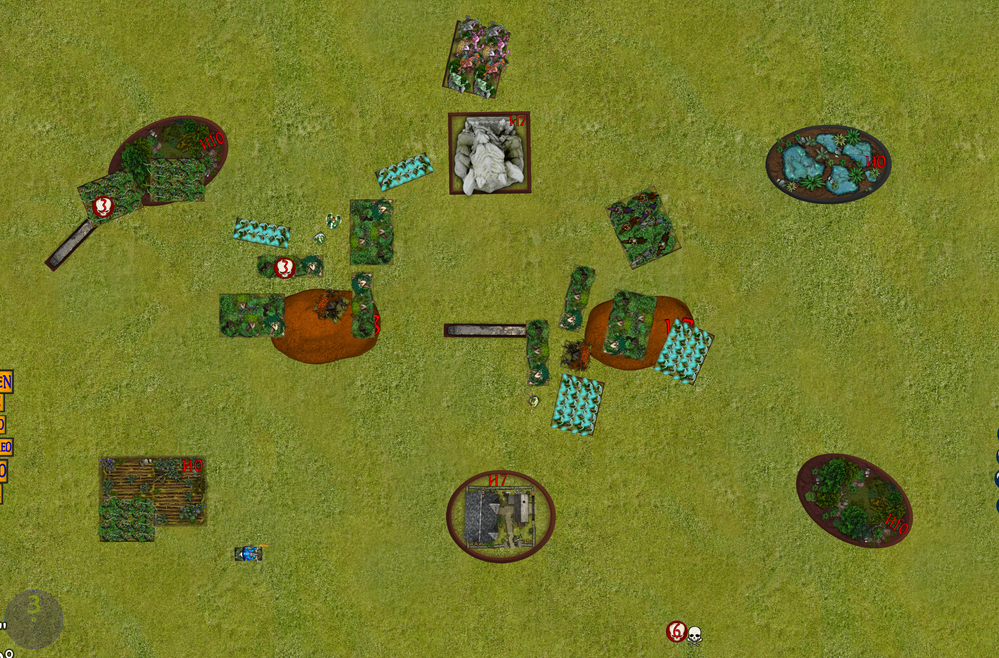
Damn him taking my Gladestalkers down. Dave definitely runs by this motto “it’s better to be lucky than good”. Although they are primarily there for distraction. I’m hoping he will keep a reasonable amount of US on that side of the board leaving me mostly competing for the other 4.
I started to move the mage back towards the centre to be able to move and use BC or scorched earth in later turns but leaving it in range of inspiring for now. Otherwise it was primarily all repositioning into a block to allow some flexibility in where I go next.
Shooting did 3 wounds on his left unit of gladestalkers and they survived. The green lady heal is a real problem for me.
Turn 3 Dave:

Well the dance continues. I’ve put pressure on Matt to move into my trap with the lancers by pushing my hunters up into a flank position. Also moved my shamblers up the board to close out on the gladestalkers, plinking on a few wounds to get them closer to the break next turn. Besides that, I healed back all my wound on the gladestalkers and then Radiance of life’d off another on the shamblers, so far I’m pretty happy with my heal game, as its working like I had planned. Veil of shadows also went off, however I did roll 2 1’s and a 4 to make that happen… I hope this mage is getting all the one out of its system early.
Turn 4 Matt:

I am already hating on this game a bit. For some reason I am not vibing my list even though I built for some fun with the bosks. Therefore I am getting impatient and want to start some action
I first rolled my wild charge on the archwraith and boskwraiths on the left getting a 3 and 2 respectively. This left me with multiple options. The bosks could JUST make the horde of Awoken Guardians but would need to pivot over the obstacle therefore making them unlikely to pop them. I think then that Dave would be able to withdraw them and get his troop of bosks in the flank and there would go a hammer. Therefore I charge them and the the archwraith into the regiment, I am also hoping to scorched earth wilty for some fun
I charge a regiment of shamblers into the Guardians to hold them up and I am prepared to lose them next turn. Because of my boredom I decide to take some risks, I back the lancers up and reform to take a charge from the hunters. They should take it but I have left them uninspired so is a big gamble. If Dave takes the charge that side of the board is basically mine. I leave the gladestalkers where they are to encourage that horde of shamblers to keep moving down to the back corner. The mage moved away leaving them uninspired ready to cast scorched earth on Wilty.
In shooting the GS did 2 wounds on their counterparts and they failed to break. Scorched earth I rolled 1,2,3. I am a sad panda right now.

In combat the wraiths smashed the unit of shamblers and the regiment bounced back. The character pivoted to be off the hill
Turn 4 Dave:
I didn’t want the Wiltfather in combat just yet, I think that would of left him a little too exposed and could potentially see him taken off before the end of the game, so I pulled a cheeky advance to get my last regiment of shamblers 1 inch from Matts arch wraith and surge it in from the Wiltfather.
I moved my hunters back out of charge range from the boskwraiths in a hope to keep them alive a little longer. I don’t think the lancers will take them off in 1 round, and hopefully I can move my green lady over for some healing.
In shooting my glade stalkers put shots into the wizard adding 5 wounds getting a waiver.
On the bottom of the board my shambler horde piled on the wounds but rolled a waiver and lastly my guardians (bane chanted) and boskwraiths double charged Matts shamble regiment to clean them up.
My army is holding up well and I’m happy that I comfortable hold 3 zones and can claim/contest the 4th to seal this game. I just need to see what matt throws at me next.
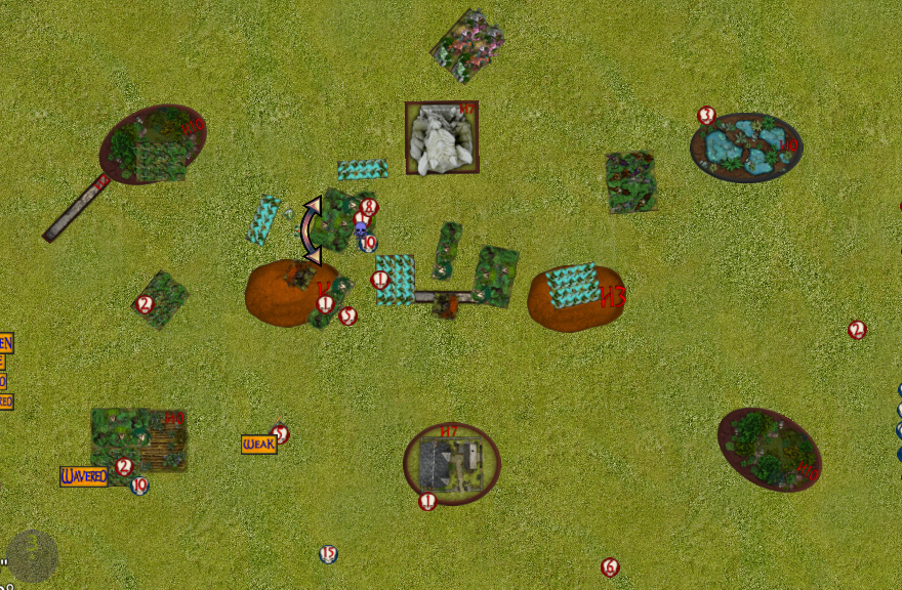
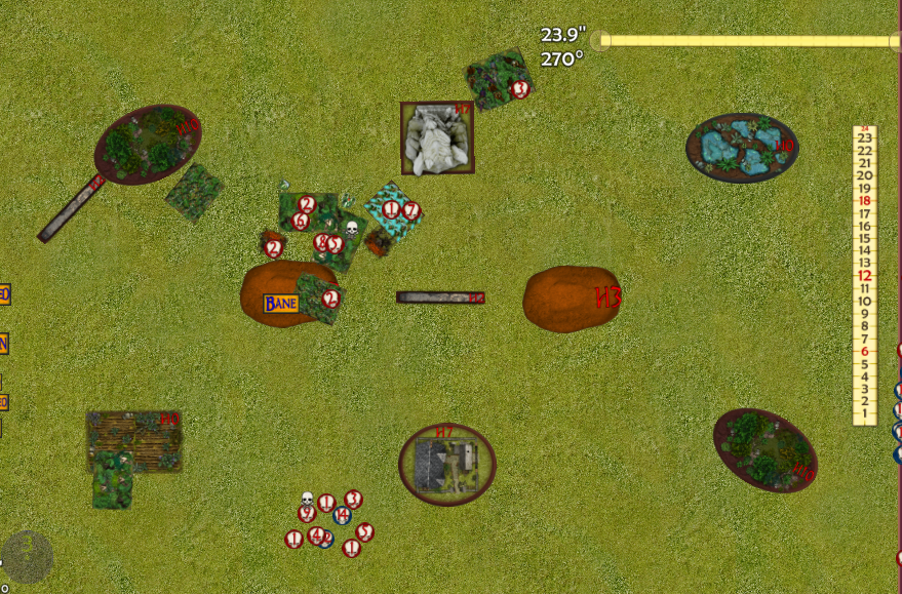
Turn 5 Matt:
This was a frustrating movement turn. I had a number of movement options that I couldn’t complete by millimetres. For example I wanted to double charge the regiment of bosks with strength and the regiment of shambles against the awoken guardians but the shamblers hit the building right on the line.
The quicksilver lancers charged up top, hoping for a lucky one shot as that regiment of hunters has US4 because of the item, and I may need two turns to get through it, unless they get lucky in return also. I double charged his bottom regiment of shamblers with both the bosks with strength and the archwraith, then used my regiment of shamblers to block up the Guardians. The Wiltfather moved into position to use some cloak of death. I moved the bosks off the hill so they couldn’t be shot and repositioned to be a threat if needed. Down the bottom I backed up the wavered gladestalkers in order to bring that horde further out of the game. I backed up the wavered mage hoping to either keep drawing the gladestalkers back to the left or at least encourage them to shoot at it, If he’s shooting at individuals this late instead of unit strength then that’s good for me.
Cloak of death gained a wound on the awoken guardians and bottom regiment of shamblers.
In combat the Lancers did 6 wounds only and failed to pop the hunters, they’ll be in trouble next turn potentially as I am uninspired up there, but if I can get through it they will hopefully die next turn. The shamblers did 4 wounds, box cars was the only option and they didn’t get it, let alone twice. The bosks and archwraith did a combined 10 ore wounds and killed it. The archwraith over ran 6 and now can be threat to many units unless shot off next turn. Again if he’s shooting at that on turn 5 though I’m not unhappy. I left the bosks where they were as I didn’t want them seen on the hill.
Turn 5 Dave:
Well my hunters survived. Which is excellent, I had a sub par heal (whats going on there green lady), but I feel like I’ve taken matts hammer out of the game. They will need to spend another turn chew up the hunters and that stopped the reface with a nimble charge at my army when it dashes over into matts half.
Across the board matts army turned to sawdust. Matt’s glade stalkers, mounted wizard, arch wrait, boskwraith regiment and shamble horde all poped this turn leaving him well and truly out of options. With only 4 combat units left I’ll see how well my force survives turn 6. I feel like matts stuck between a rock and a hard wood, he can go for my weaker options but leaves the wilt father and guardians to strike or attempt to crack my heavier units and leave my 20 attack bosks to feast on what’s left over.
Turn 6 Matt:

I had one plan. That was I pretty much had to take off every charge target and then hope for 7. Lancers countered hunters, Boskwraiths regiment went into Boskwraiths troop. Woke went on woke, Wilty had to choose between the GS and bosks. GS having better option of decreasing US but bosks more guaranteed to take off. I chose the bosks. Everything died except the shambles which I missed by 1. Oh well That’s pretty much game over now with the flank exposed.
Turn 6 Dave:
This was a pretty tricky turn for me as I needed to think through what could happen in turn 7, double charging his guardian horde was a no brainer, however I needed to make sure I didn’t end up too far away from my 2 point control zone. I ended up charging with the glade stalkers not the WF to give me options. My glade stalkers backed up after the combat to end up just within, and my wiltfather has both blocked Matts boskwraiths from getting a decent charge so now its 20 attacks with no crushing into my def 6 and with a disengage pivot and move I’ll end up just within my 2 point control zone.
We called it before turn 7 and Matt had no options left to win or draw. 4-2 to me
Wrap up:
Matt: As I wrote up earlier, i didn’t really vibe this list at all. After playing it there’s no doubt in my mind (as we thought anyway) that troops of bosks are superior to regiments, as is the case with a number of beserker style units. I’d want to try a completely different list next time. I don’t think at 2000 points I’m seeing a lot of variation in sylvan lists.
Big credit to Dave he played well. Didn’t take a lot of my baited options and smashed me.
Dave: Well the mighty big wood held firm (stop it matt)
Pretty happy with my game plan, I stuck to it and it work out for me. Matt played well but my dice were hotter. Very happy with how well my heal game worked my shooting target priority and my charge selection / chaff game.
So really all in all Matt… I crushed you, sucked in.
Really like this list. I think the Orb of towering presence on a def 5 US 3 unit is a good distraction carnifex for games like control and invade, for a grindy list I think I’ll keep it as is and get some more reps,
If I had to change 1 thing Id drop elite on the 2nd shambler horde and see what other options that gave me.